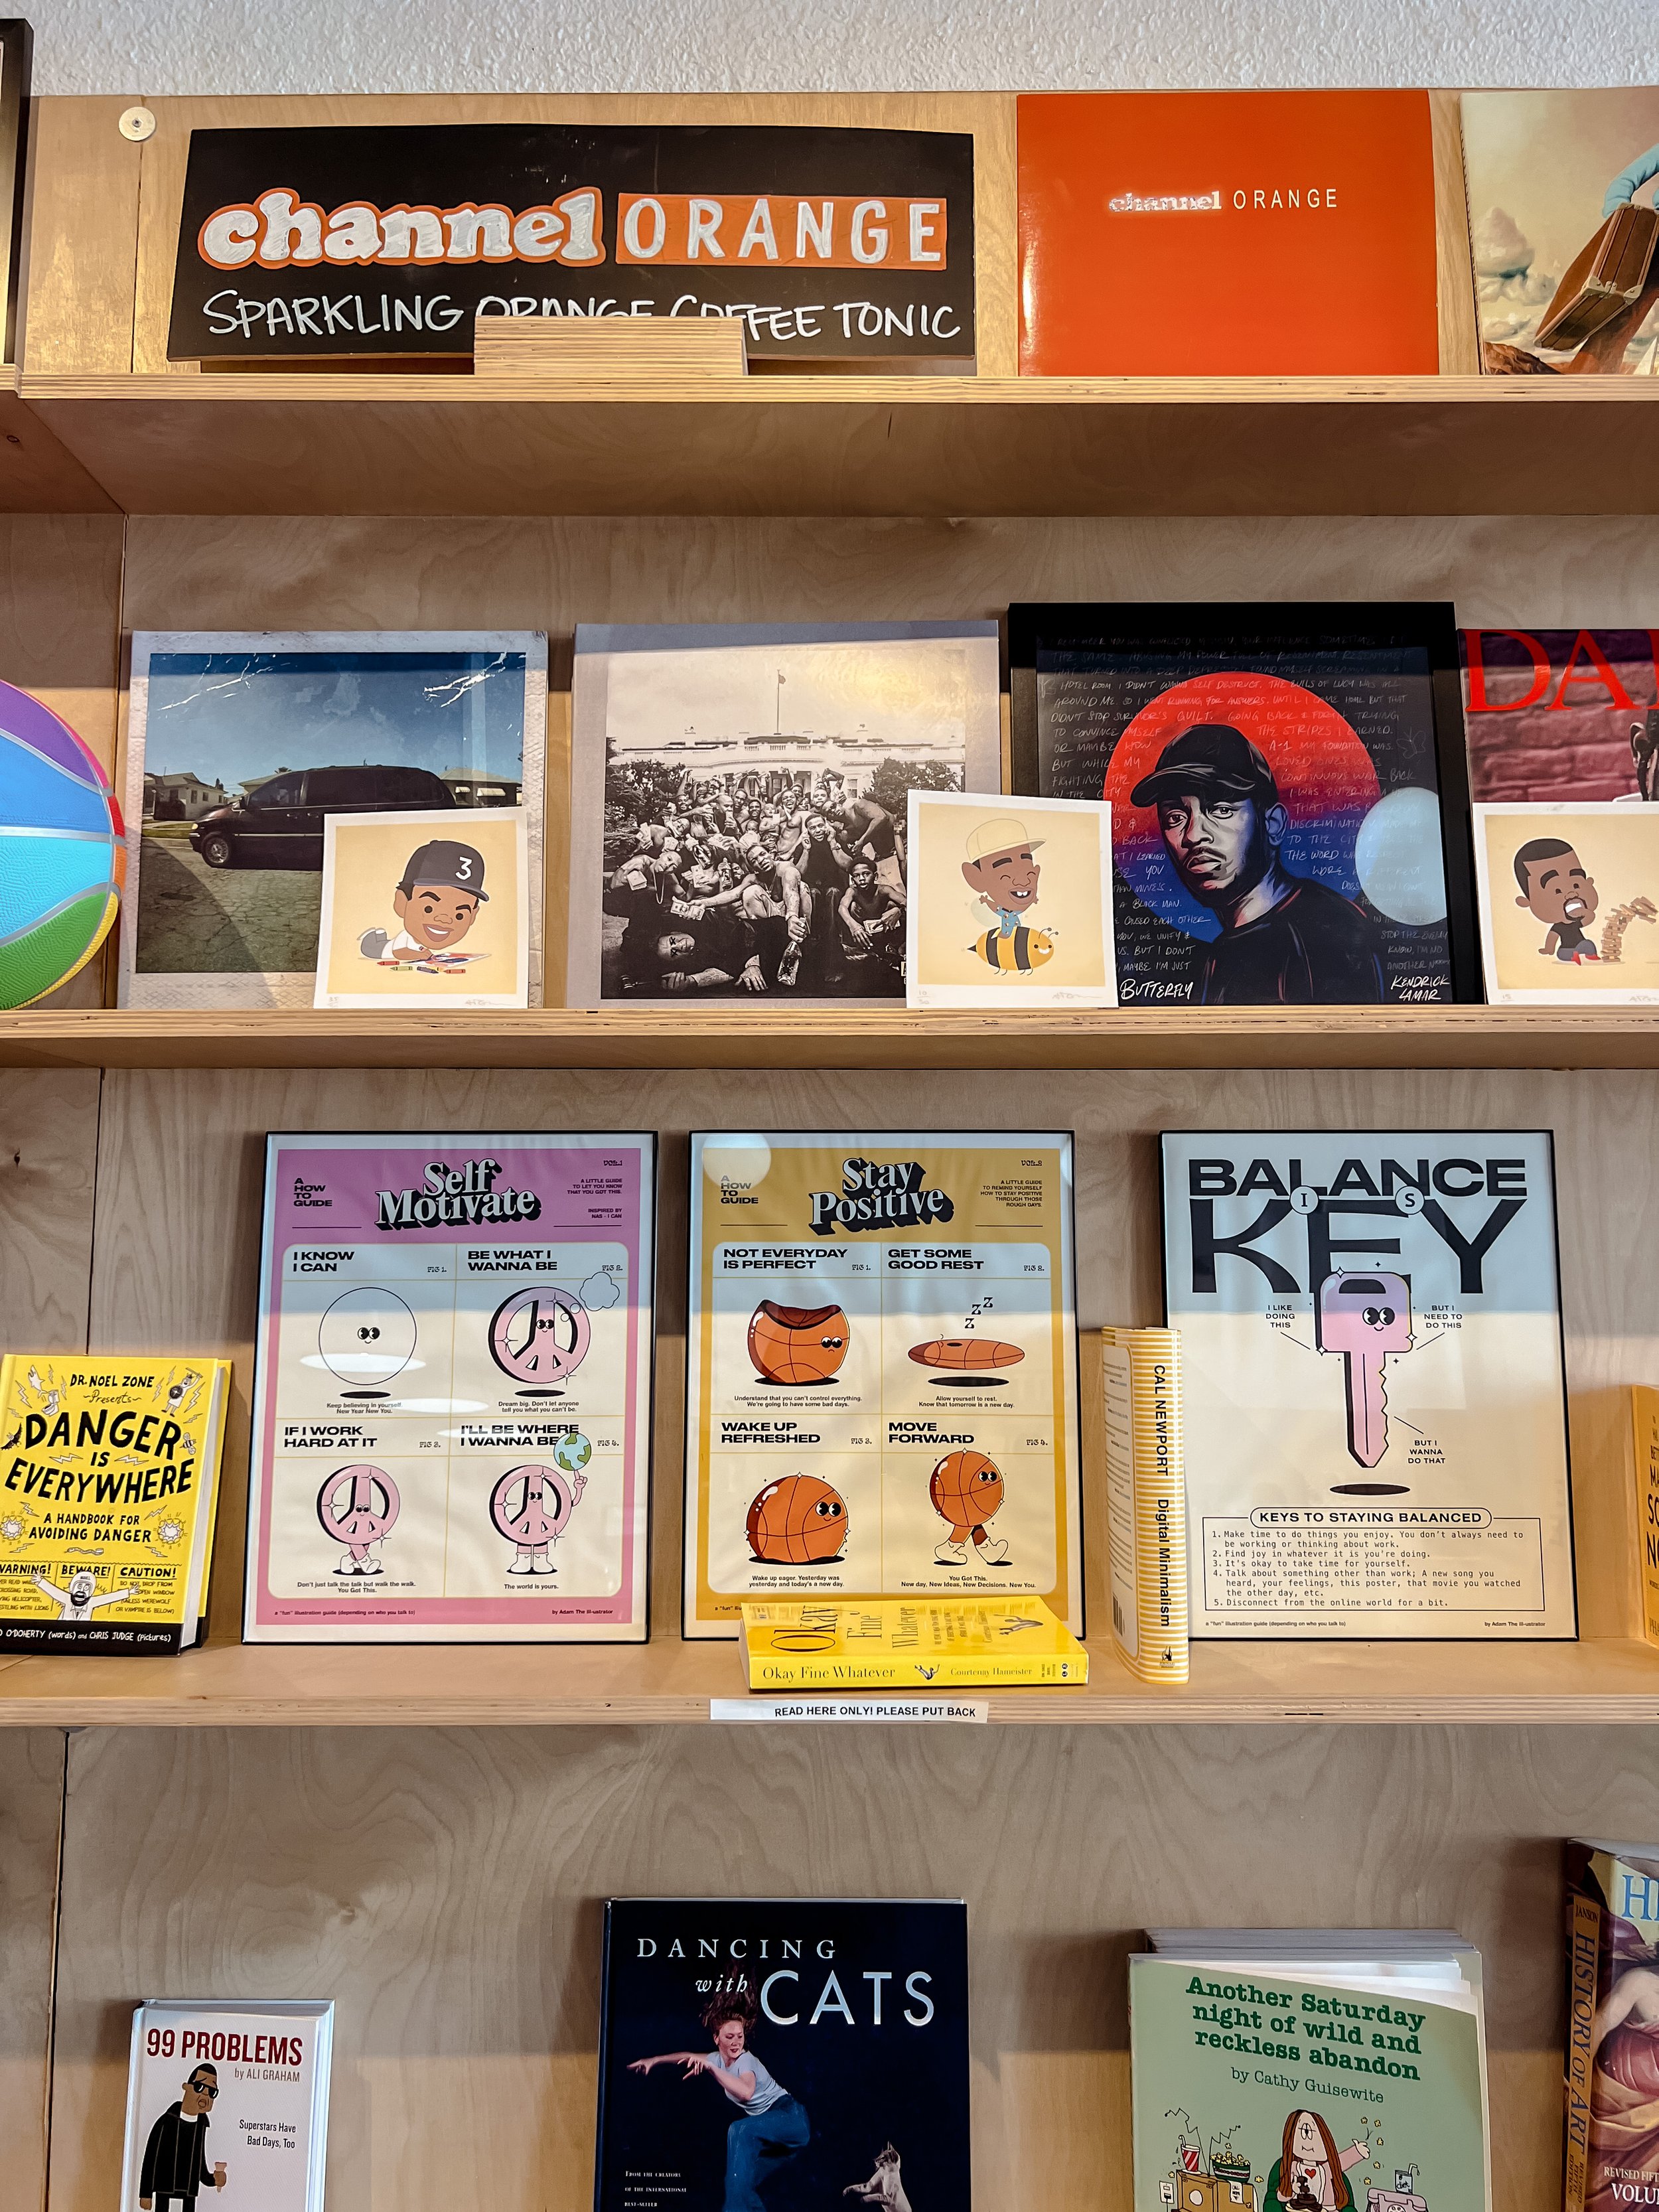
@hellolovelyliving enjoying the motivational quotes at Contra Coffee and Tea in Orange, CA
Your productivity and efficiency depend on several factors. Think beyond your skills and tools because your workspace is one of the most crucial aspects you may likely miss. Surprisingly, it can affect your stress levels, elevating them or lowering them according to your environment.
Whether you work from home or run an office, you must ensure a positive ambiance for your workspace. Fortunately, you can do it without an extensive and expensive makeover. Try these practical ideas to create the perfect ambiance for your office.
01
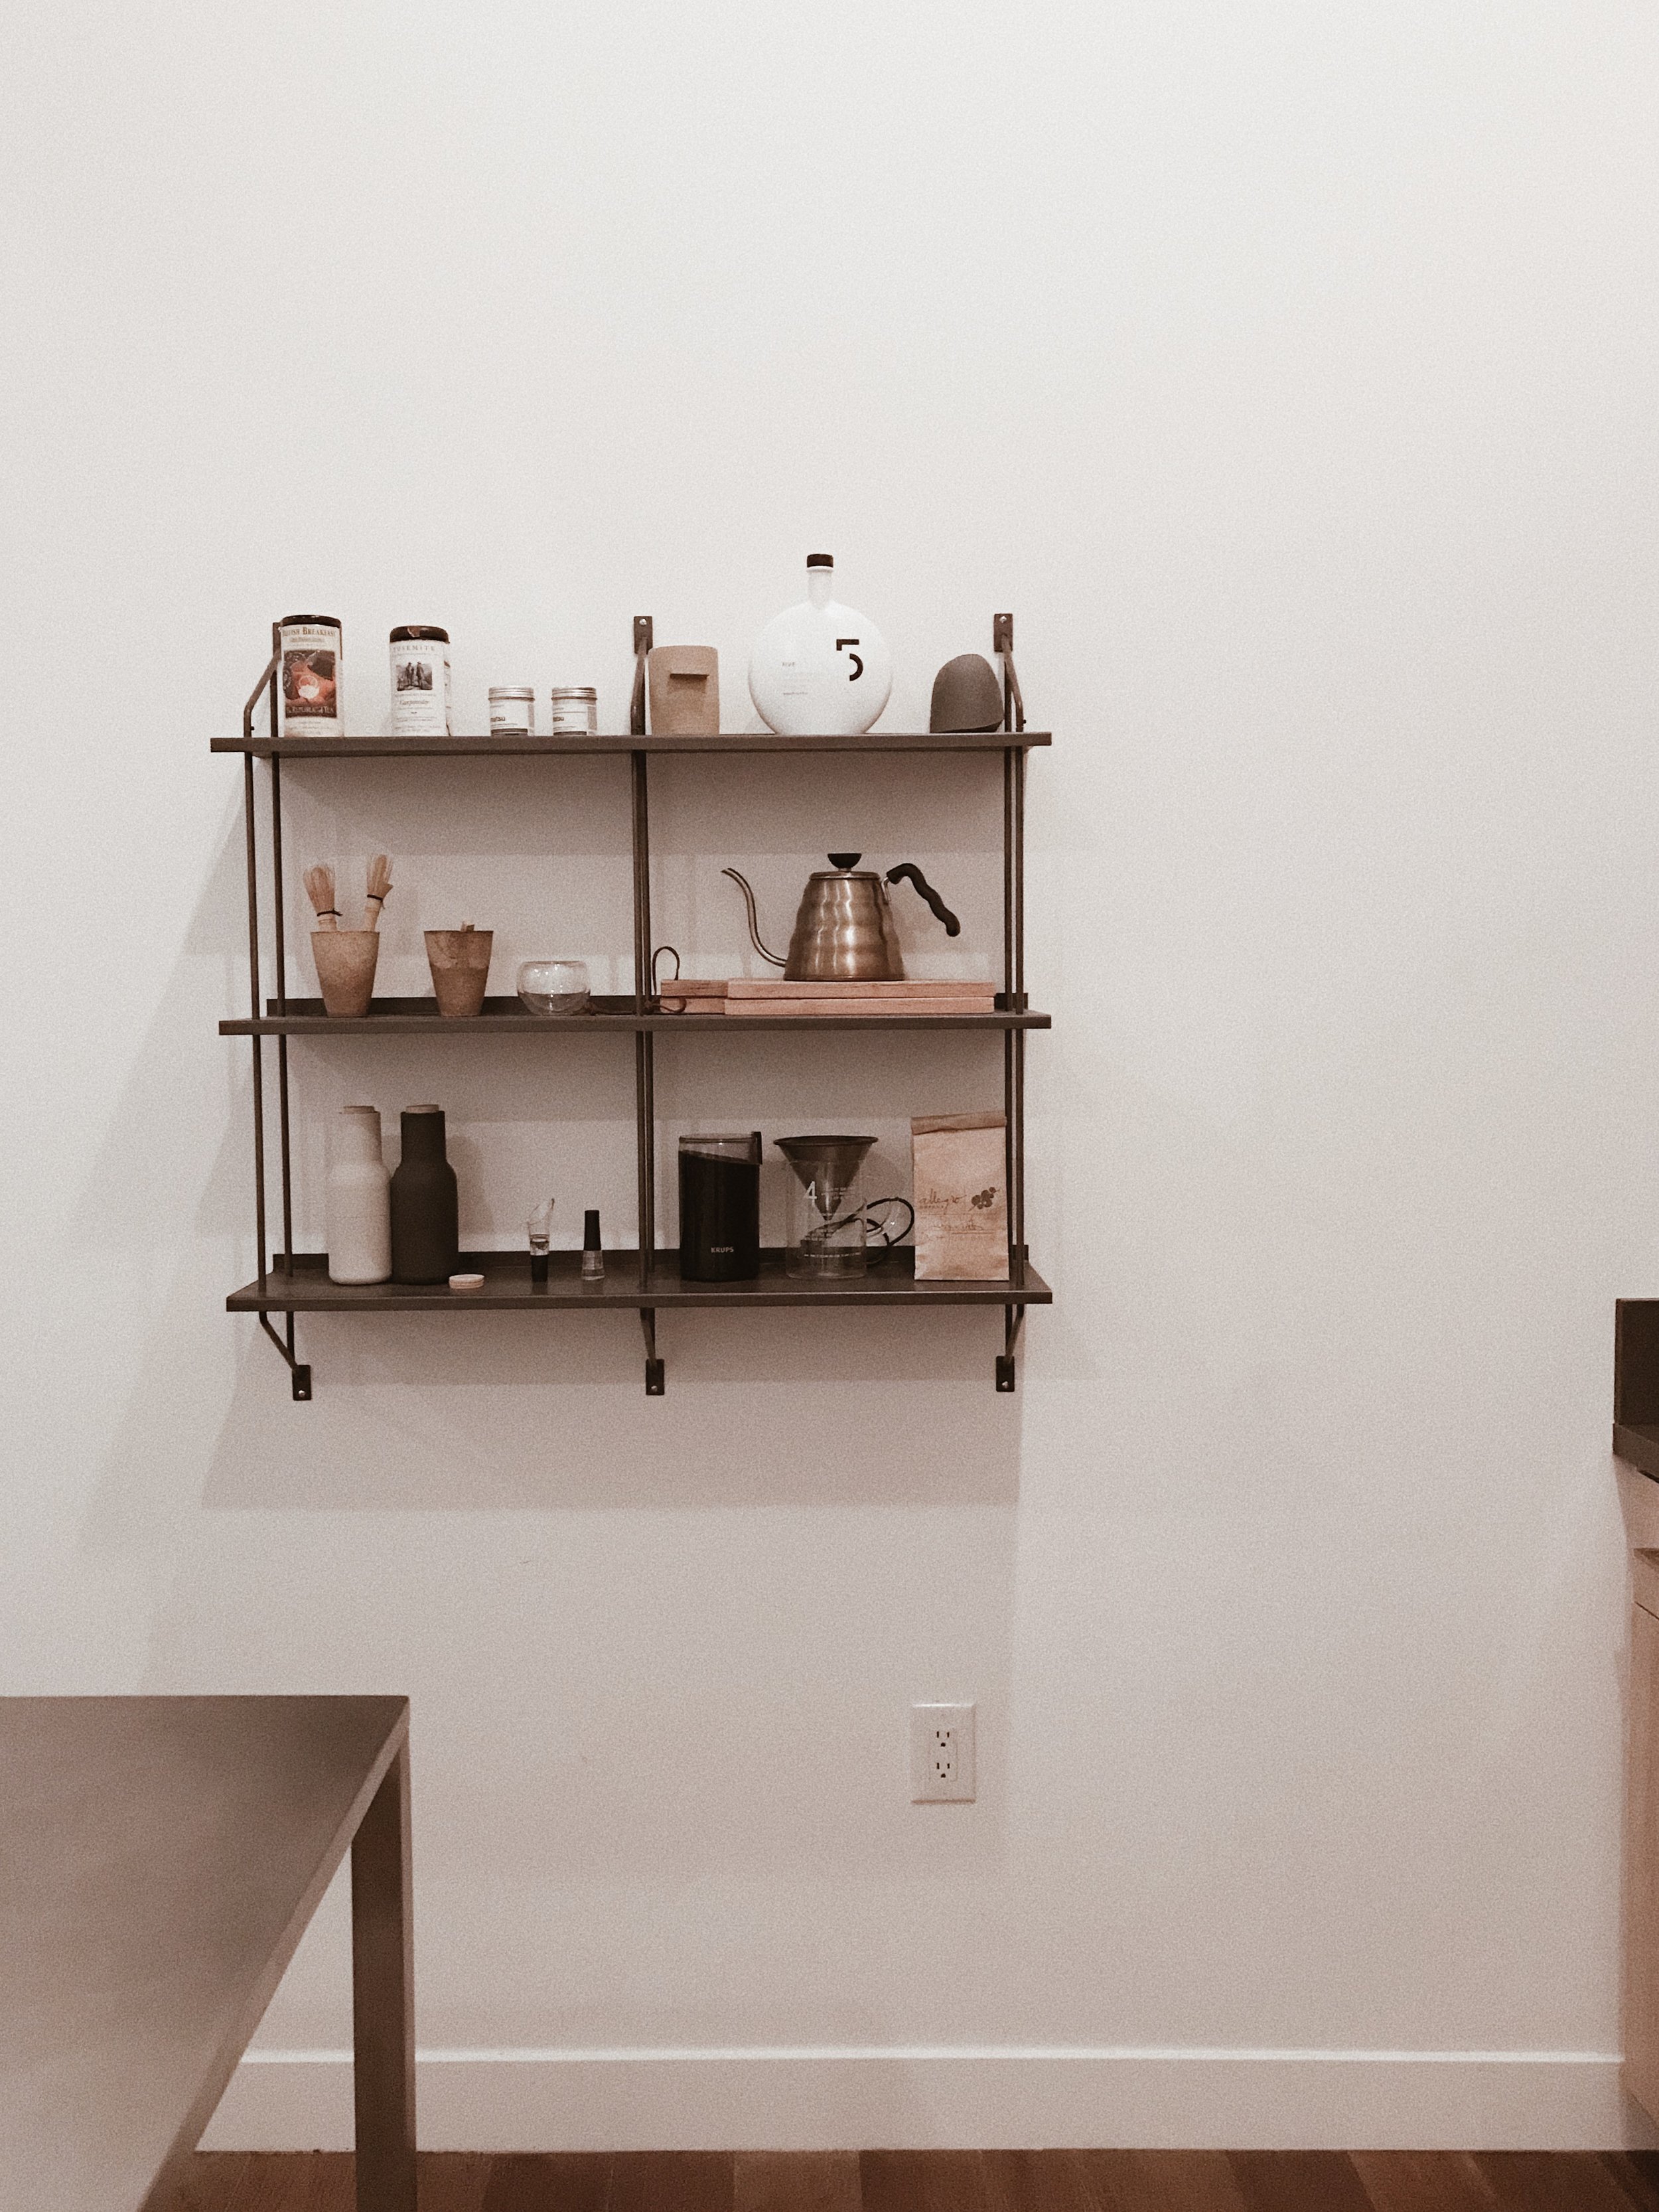
Start with a decluttering project
The easiest way to create an aura of positivity for any space is by decluttering it, and this rule also applies to commercial areas. Commit to a weekly cleanup and monthly de-clutter project for your work area. You can go even further by doing the same de-cluttering routine with your devices. Encourage your team to take care of individual zones and supervise the project. You will have a lighter and healthier space once the clutter is sorted through and discarded.
02
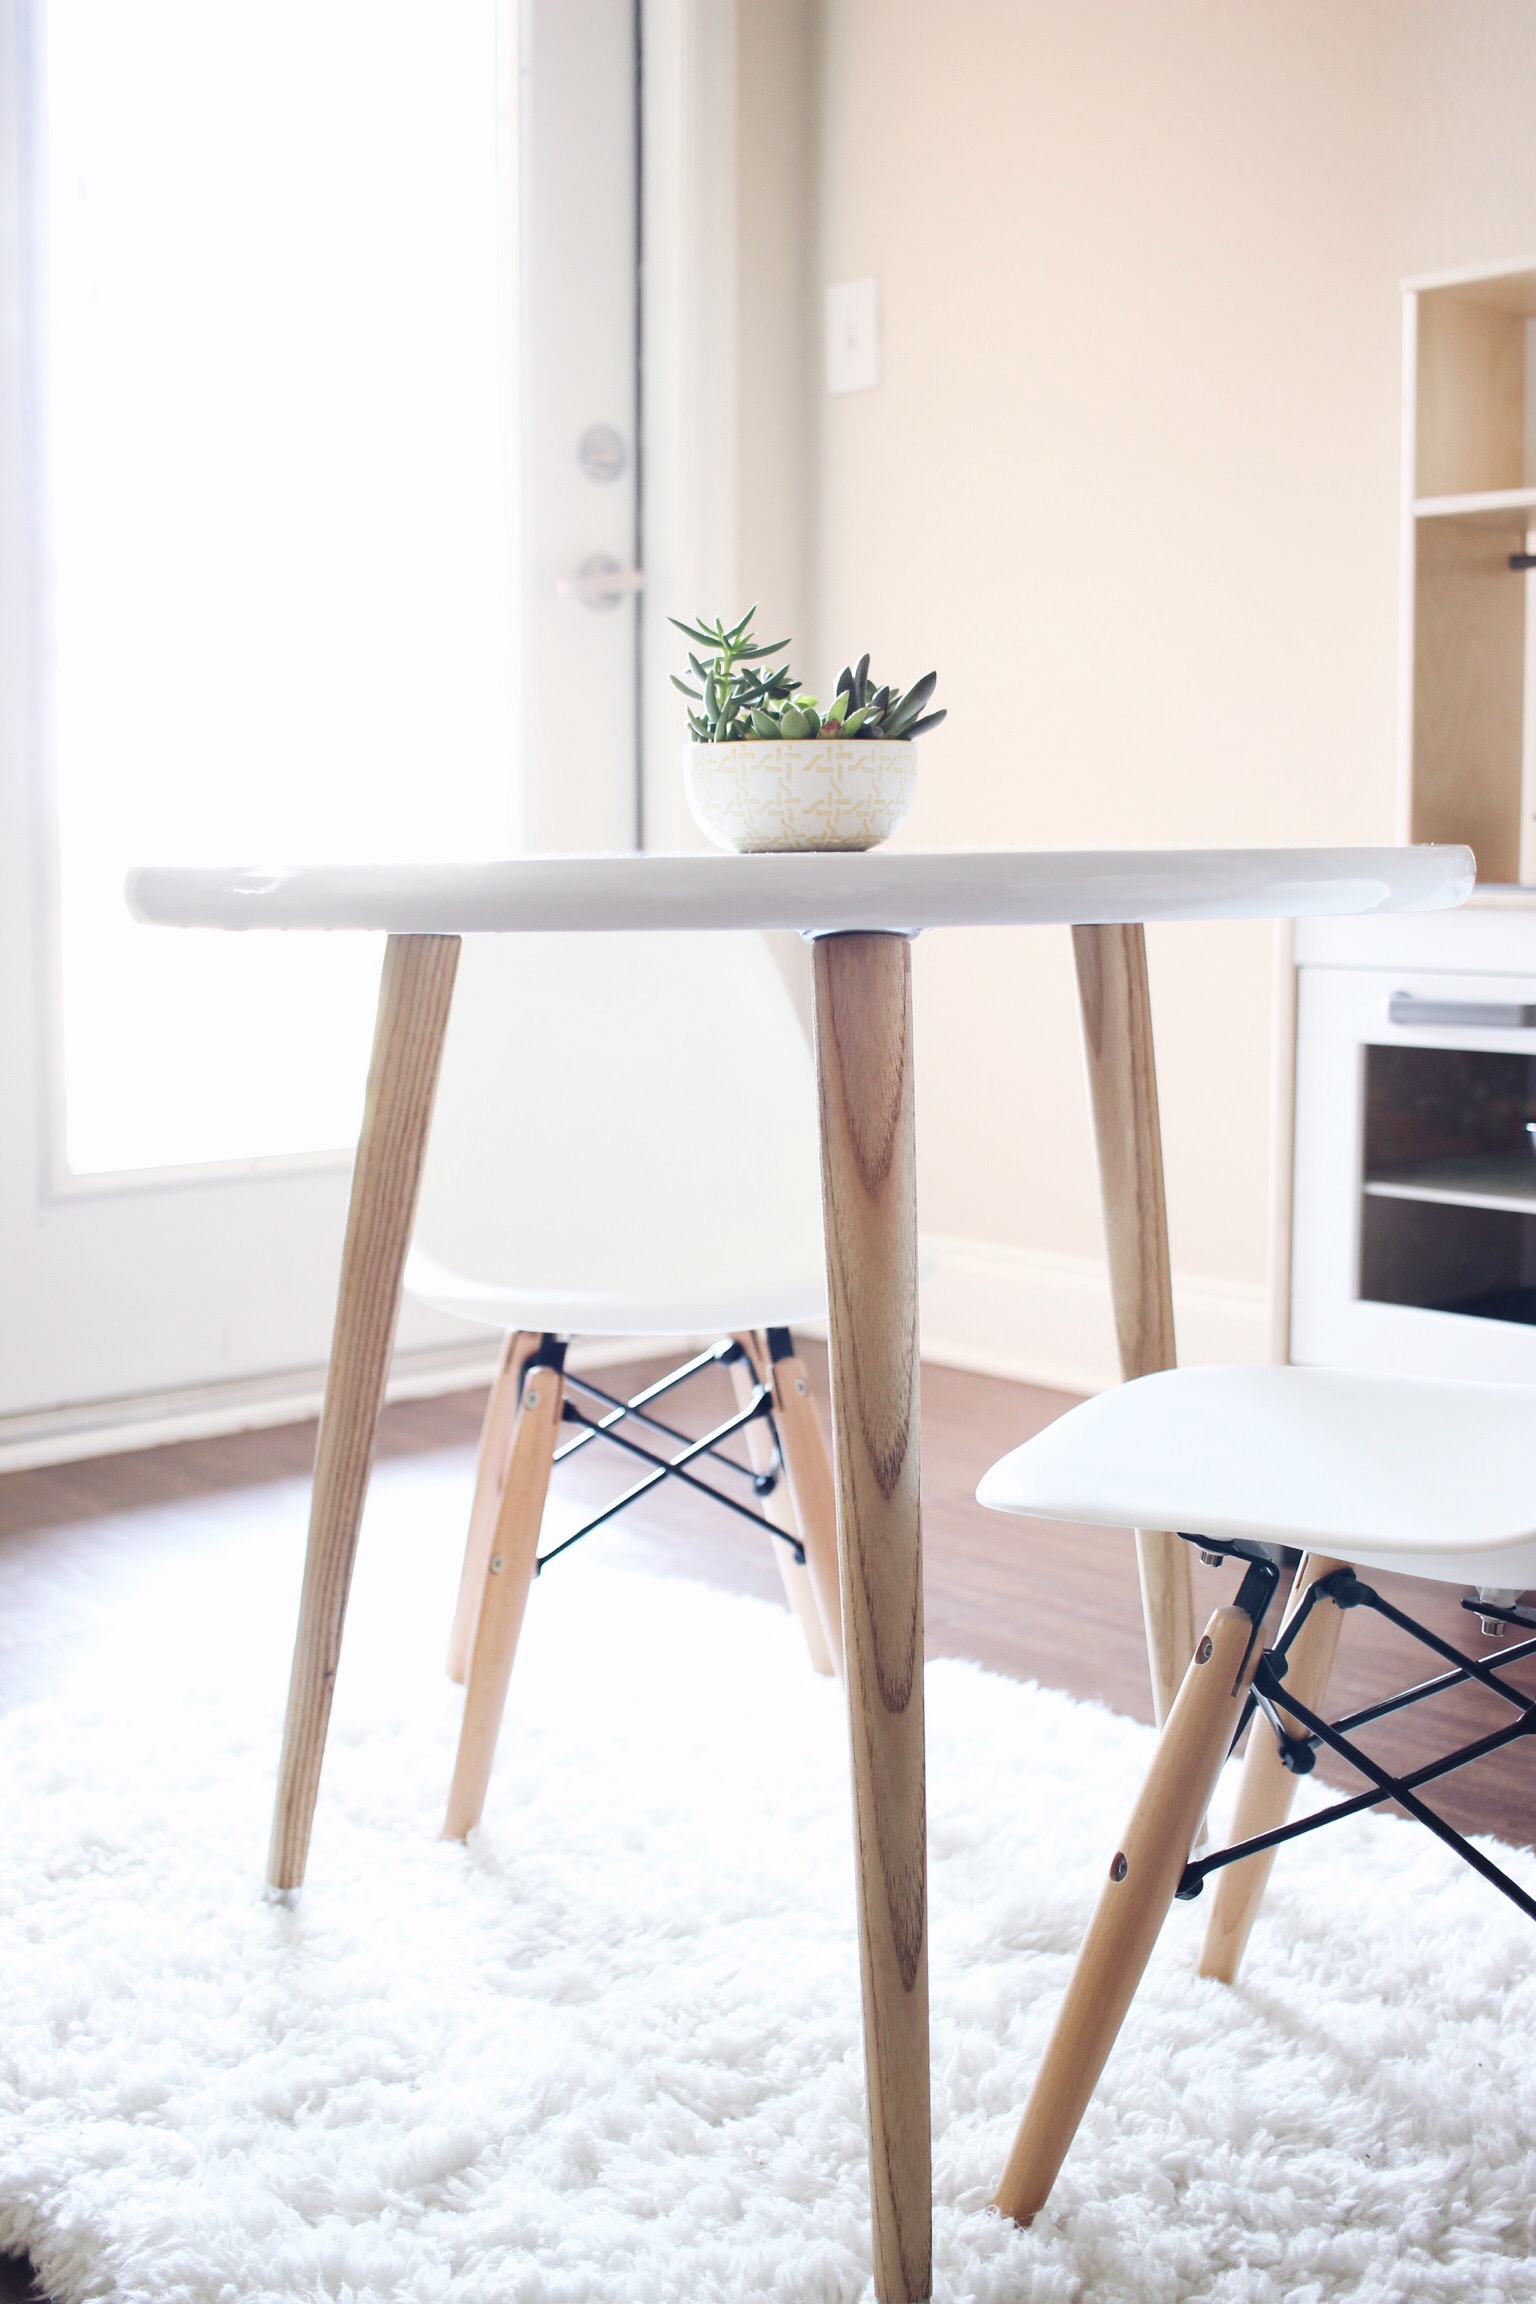
Prioritize comfort
Comfort is the key to creating a positive, vibrant workspace that promotes efficiency and productivity. Invest in comfortable and practical furniture pieces that support a healthy posture. Non-ergonomic furniture can affect the well-being of your team members and affect the overall vibe of the workplace. The material the furniture is made from also matters, making this an area to focus on, too. There are multiple options to consider, with customized foam chairs and similar options being recommended.
Moreover, you cannot expect to impress clients and visitors by ignoring details such as these. Additionally, allow employees the freedom to create a homely atmosphere for themselves with family pictures and mementos in their personal desk space.
03
Pay attention to air quality
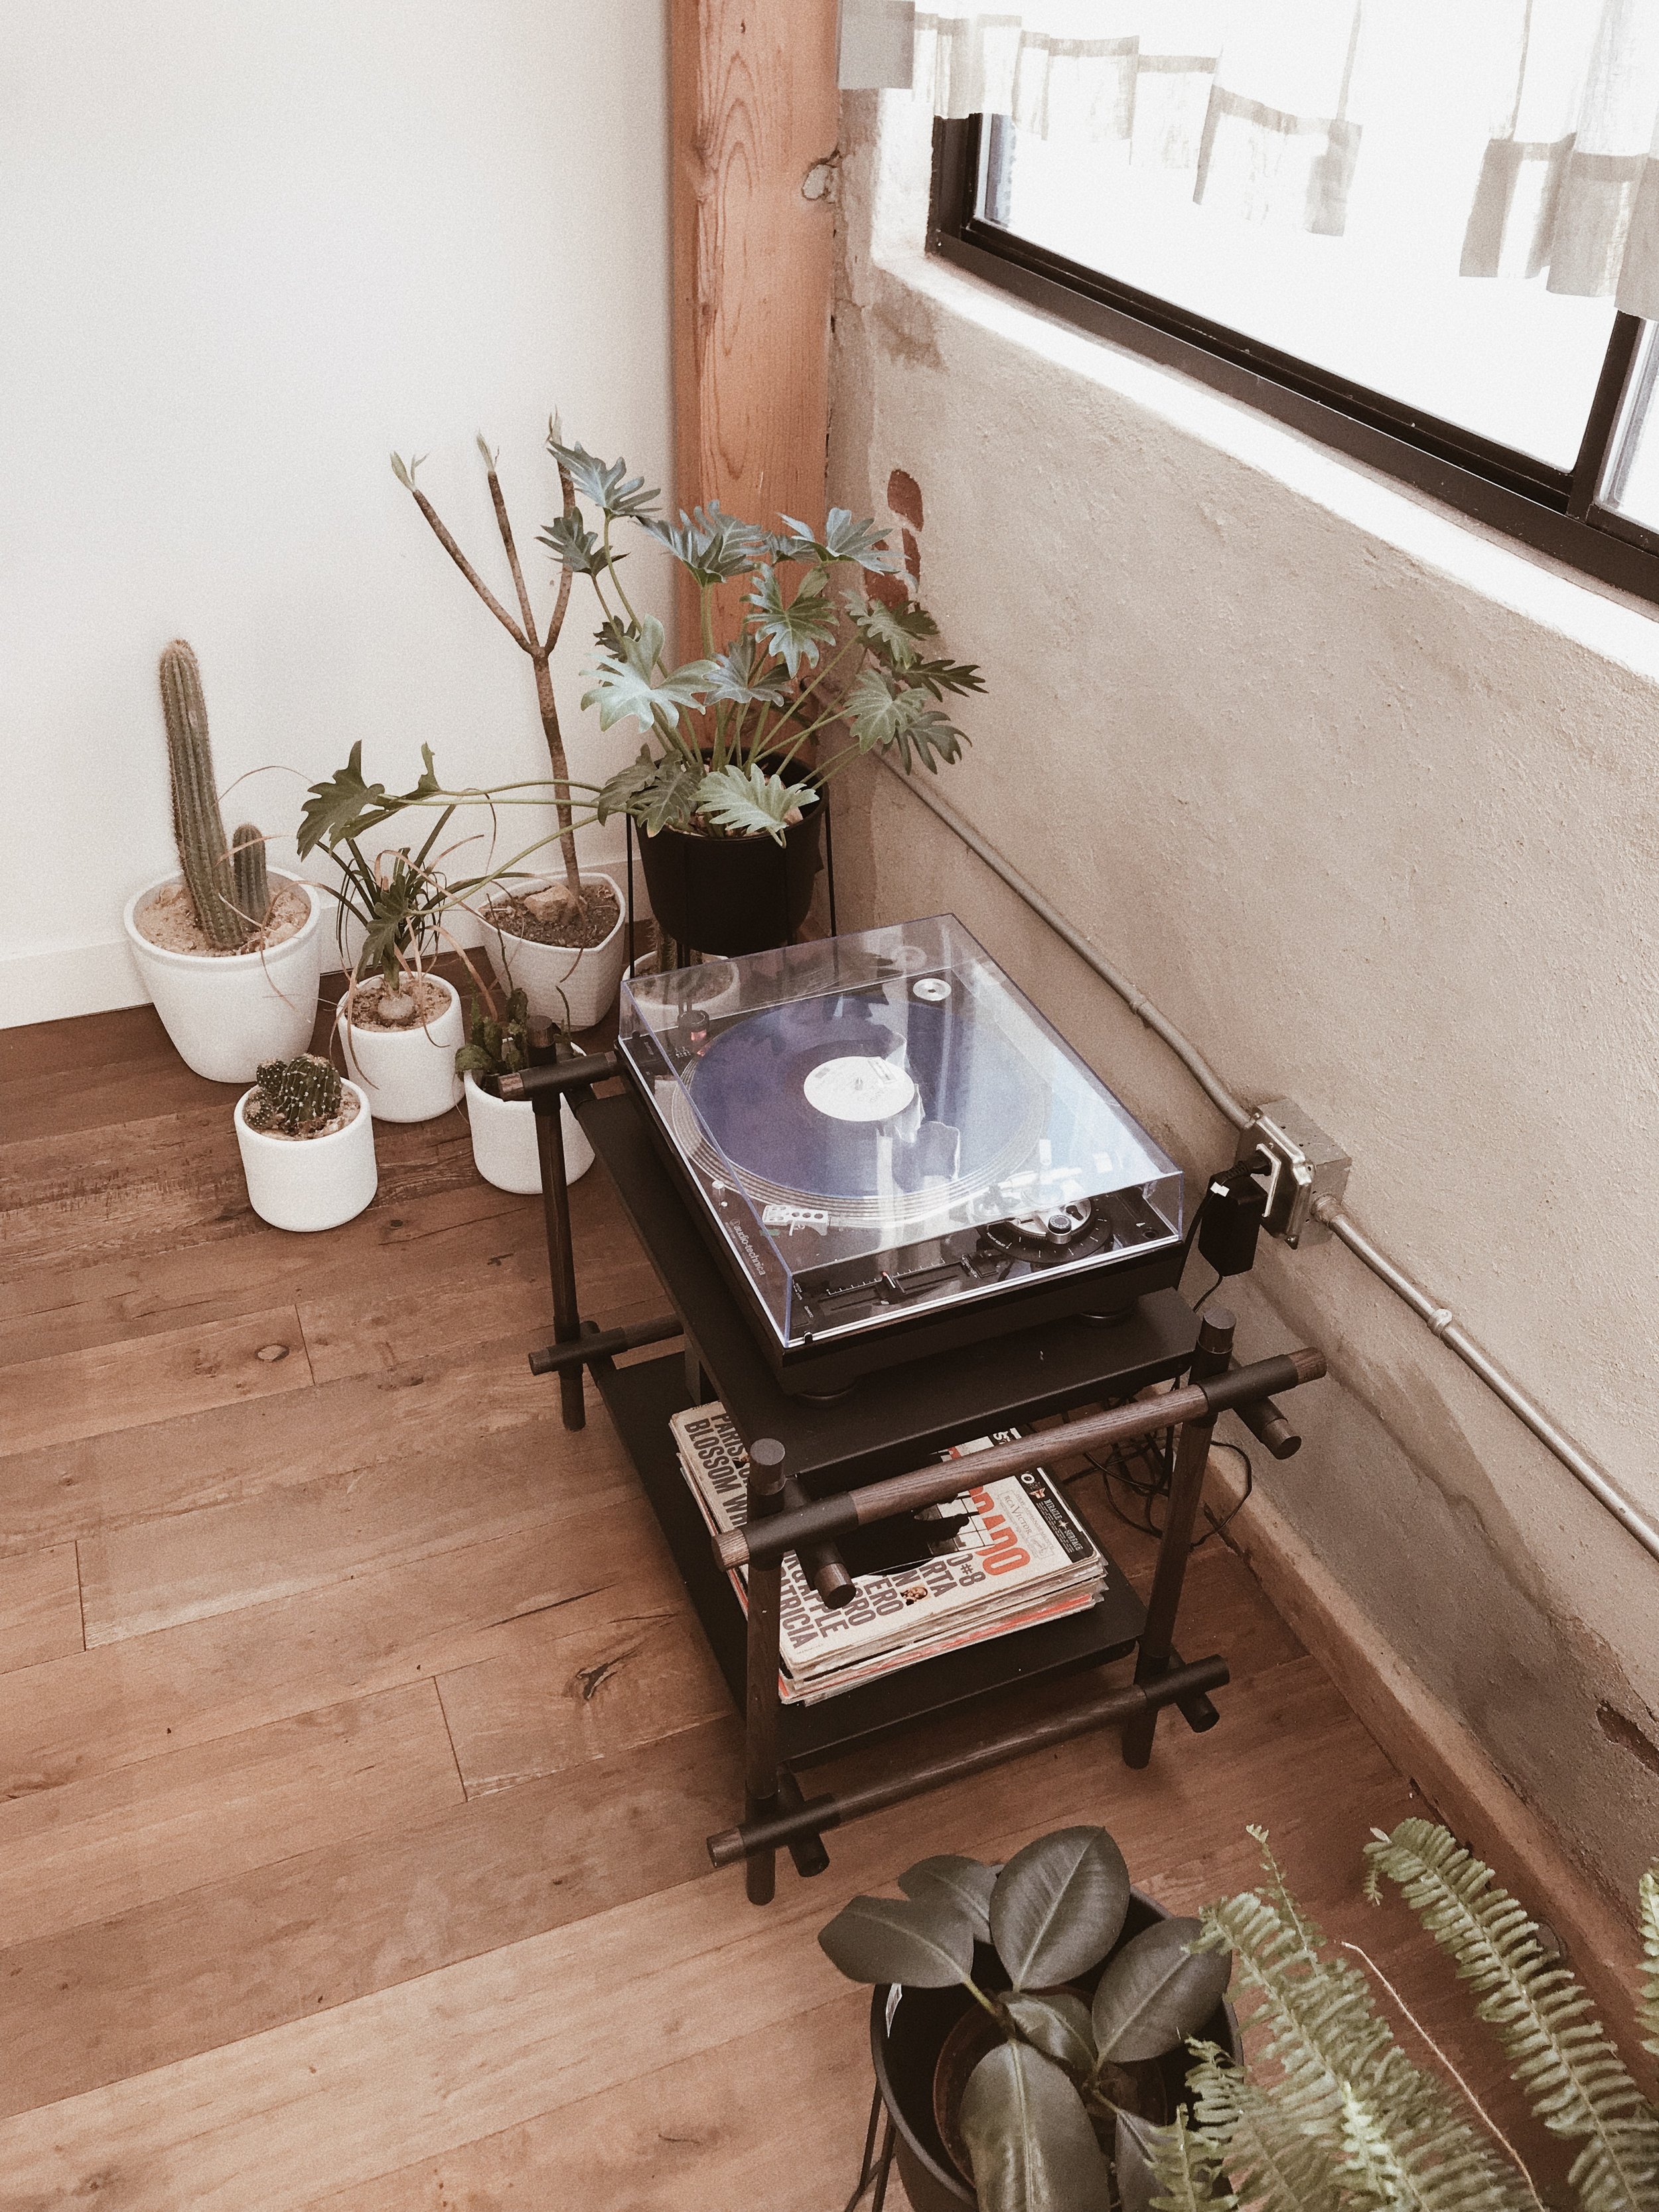
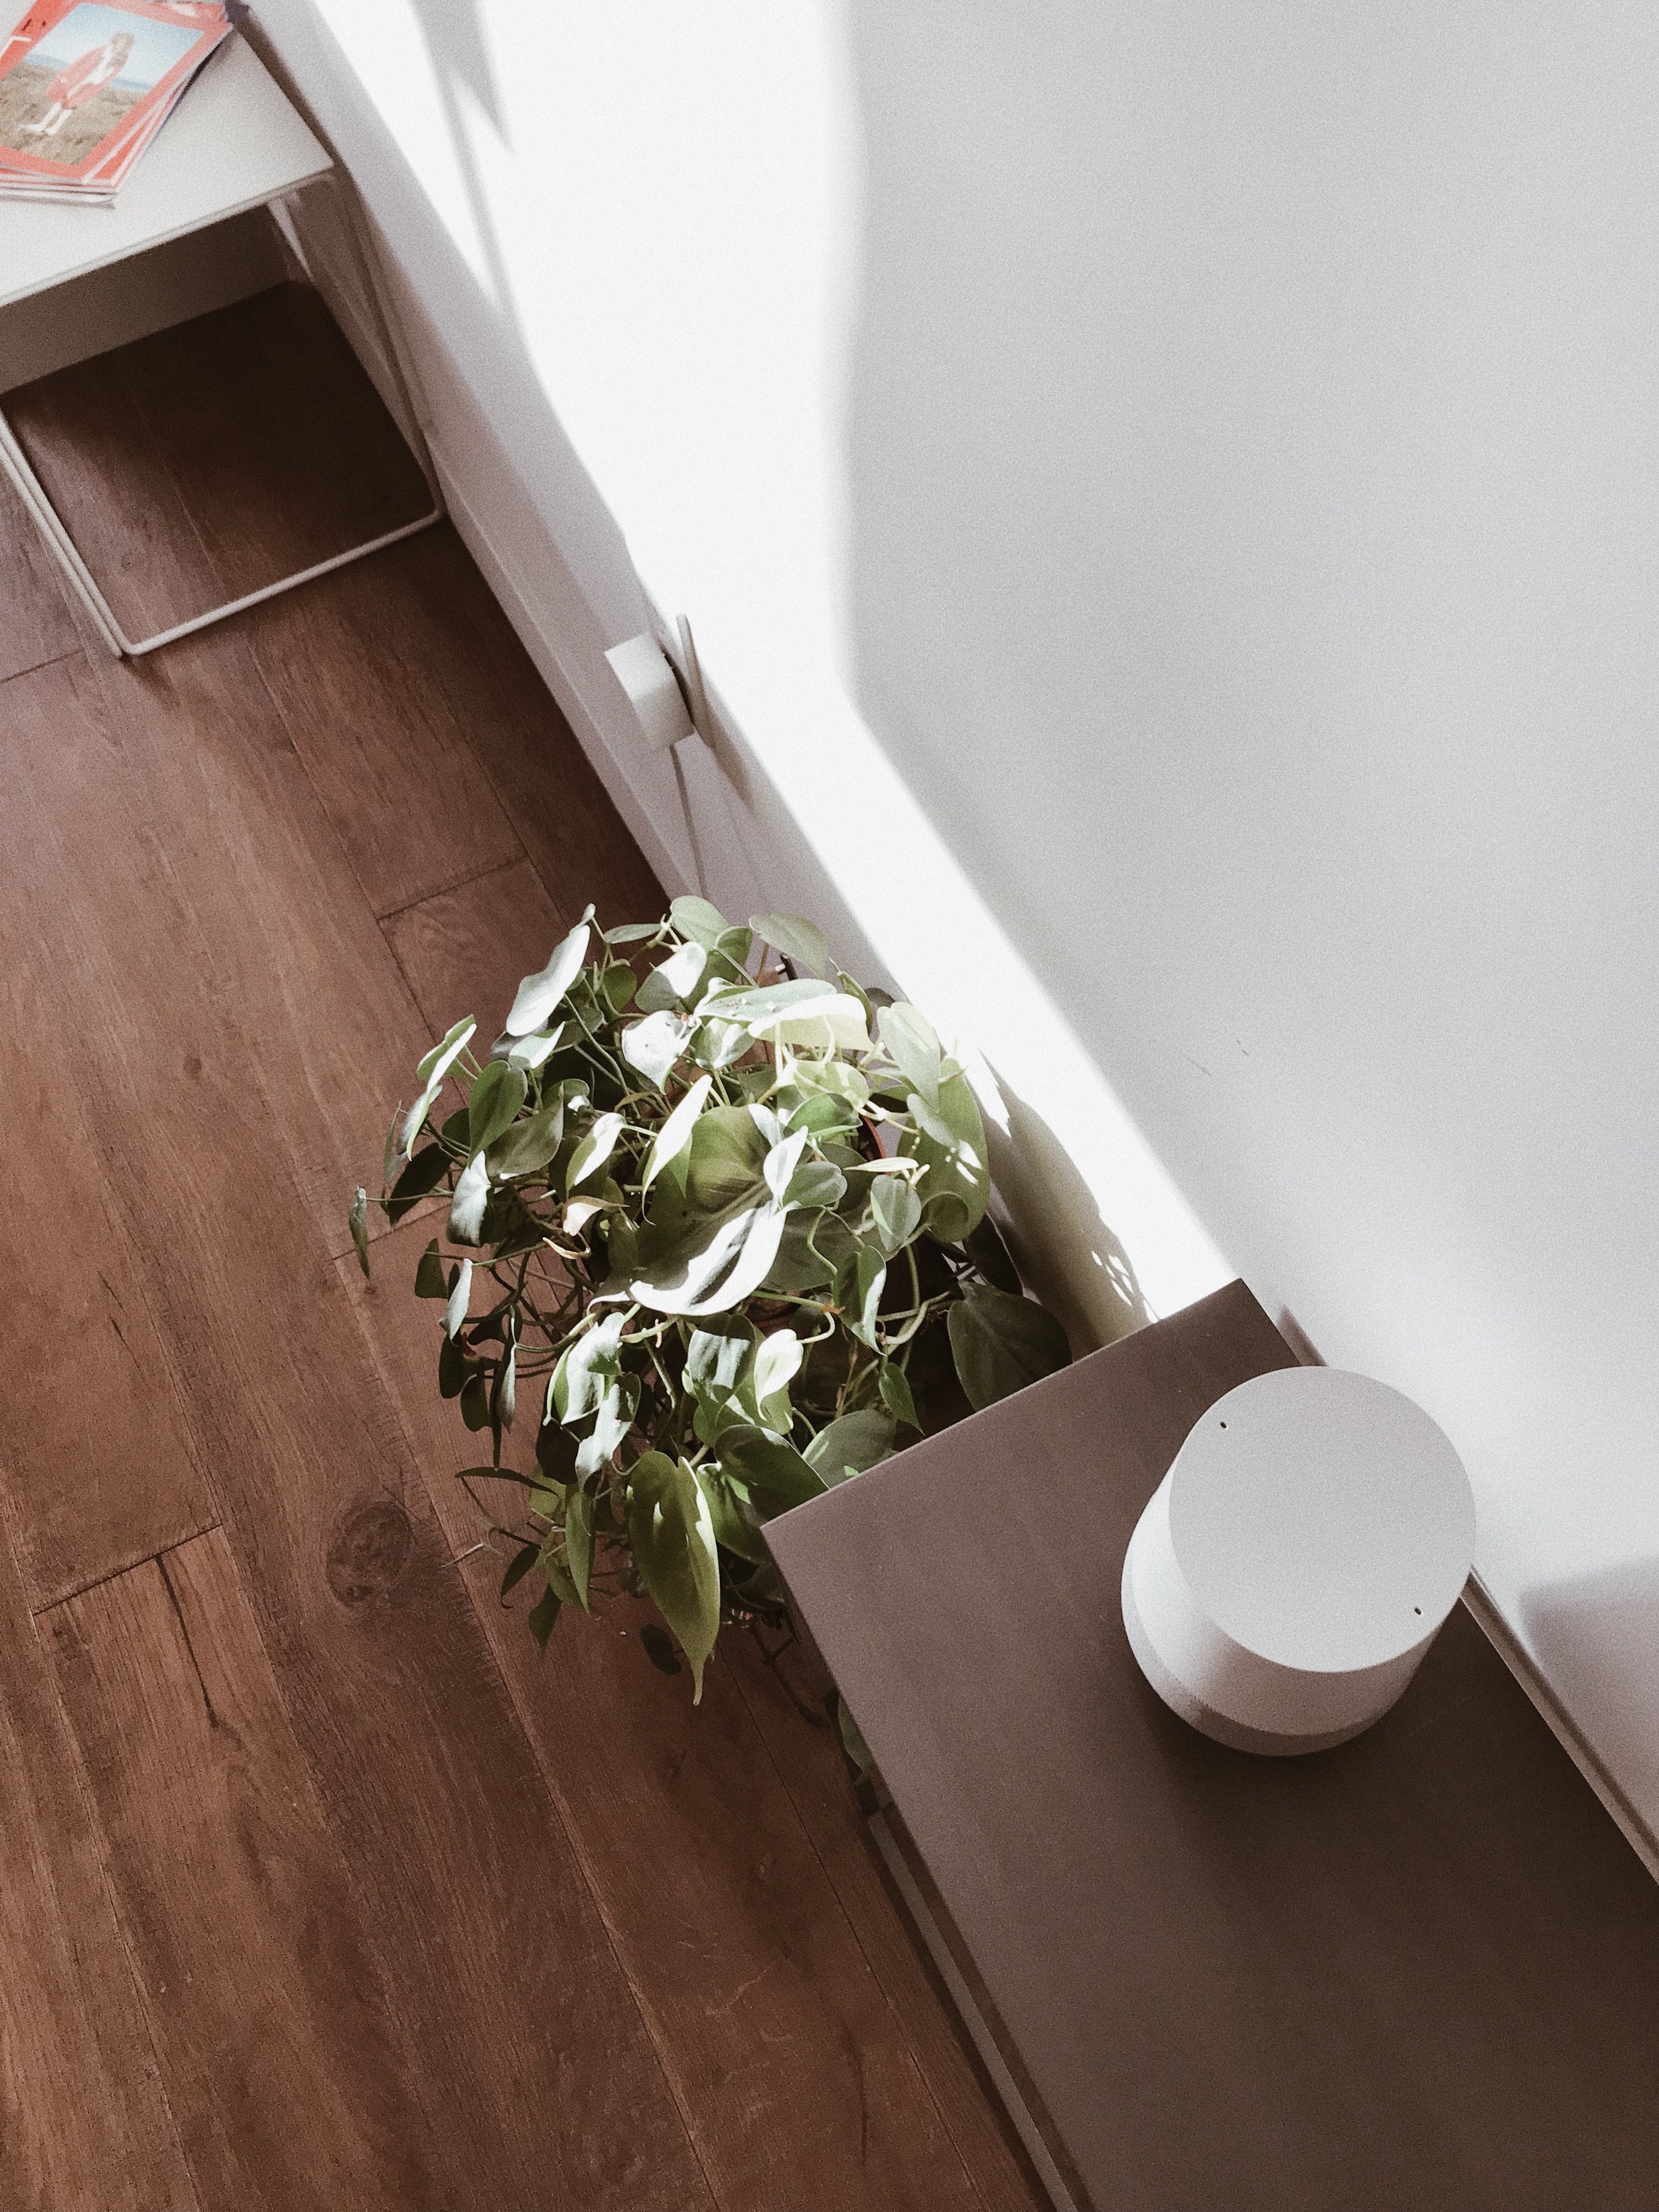
The air quality inside your workspace is crucial in creating a health-promoting atmosphere. Routine checks and maintenance of your HVAC systems provide a good start. You can install commercial air fresheners to eliminate odors and keep the interior of your business smelling fresh. Ensure fittings at strategic points such as the reception area, restrooms, and common zones to get the best results. Incorporating indoor plants into the office space greatly contributes to the air quality and ambiance more than any other factor, so ensure that you choose indoor plants that naturally purify the air.
04
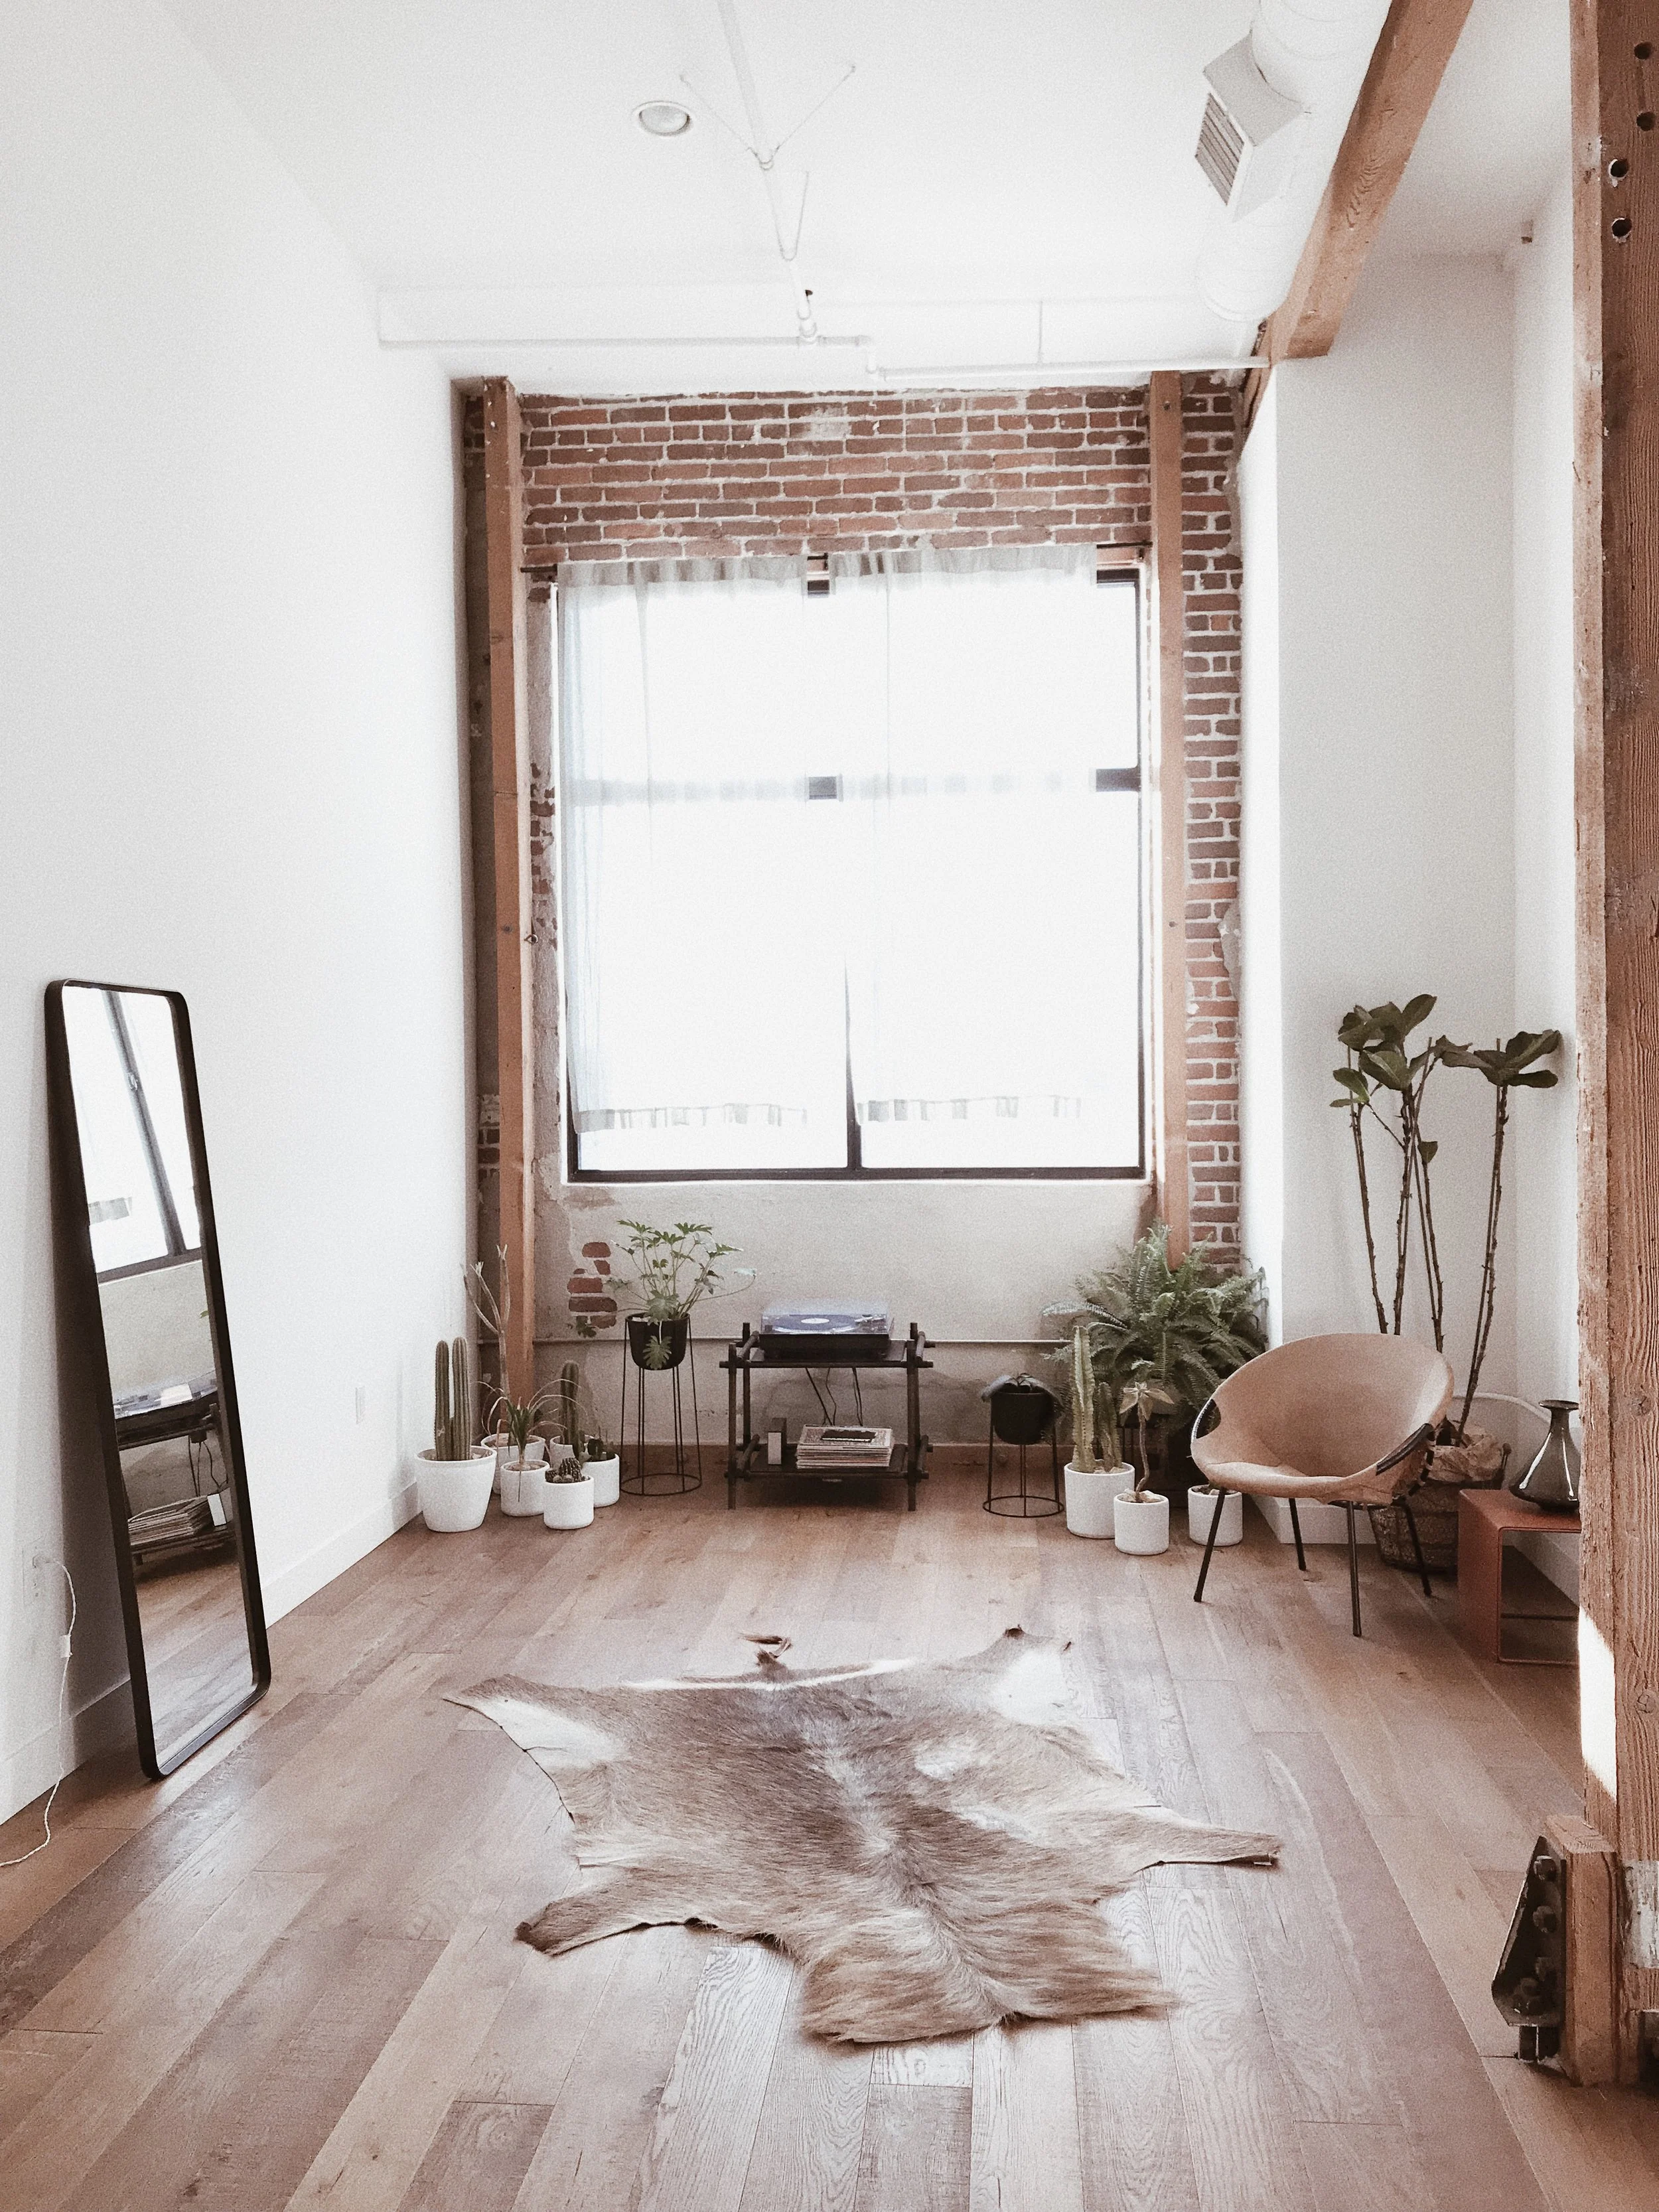
Ensure optimal illumination
Optimal lighting and illumination ensure positive and happy vibes for an office. Maximizing the entry of natural light should be a priority because it decreases your energy bills along with improving the overall appearance of the space while encouraging higher productivity amongst your staff. A little design rework is worthwhile as it can save you a fortune on power bills down the line. Install LED lights in dark corners because they may appear gloomy even on a sunny day. Avoid harsh lighting as it can overwhelm employees and affect their mood.
05
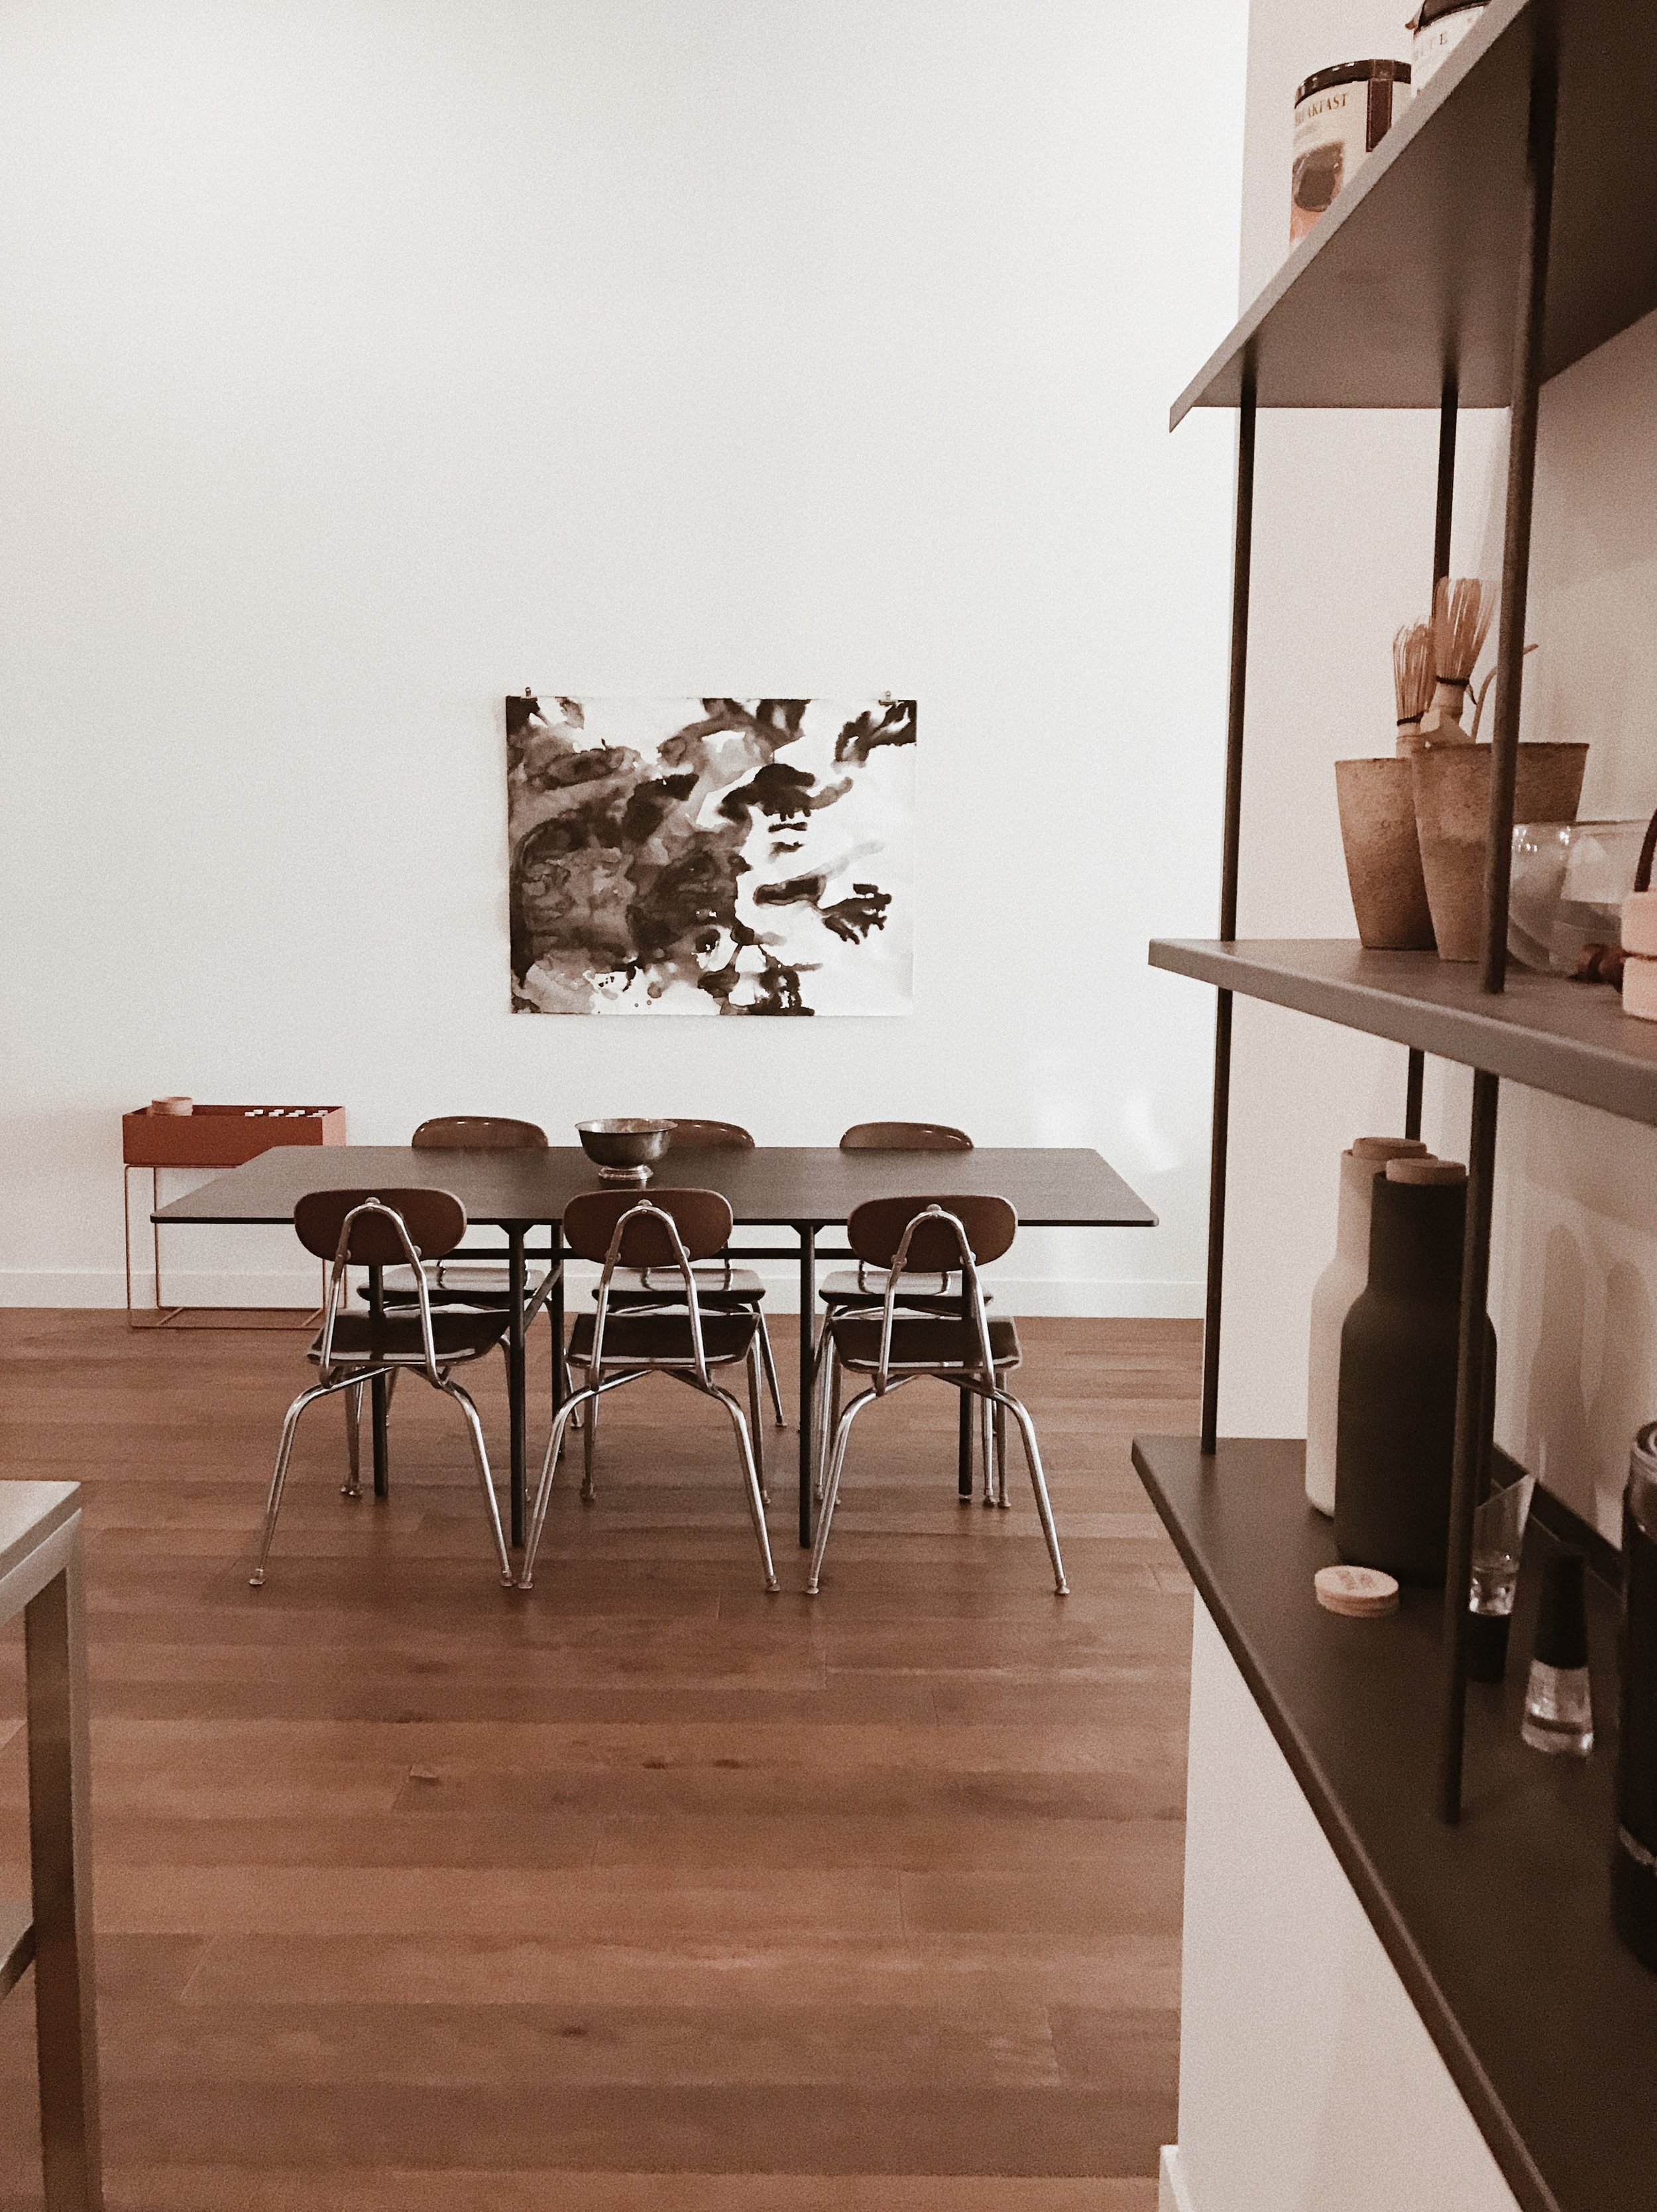
Add character
Adding character to your office is a wonderful way to create an environment that feels good. Consider doing a paint makeover with an accent wall to display your awards and achievements. Adding wall art showcasing motivational quotes is another idea worth trying. You can also personalize the space to replicate your brand colors and elements. Just be creative and open to experimenting, and you can transform an ordinary office into a welcoming workplace.
Takeaways
Creating the perfect ambiance for your office is easier than you imagine. Get started with aesthetics and make sure it feels good to the senses. Personalize your space even further in creative ways so that anyone that enters your space has an overall welcoming experience from the moment they walk into your workspace to the moment they leave. First impressions matter, so your attention to detail will not be overlooked and will be appreciated more than you expect.