Hello Lovelies! I've been wanting to make these gorgeous copper himmeli, so when I needed to create a DIY submission after being selected as a semi-finalist for The Hunt for the First-Ever Mrs. Meyer's Homemaker, I knew I just had to make these. It looks like a challenge to make, but don't let that stop you - I found it to be so fun and relaxing.
If you're not familiar with himmeli, they are hanging geometric ornaments that originate from Finland and are traditionally made from straw. The word himmeli is actually derived from the German word for heaven, himmel, which I found really interesting. I fell in love with their modern and minimalist aesthetic, and they're so visually striking and can be made to form larger, more complex geometric patterns.
I absolutely love copper, but find copper decor to be quite expensive, so I thought this would be the perfect way for me to finally get my hands on a copper piece without the high price tag. All of the supplies are easily accessible and really affordable. I believe I spent less than $40 for all of the supplies to make two, so you should definitely consider making these instead of purchashing them. It's also so much more rewarding to make your own things to appreciate. Let's get started with this DIY!
Materials & Tools
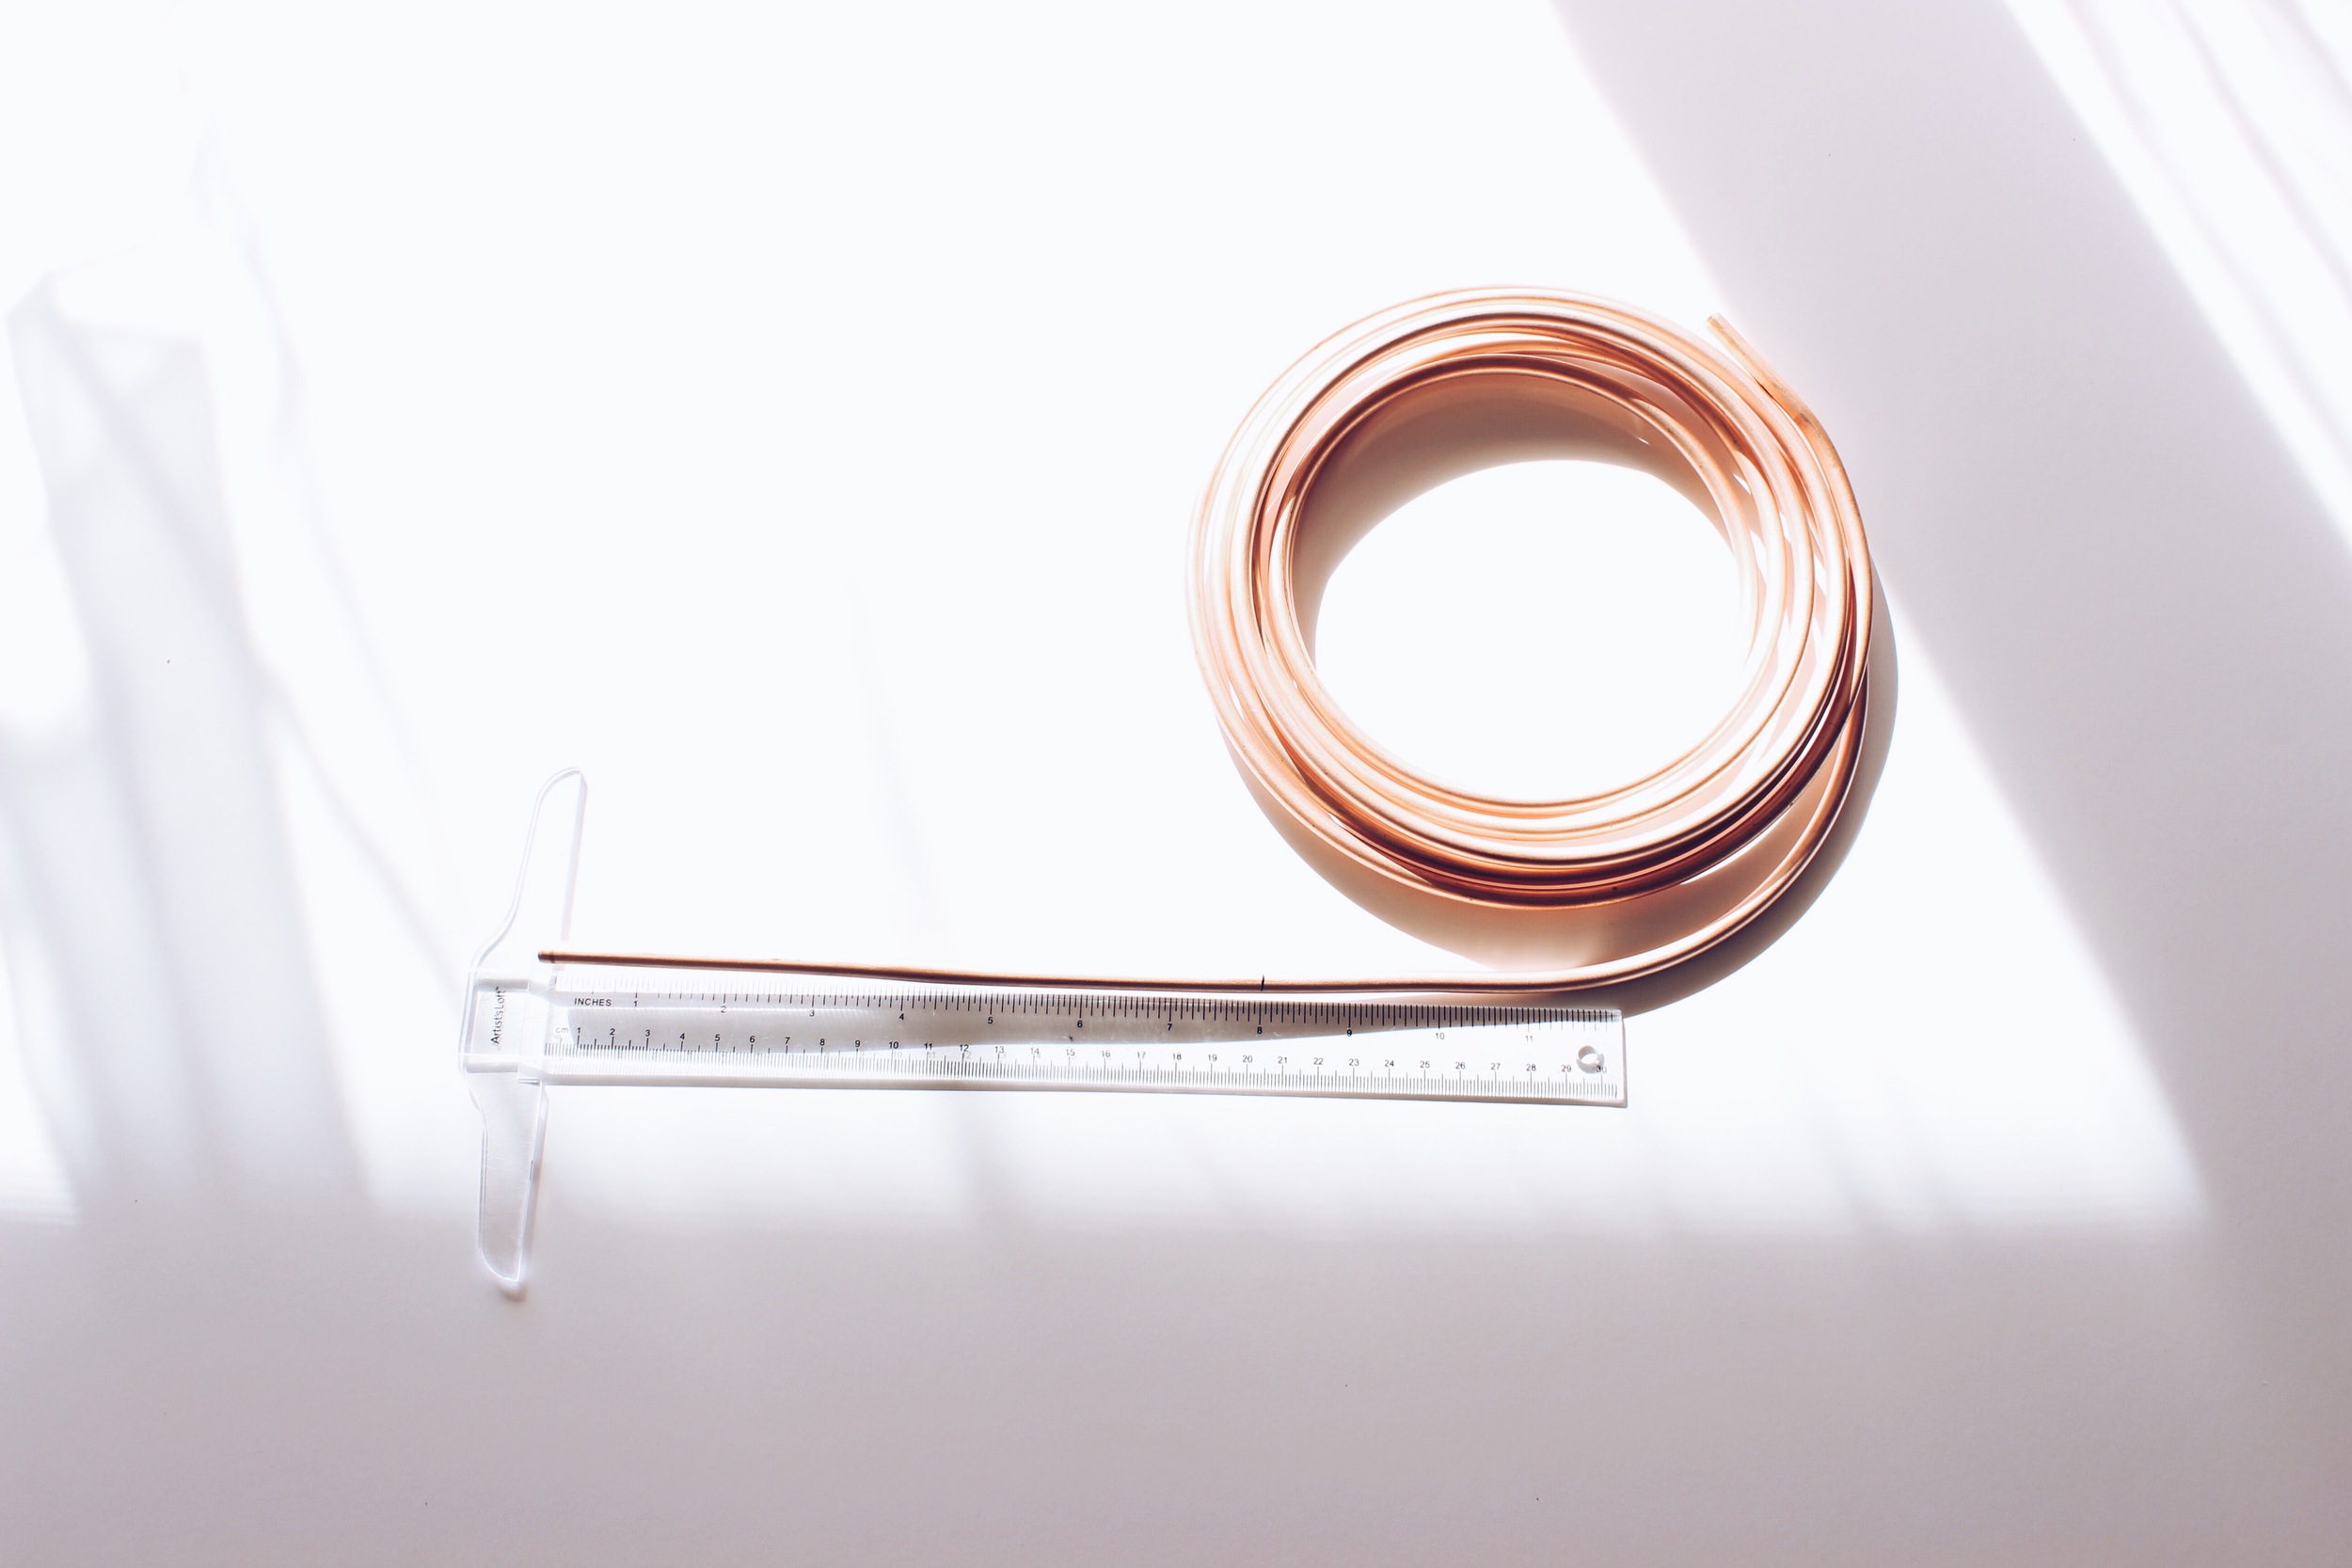
- Copper tube ¼” diameter, 20 ft
- Copper wire 22 gauge, 25 ft
- Junior tube cutter for cutting copper
- 2 - Repurposed ceramic bowls
- 2 - Small plants
- Ruler
- Scissors
- Marker
For hanging:
- 2 - Swag hooks (30 lbs)
- Fishing line (15 lbs)
- Measuring tape
- Drill
INSTRUCTIONS
To make each himmeli:
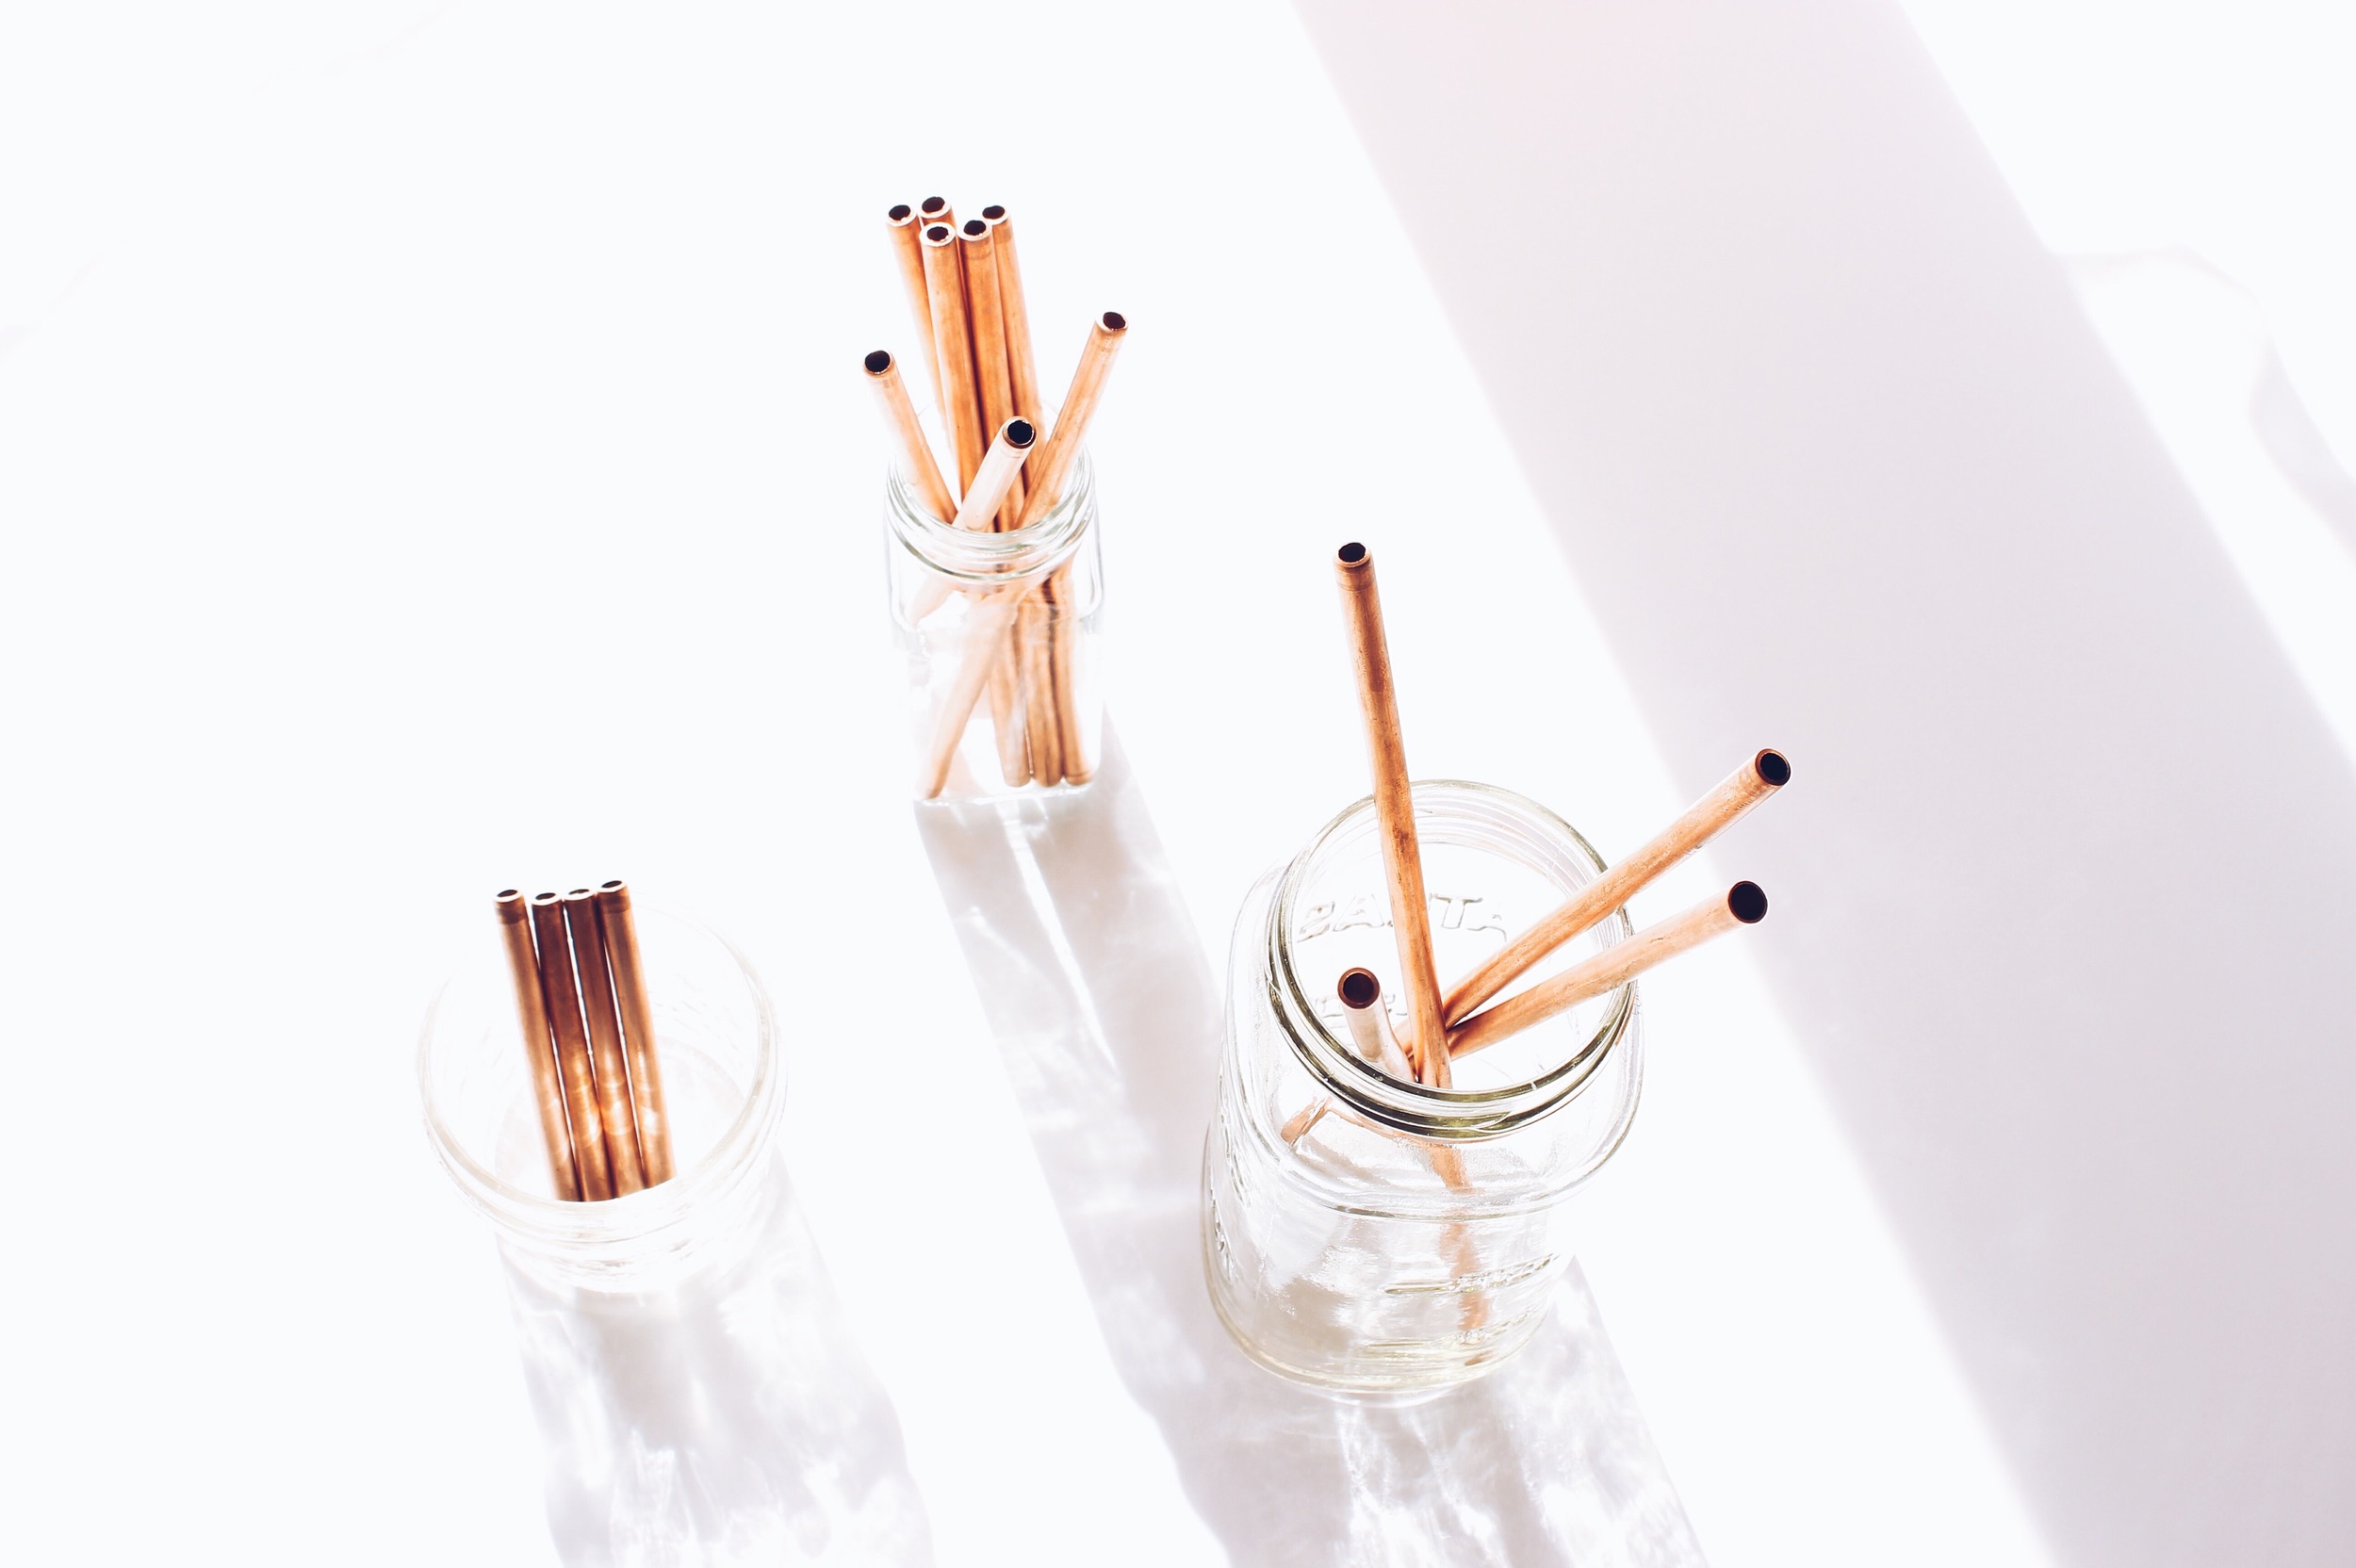
1 | With tube cutter, cut copper tube into the following lengths:
8" - 4 pcs
6" - 8 pcs
3" - 4 pcs
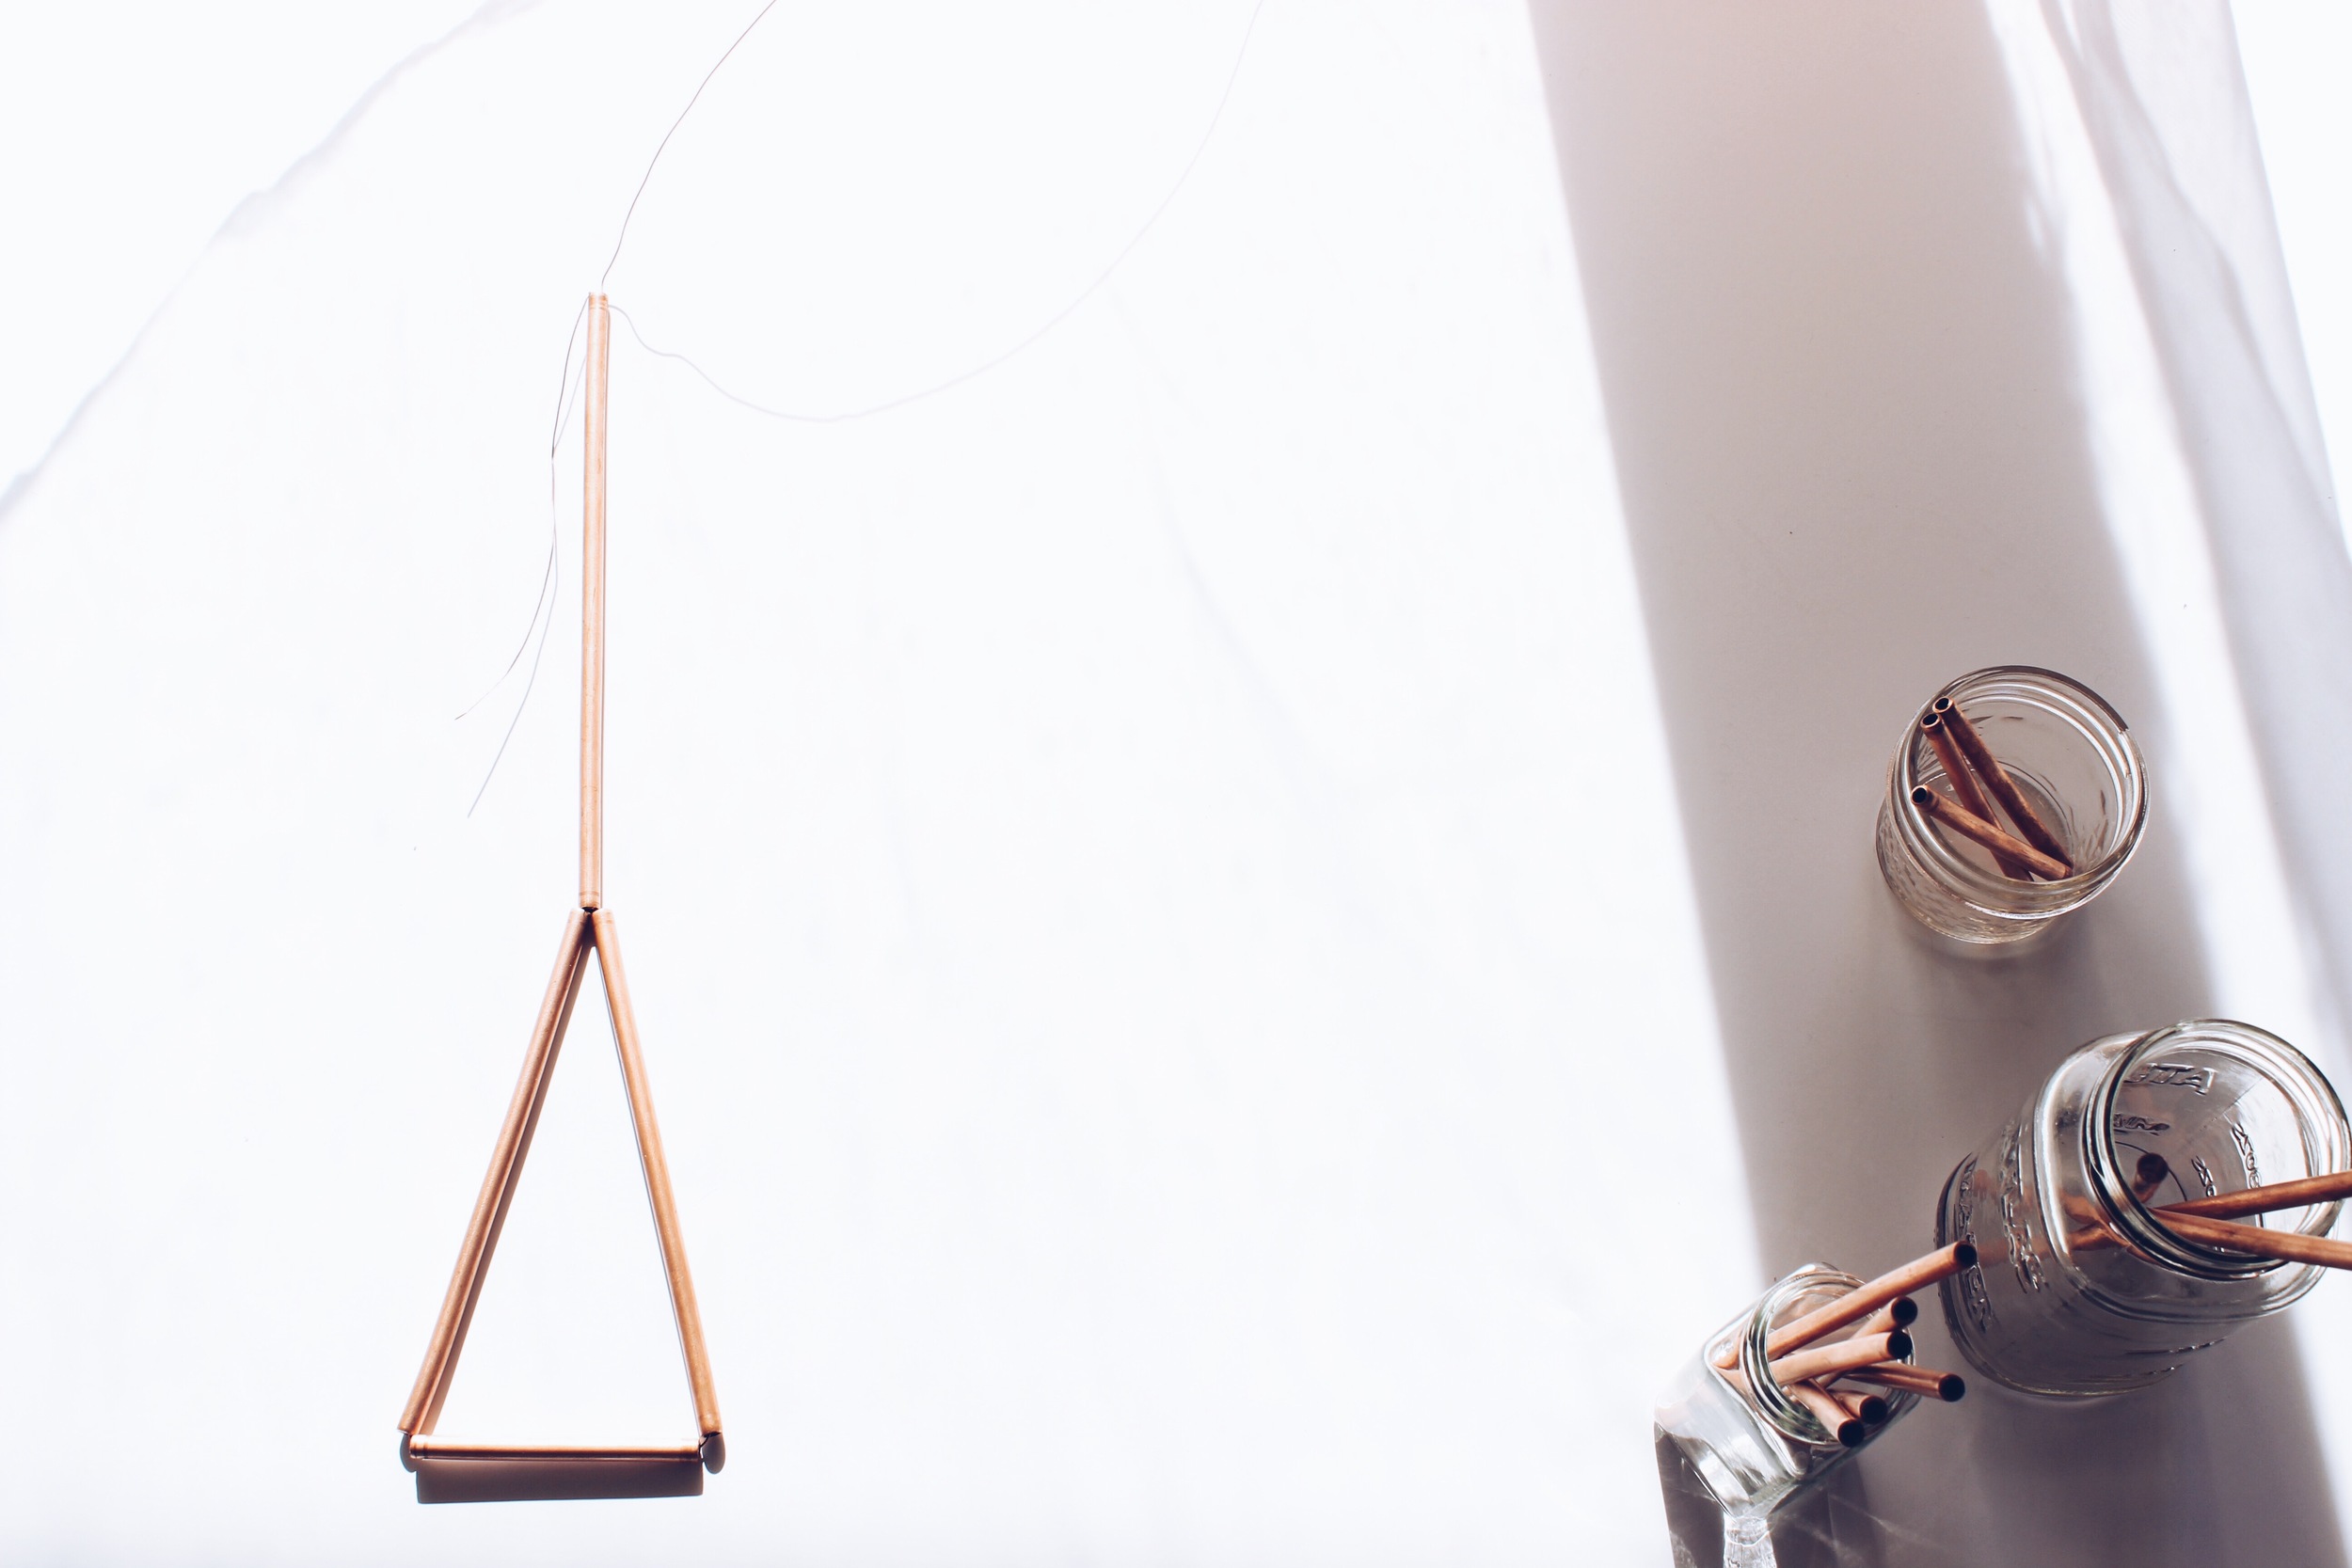
2 | Measure copper wire to 10 ½ ft and cut. Using one end, string tubes (one of each) in the following order: 8", 6", 3", 6". For first set only: Leave about 2" of wire at the top. Fold over tube to secure. Taking the opposite, longer end of the wire, string back through 8" tube. Tighten tubes together so that they are securely in place.
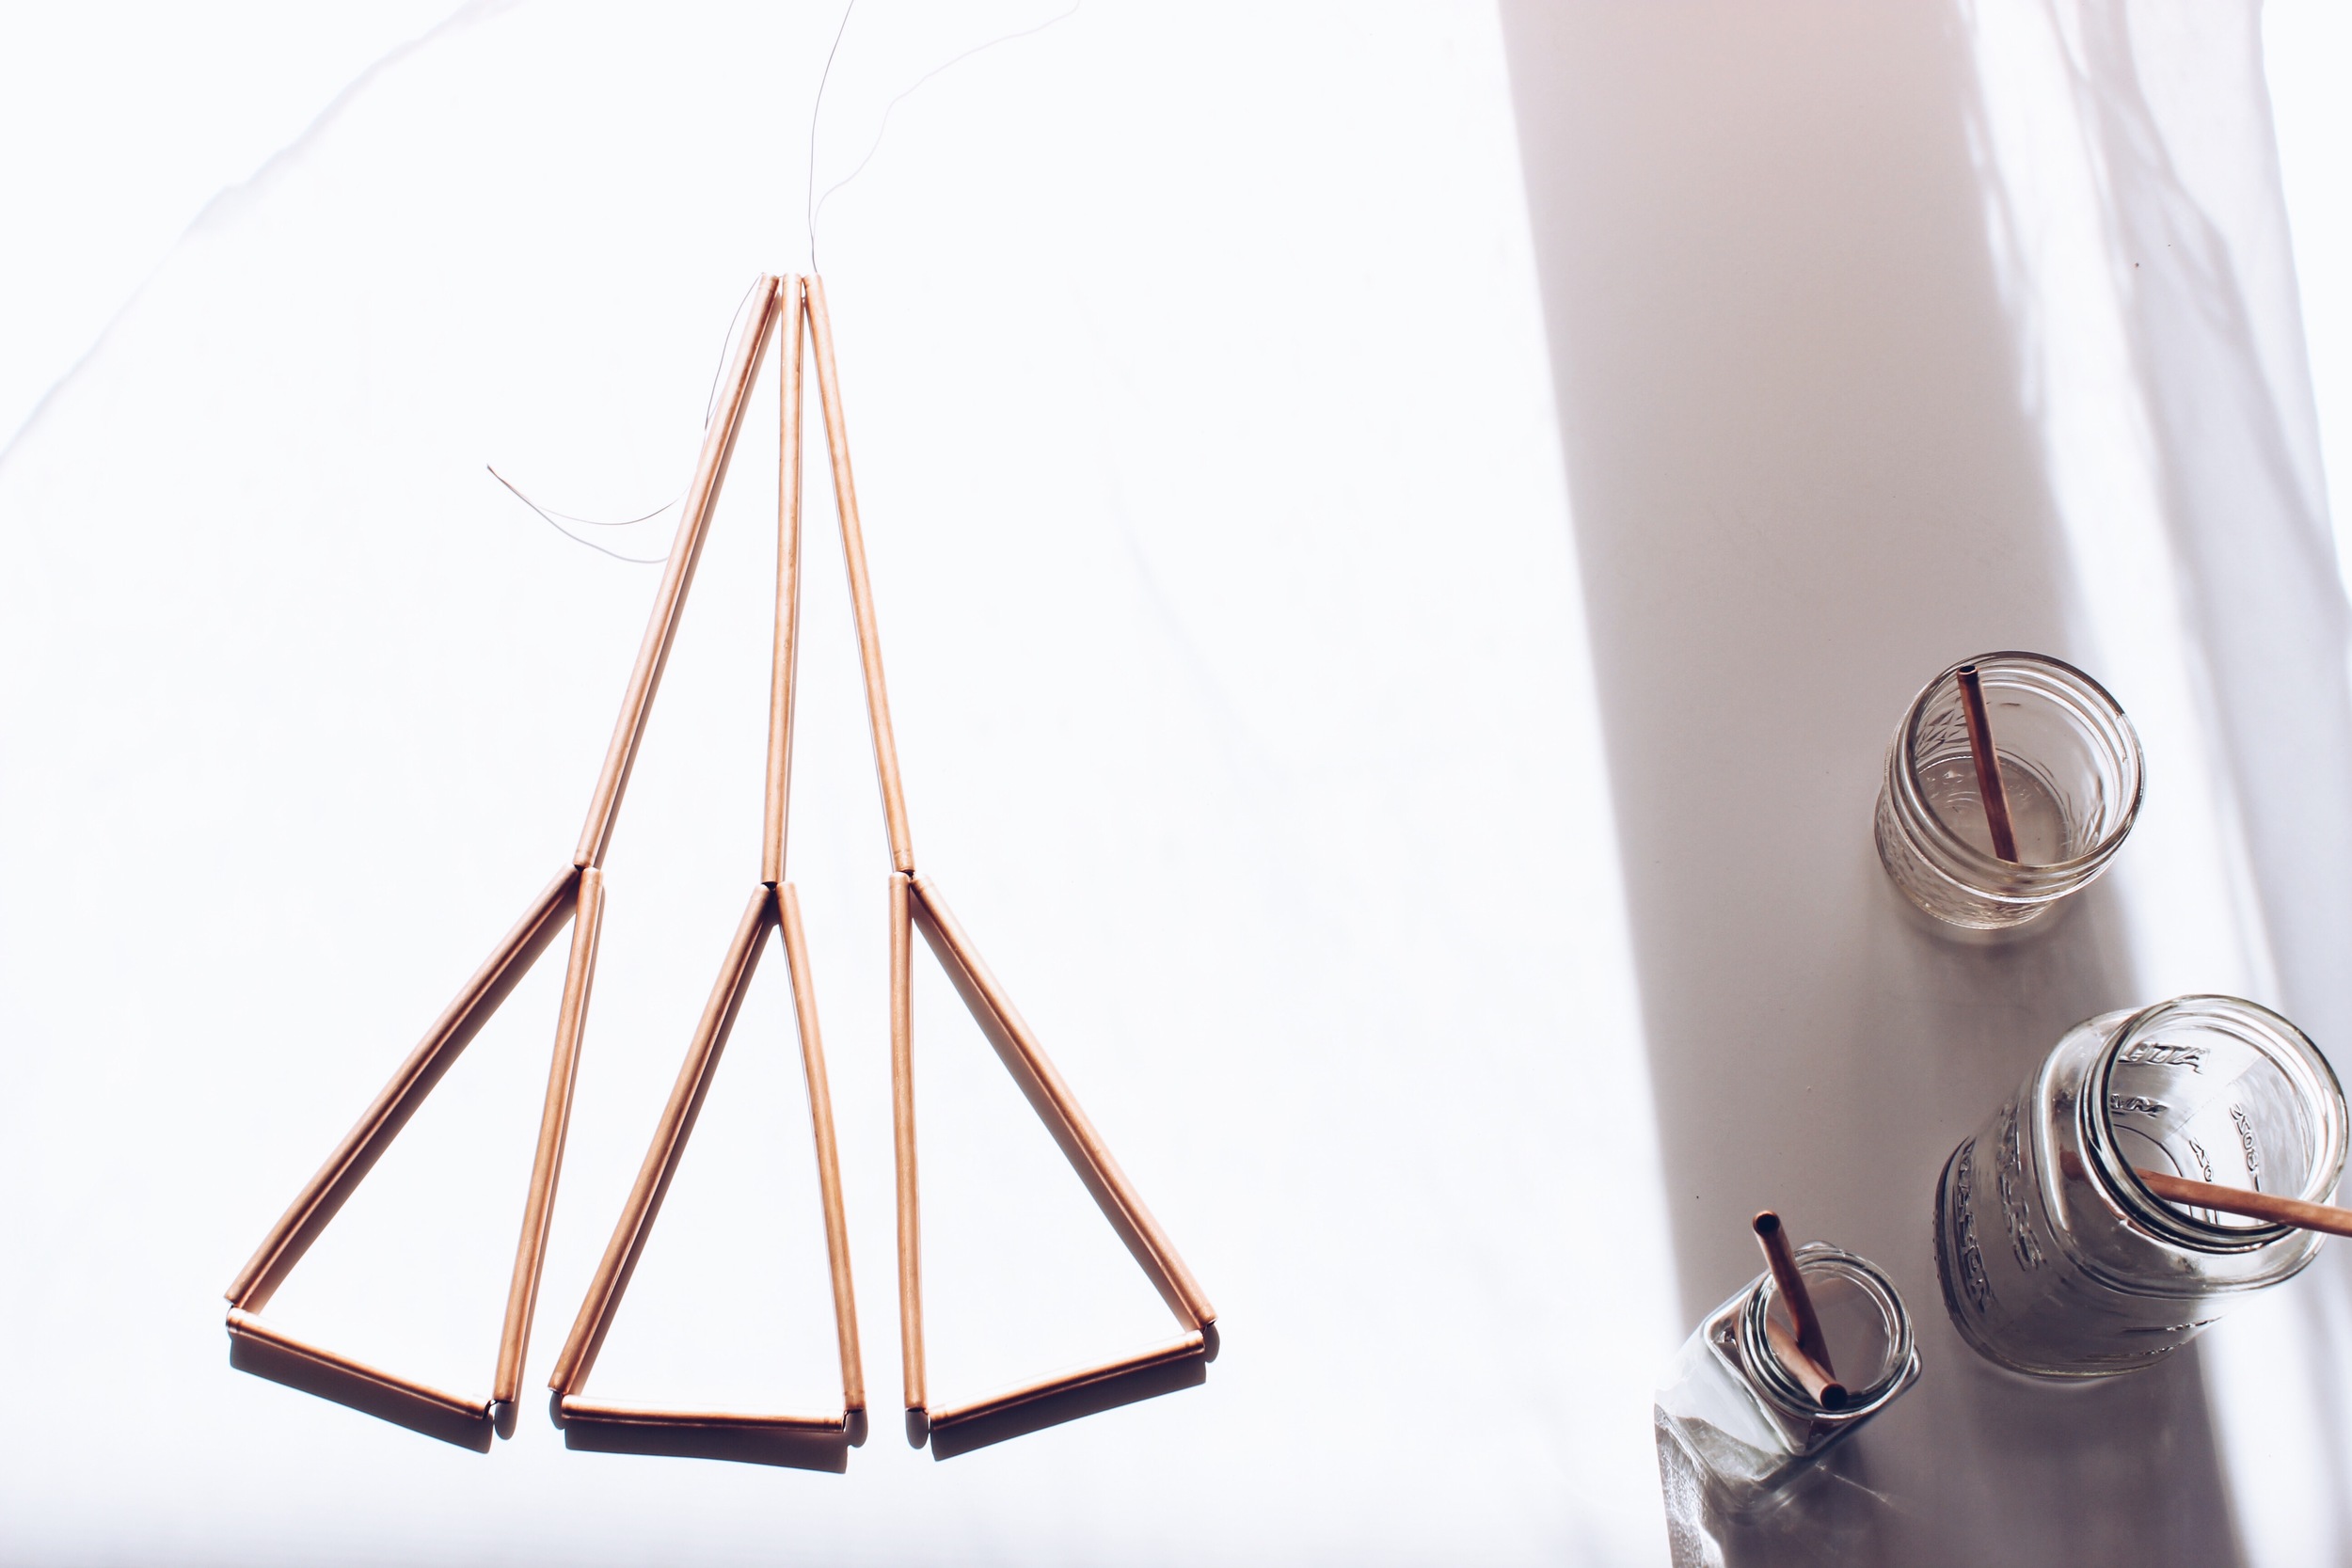
3 | Repeat steps 2 and 3 until you have made four sets.
4 | Cut a piece of wire 16" and string through all of the bottom 3" tubes to connect. Join and secure by twisting the ends together, cut any excess wire, then hide exposed wire inside one of the tube openings.
5 | Join the top of the himmeli by twisting the two wires at the top. Cut any excess wire, then hide any exposed wire inside one of the tube openings. Taking another piece of wire, about 2" long, loop under pipes to create a ring, then twist to secure. Place excess wire inside one of the exposed tube openings.
6 | If the copper has tarnished while assembling, polish with a mixture of salt and lemon to form a paste. Let sit for 15 seconds and scrub in small, circular motions. Rinse with warm water and then wipe with a cloth.
7 | To hang the himmeli, refer to the instructions that come with your swag hooks. Determine how far out from the wall you would like it to hang, then center that point in relation to your wall. Using that point as a guide, drill your holes and then secure your hooks. String fishing line through the himmeli ring, adjust height, then tie securely. Cut any excess line.
8 | Place your plant inside your bowl and fill it with soil. Place planter in himmeli. Let your copper himmeli delight you for years to come!
If you enjoyed this DIY, I shot a video for Mrs. Meyer's, so you can go and see how the finished product turned out! While you're there, please support me in my run to become Mrs. Meyer's First-Ever Homemaker by tapping the heart icon next to my video and casting your vote for me! The voting period ends on Feb. 15, so I hope you're able to stop by before then and show some love! You can also learn more about what this contest entails for me here.
I really do hope you try your hand at this DIY. It's super easy to make and I created this in hopes that you guys could have a himmeli of your own without spending an arm and a leg to get one. Don't forget to enter the giveaway below!
GIVEAWAY
What do you think about himmeli? I'd love to hear your thoughts in the comments below!

