My husband has been wanting to buy a dry erase board for quite sometime. Thanks to a previous late night Pinterest binge, I had remembered seeing a calendar that used paint swatches and thought, what a neat idea, I want to try something like that someday! I love the simplicity in using a glass surface. What came next was the pitch to the husband. Surprisingly, I was able to convince him to let me do it, which was a victory in itself because I usually get the "that's too girly" card.
Don't you just love Pinterest! I love getting inspiration and putting my hands to work to make something pretty. I've always loved making things - there's just something therapeutic about it. Dry erase boards can be a big eyesore, and they always tend to get tossed to the side because you just get plain bored of using them - well we do! The cool thing about this project is that it isn't permanent and it is fully customizable. Repurpose it once you get tired of it or simply change the fabric or colors. You could even add in some photos or just about anything. Who else loves multi-purpose projects? Let's get started.
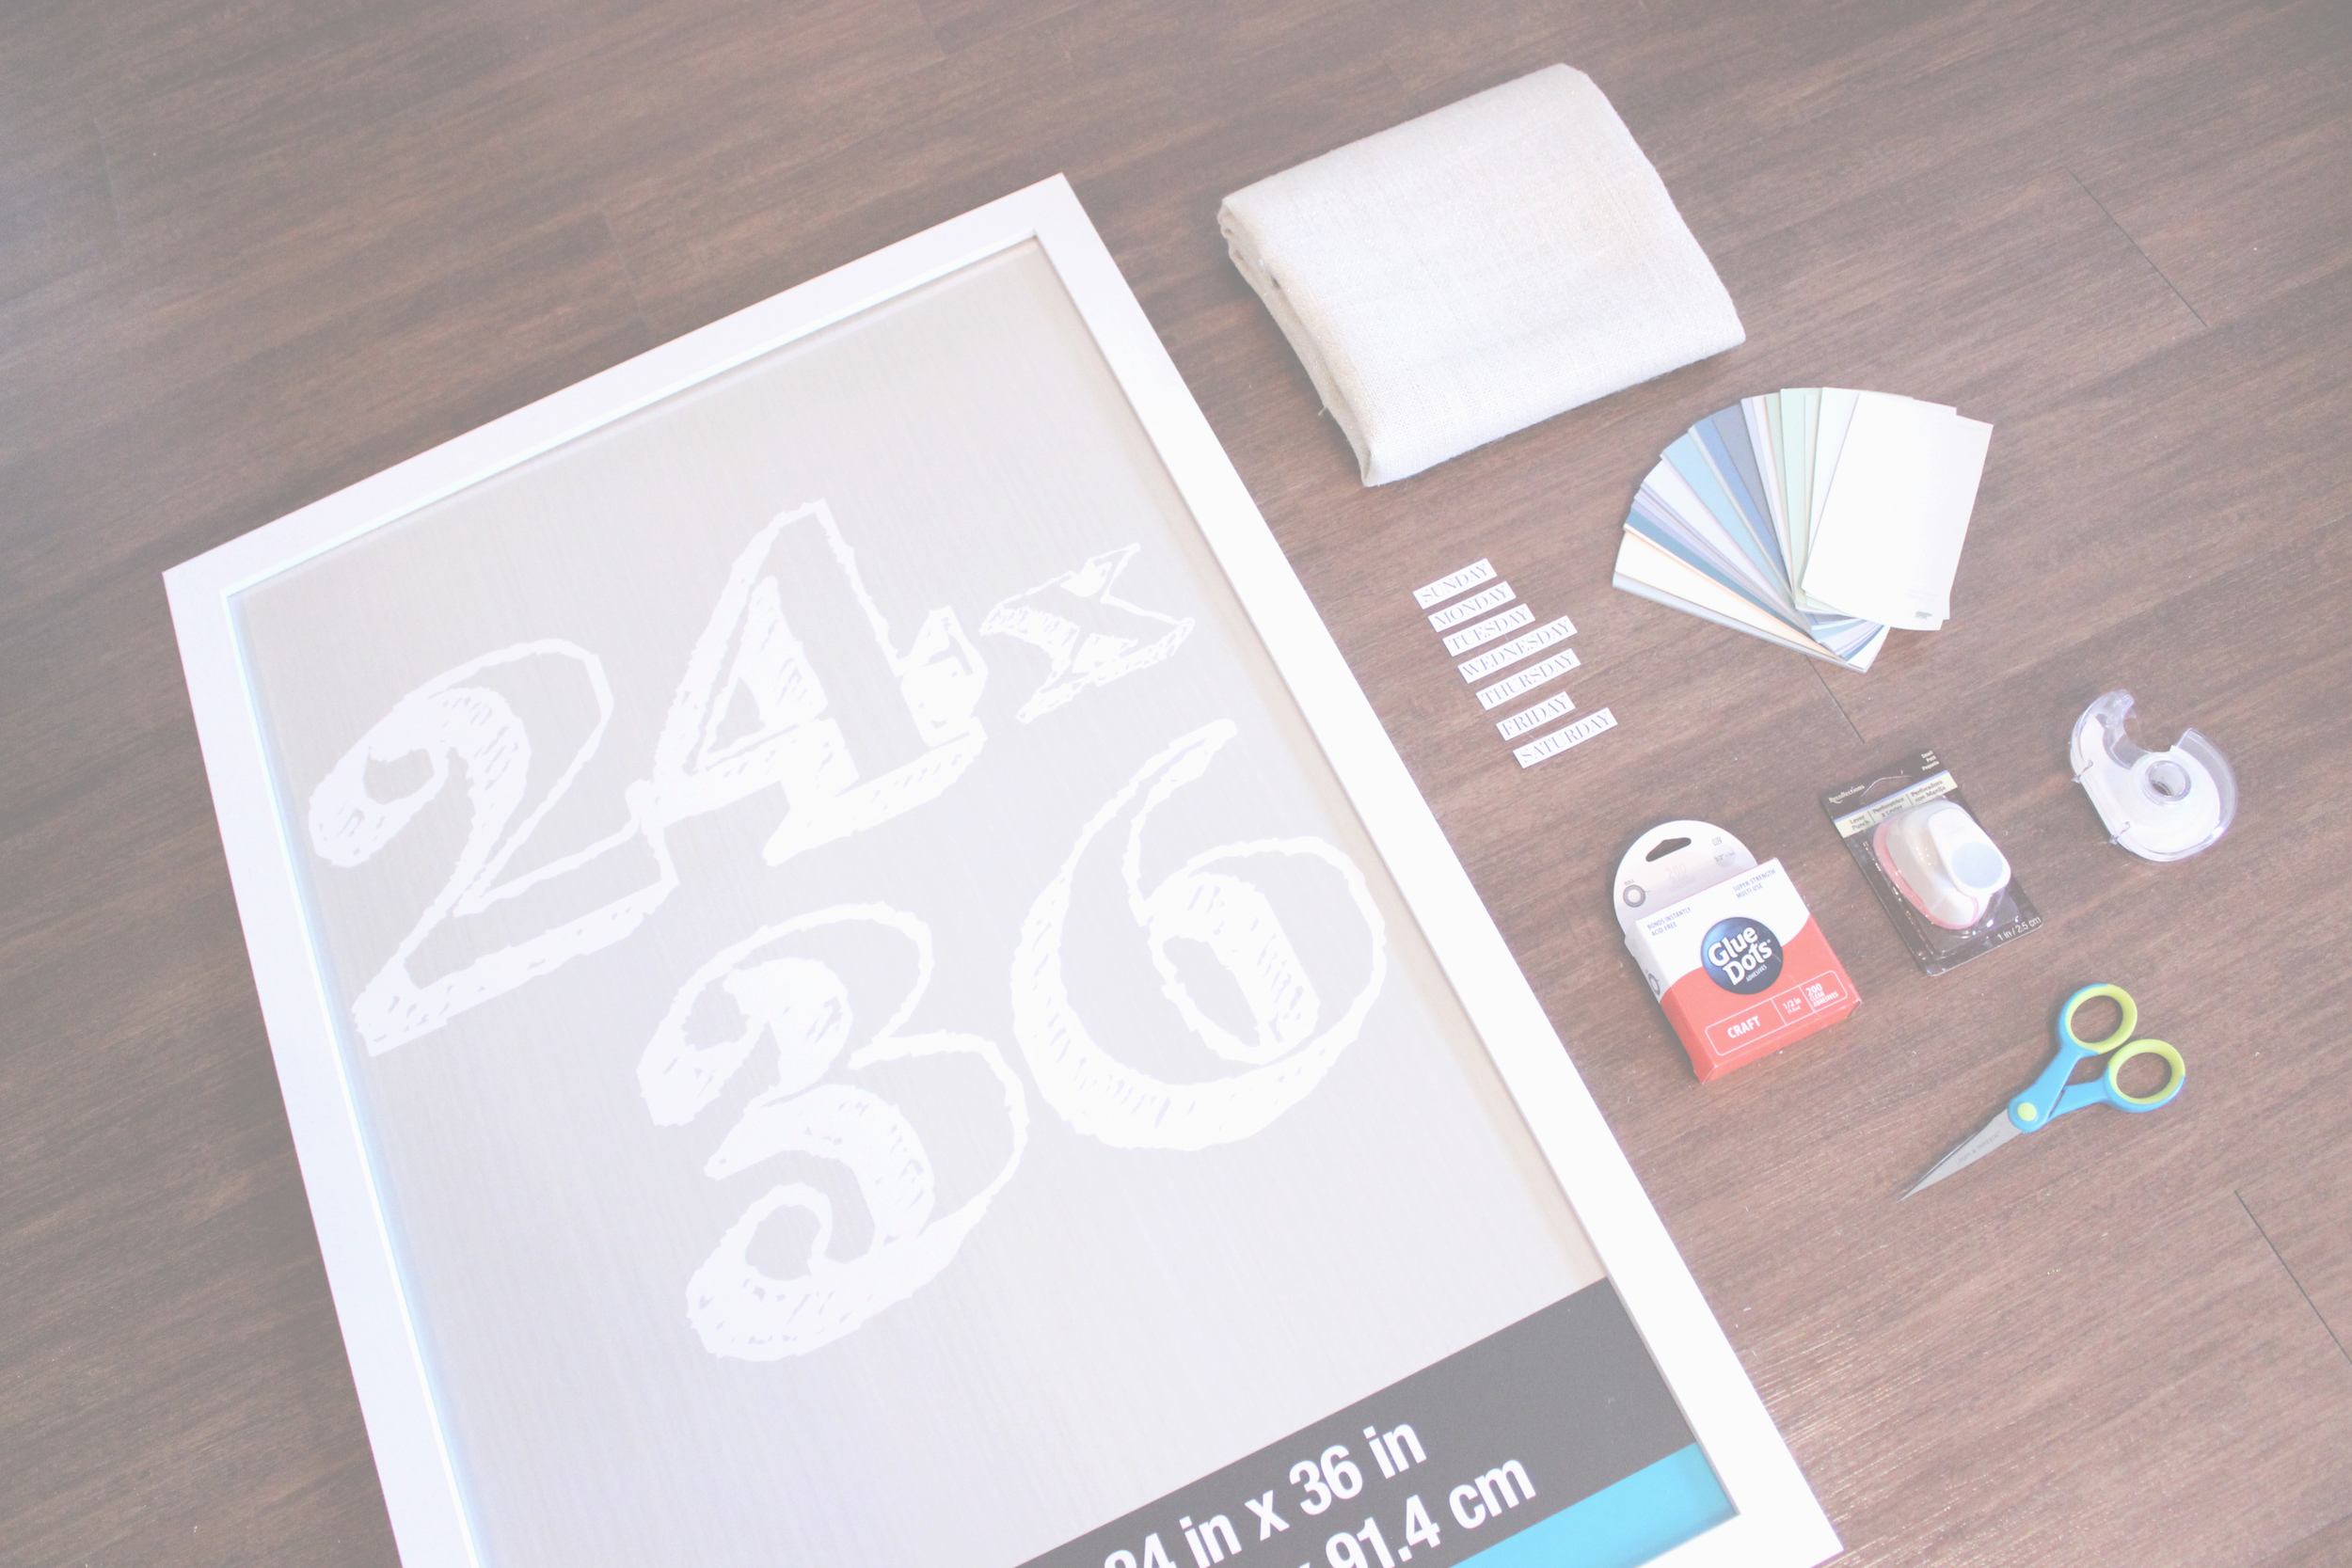
Supplies
24" w x 36" h picture frame (glass or polystyrene) I used polystyrene, which is cheaper, but looks comparable to glass.
3/4 yard w x 40" h gold burlap or fabric of choice
35 paint swatches - I used Behr paint swatches from Home Depot, size - 3.25" w x 6.5" h . You can use any paint swatches that can be trimmed to 2.75" w x 4.75" h. Choose whatever color combinations you like. I went with an ombre/gradient effect.
Days of the week labels - I created a printable available for download HERE
Optional: paper cutter (makes cutting everything 10x easier)
Instructions
Back
Front
Remove the wood backing from the frame. This is what you will wrap the fabric around. With the right side of the fabric facing down, place the board on top of the fabric as a guide and ensure that the pattern of the fabric is straight. Cut the excess fabric and allow 1" - 2" around the perimeter. You will also need to cut the excess fabric on each corner too. Stretch the fabric to make sure that there are no wrinkles and that it is not loose, then tape the fabric onto the back of the board.
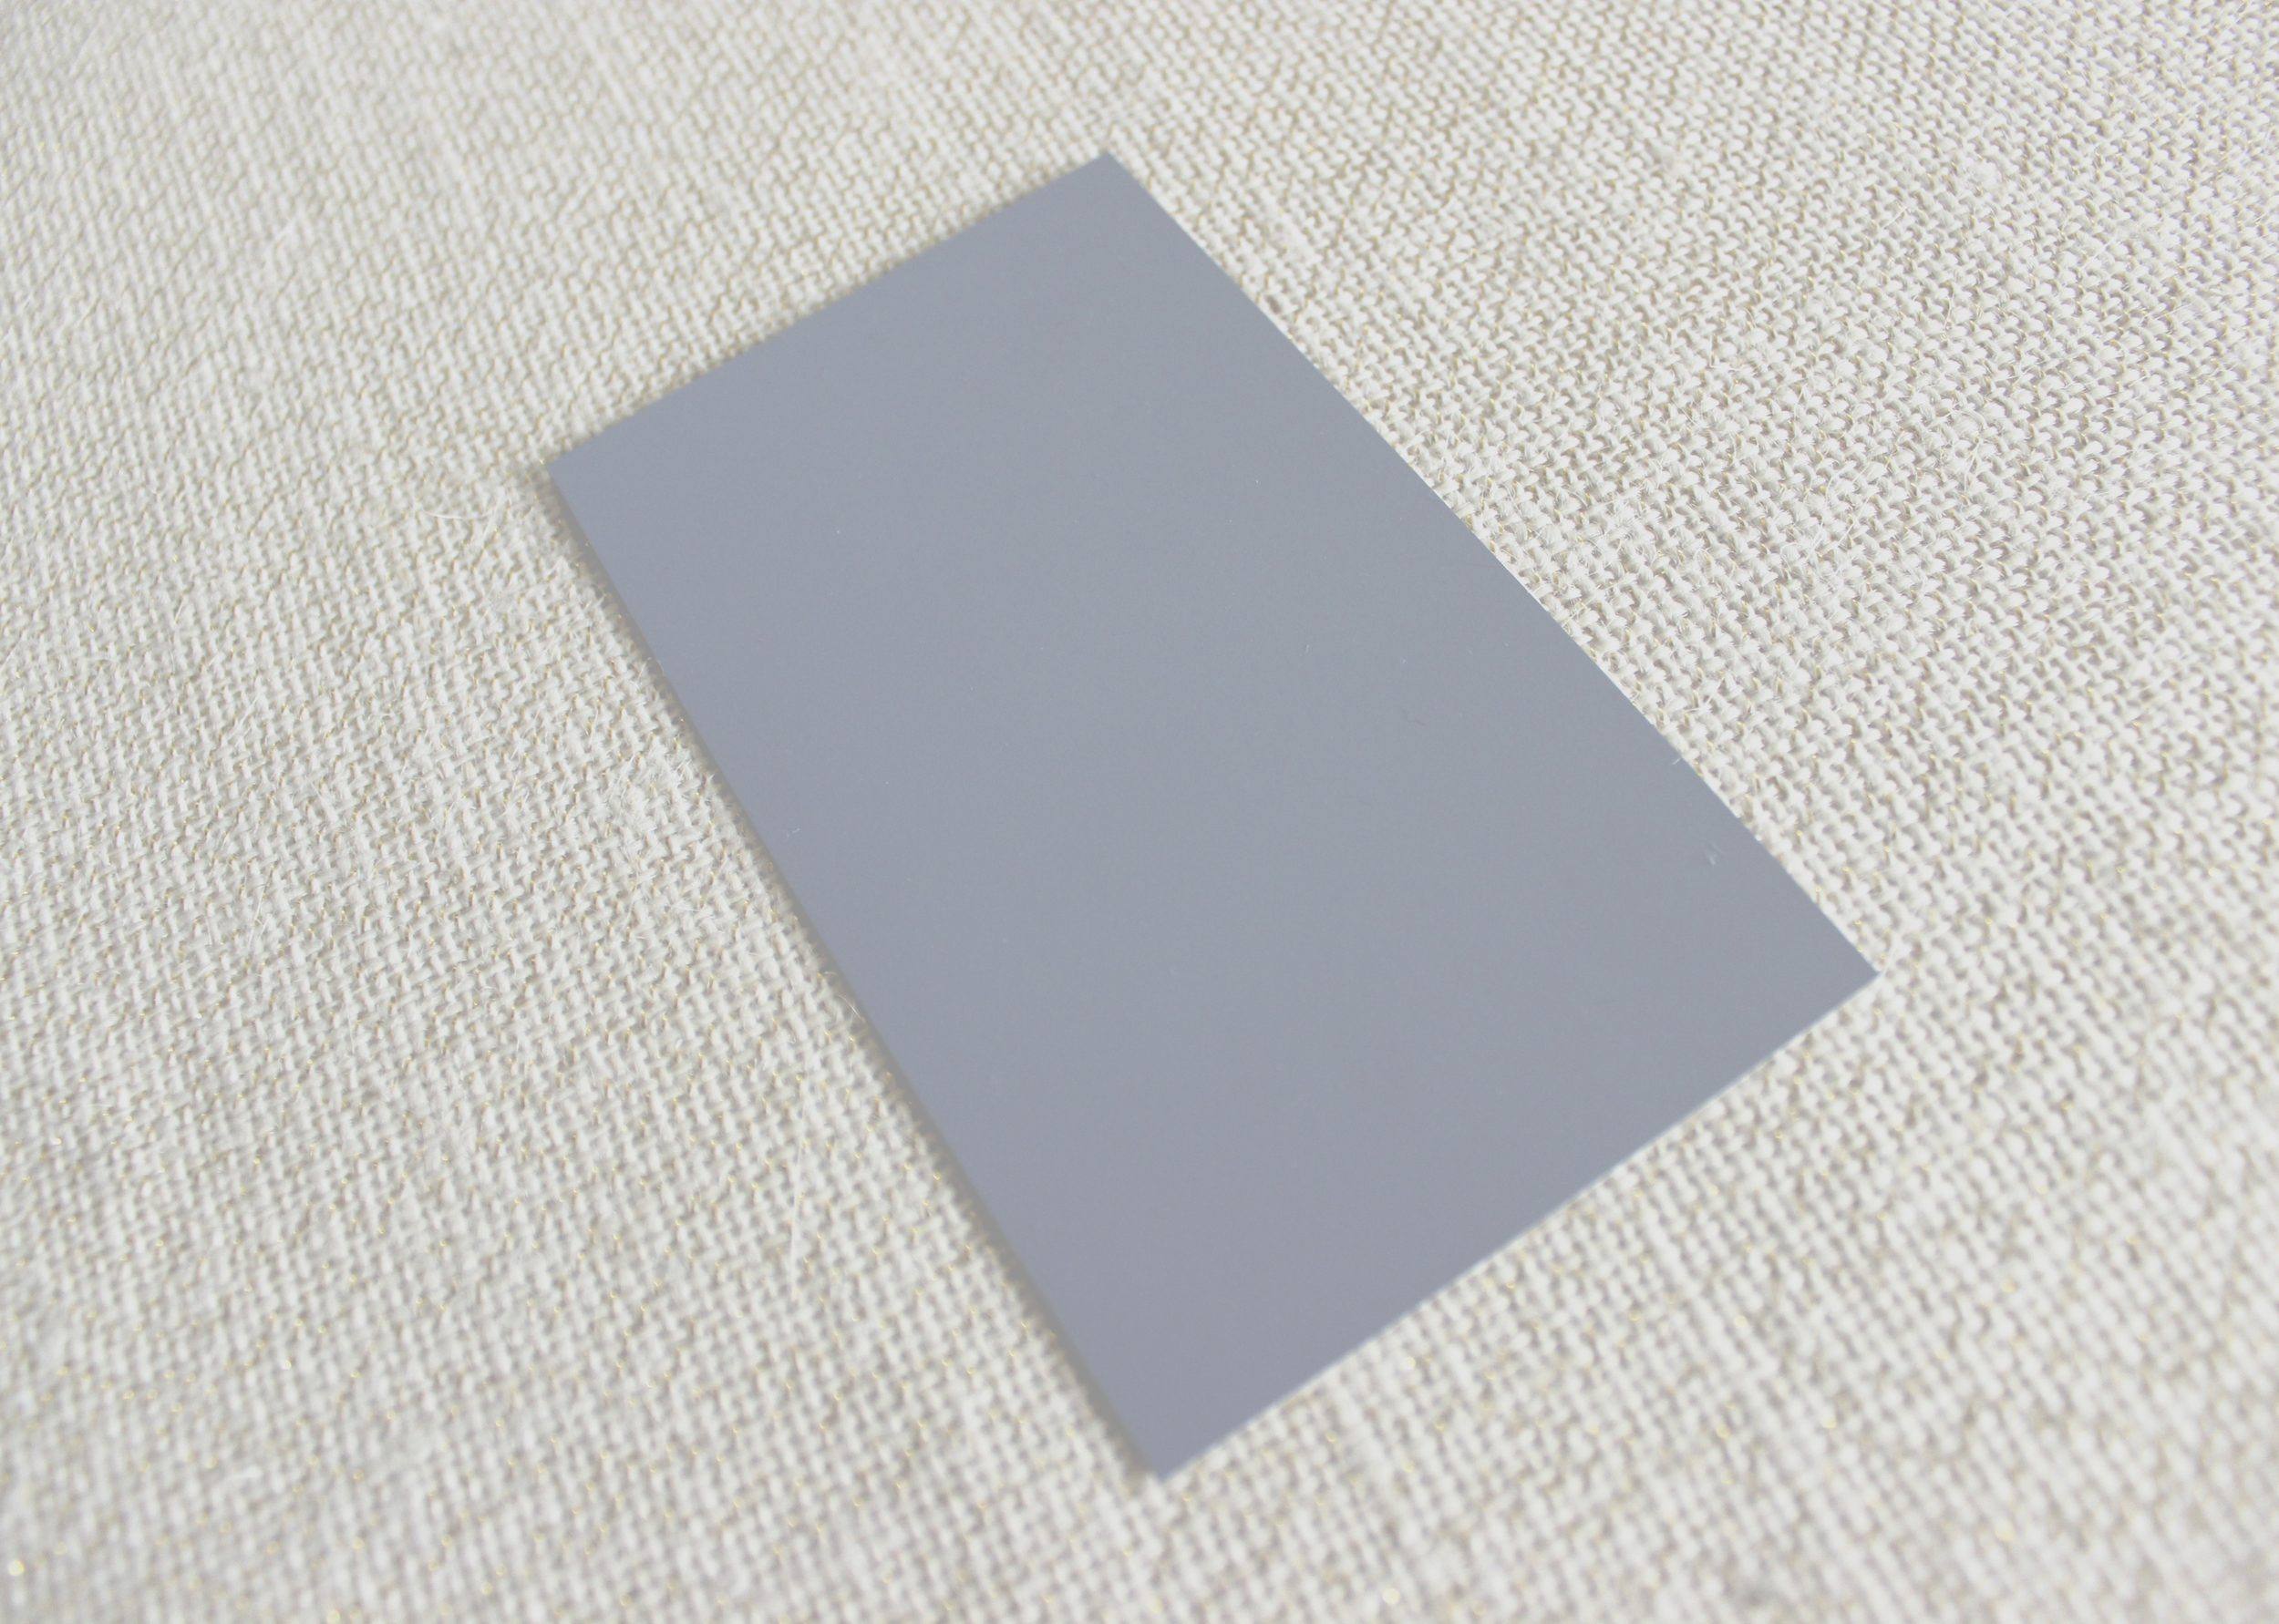
Original Size of Behr paint swatch is 3.25" w x 6.5" h
Cut paint swatch to 2.75" w x 4.75" h
Cut out the days of the week labels and set aside. Trim the paint swatches down to 2.75" w x 4.75" h.
How cute are these once they've been punched out? Save for a future DIY!
Punch a 1" hole in the top center of each paint swatch.
Starting from the bottom up, arrange the paint swatches on top of the frame and adjust as needed. You will need 7 columns and 5 rows. Use a ruler to help straighten and align them. Allow 1" around the border of the frame and an equal amount of space between each paint swatch - a 1/2 an inch or so.
Once you are happy with the overall placement, place double-sided tape or glue dots onto the back of each paint swatch and press firmly onto the fabric. Make sure to cover the edges of the paint swatch entirely with tape to ensure a strong hold once you stick it onto the fabric. Do this individually for each paint swatch until complete.
Once you are finished sticking all of the paint swatches onto the fabric, take the days of the week labels and position them on the very top oft the first row. Place double-sided tape onto the back and stick them onto the fabric.
And your board is complete! Take the completed board and assemble your frame back together. Make sure to remove any dust or fibers that got caught on the surface of the glass/plastic before you place it back together.
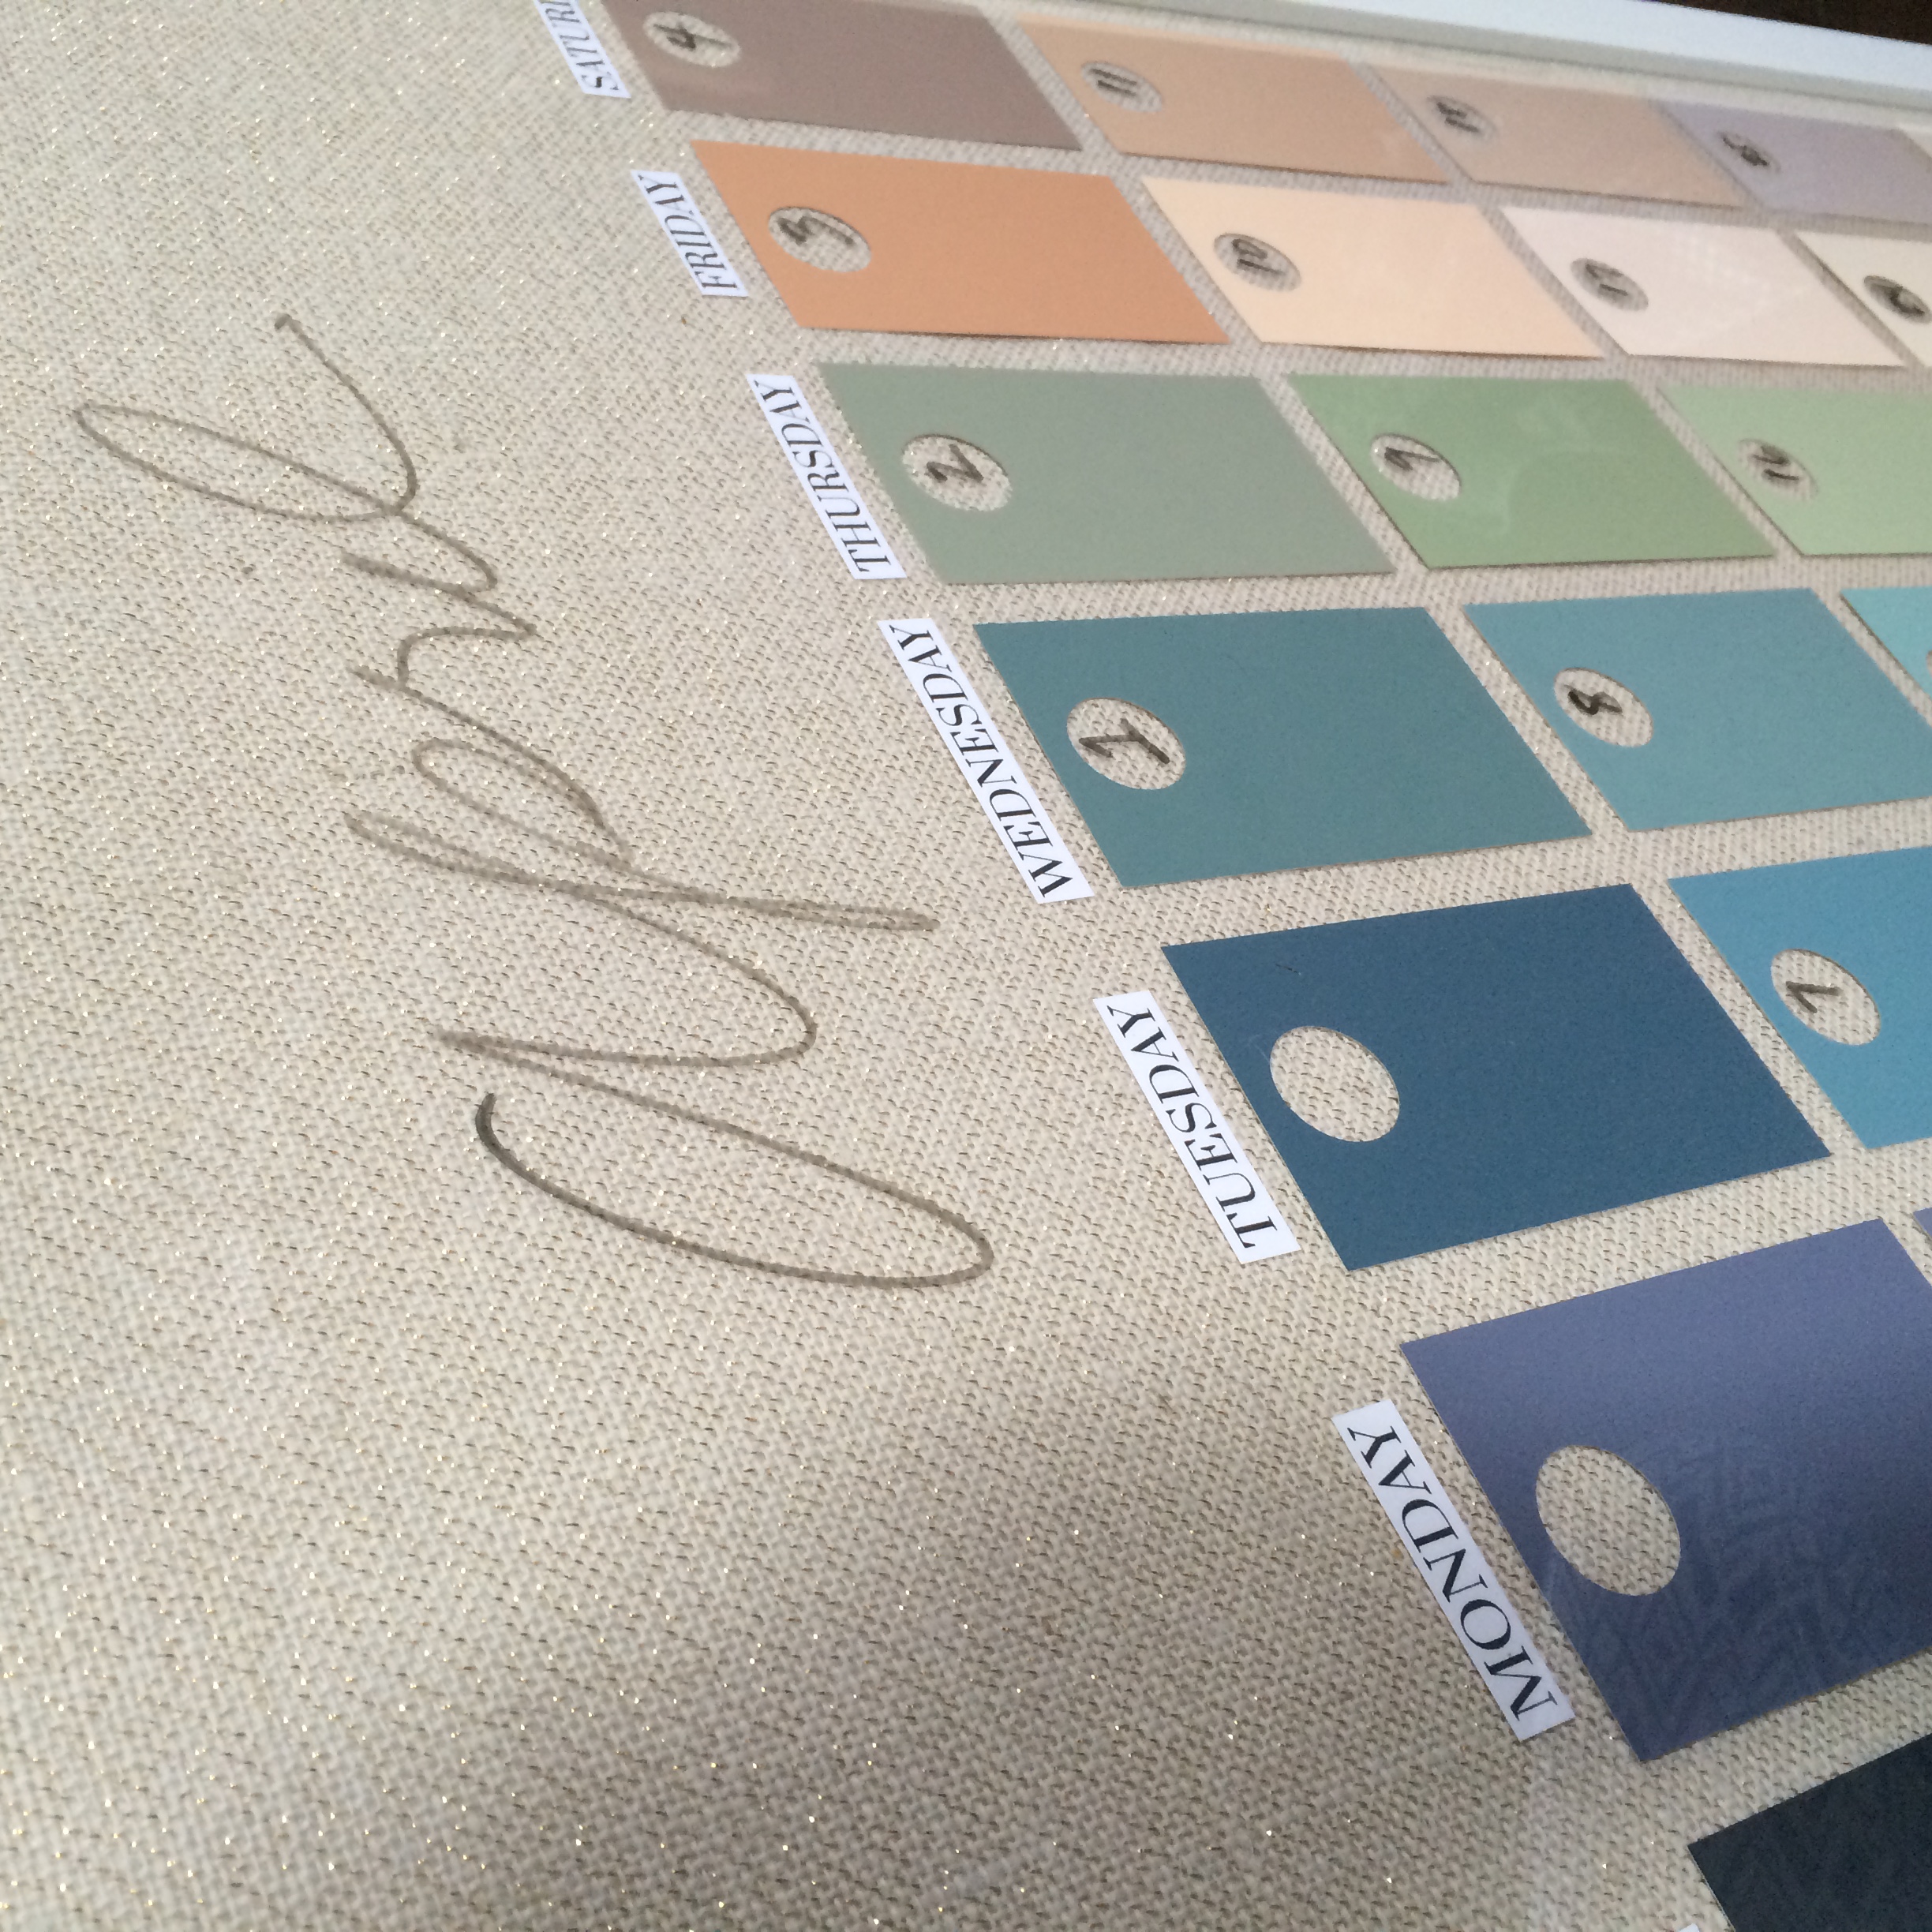
Now, the best part - fill in your calendar! On the front of the frame, with a dry-erase marker, write the days of the week within the circles of the paint swatches and the month at the top, then your agenda for the month. You're done! Find a convenient place to display it. I chose my entryway in my kitchen. What a pretty and fun calendar - with the perks of saying you did it yourself!
I hope you enjoyed this simple, yet classy DIY project! I look forward to doing more projects like these. There's so much more that can be done to my home to make it "homier" - if that were a word. I love how DIY projects can add warmth to a space. I am all about building memories - and DIYs are perfect for doing that too!
Have fun, and should you decide to make this, please share a photo of it and tag me on social media!
xo stina


