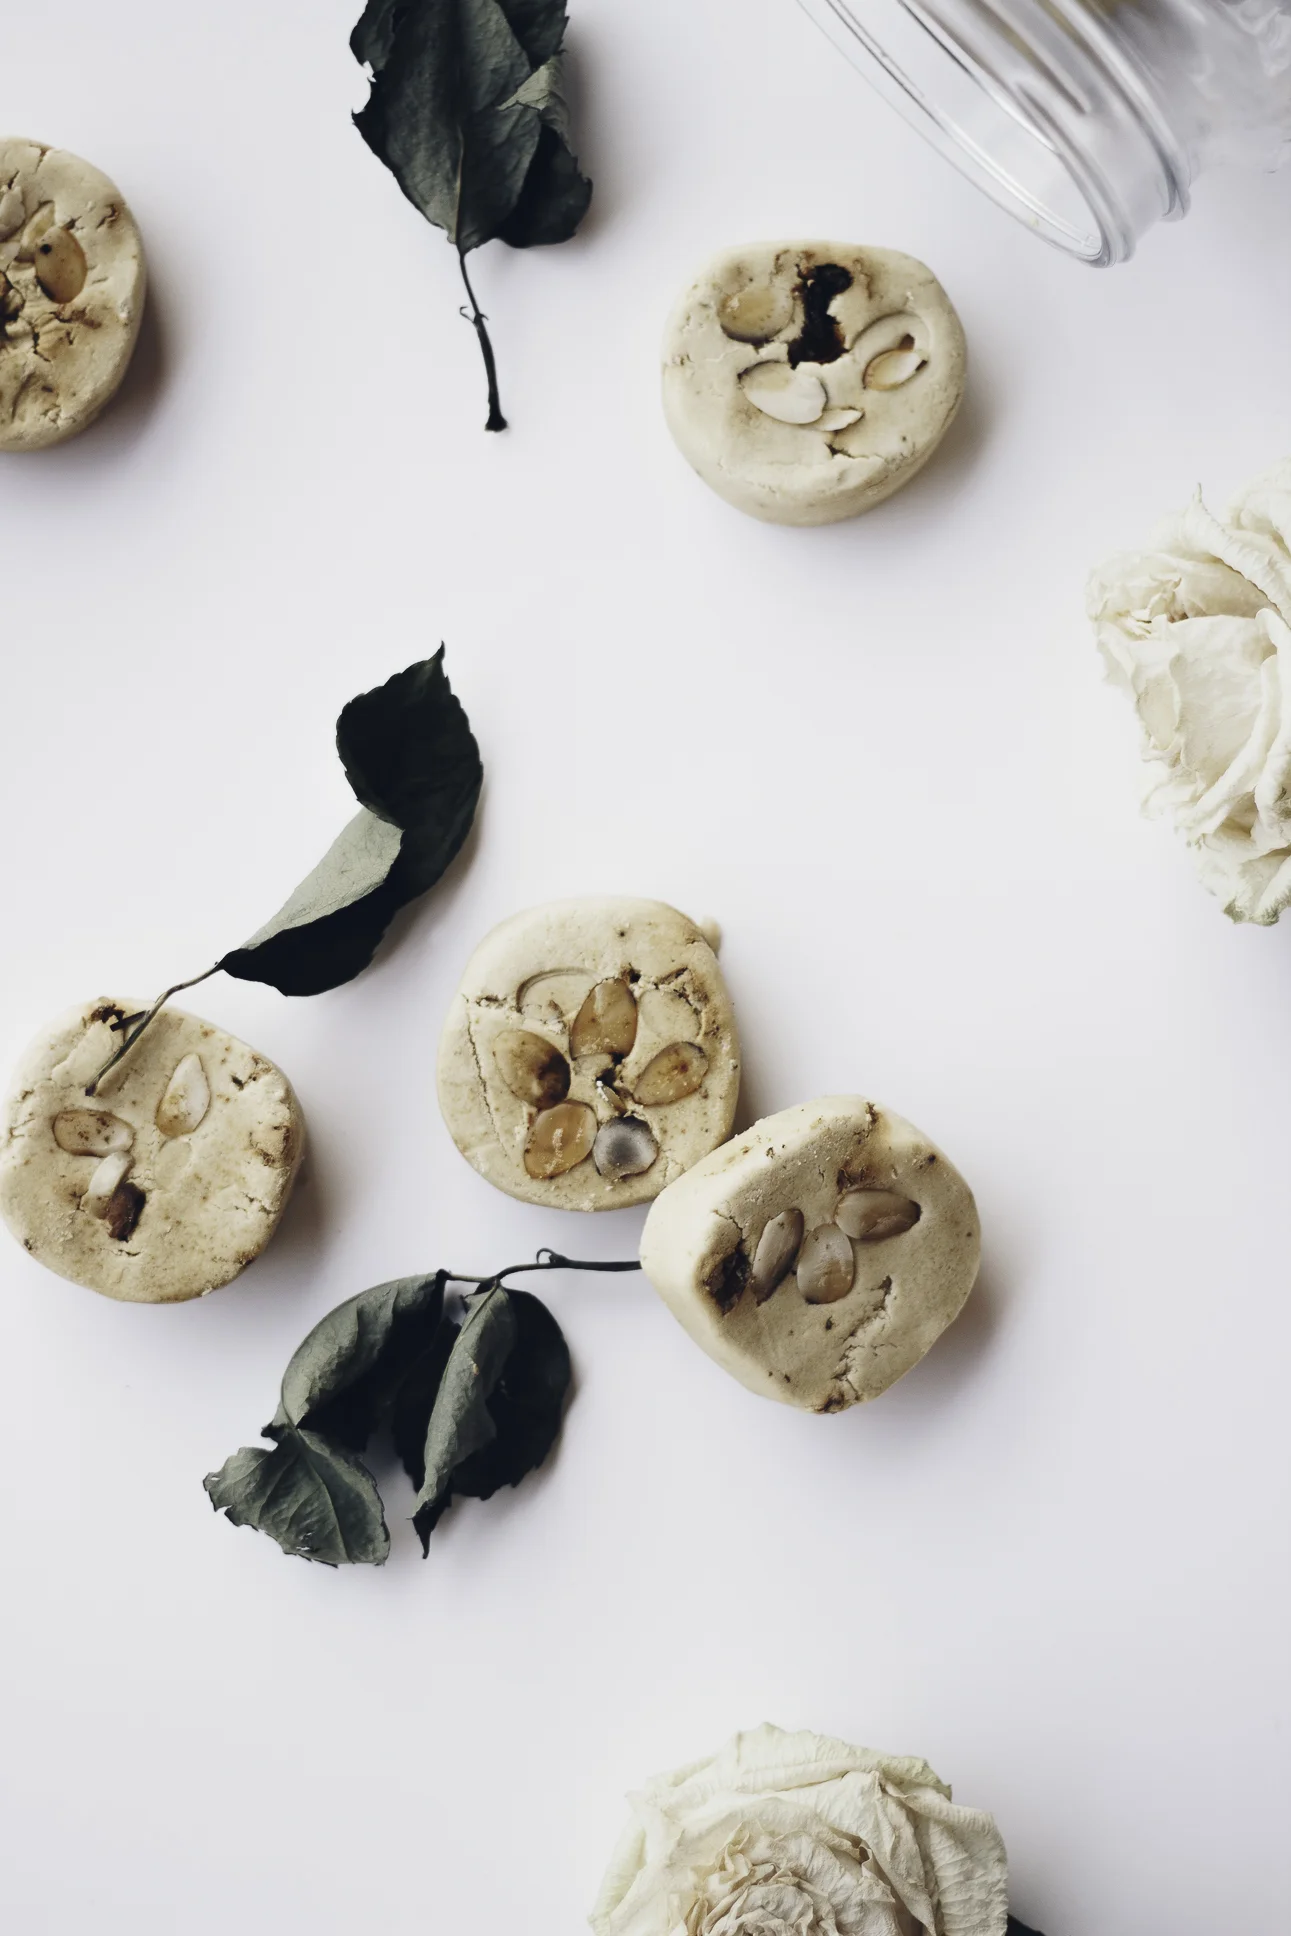
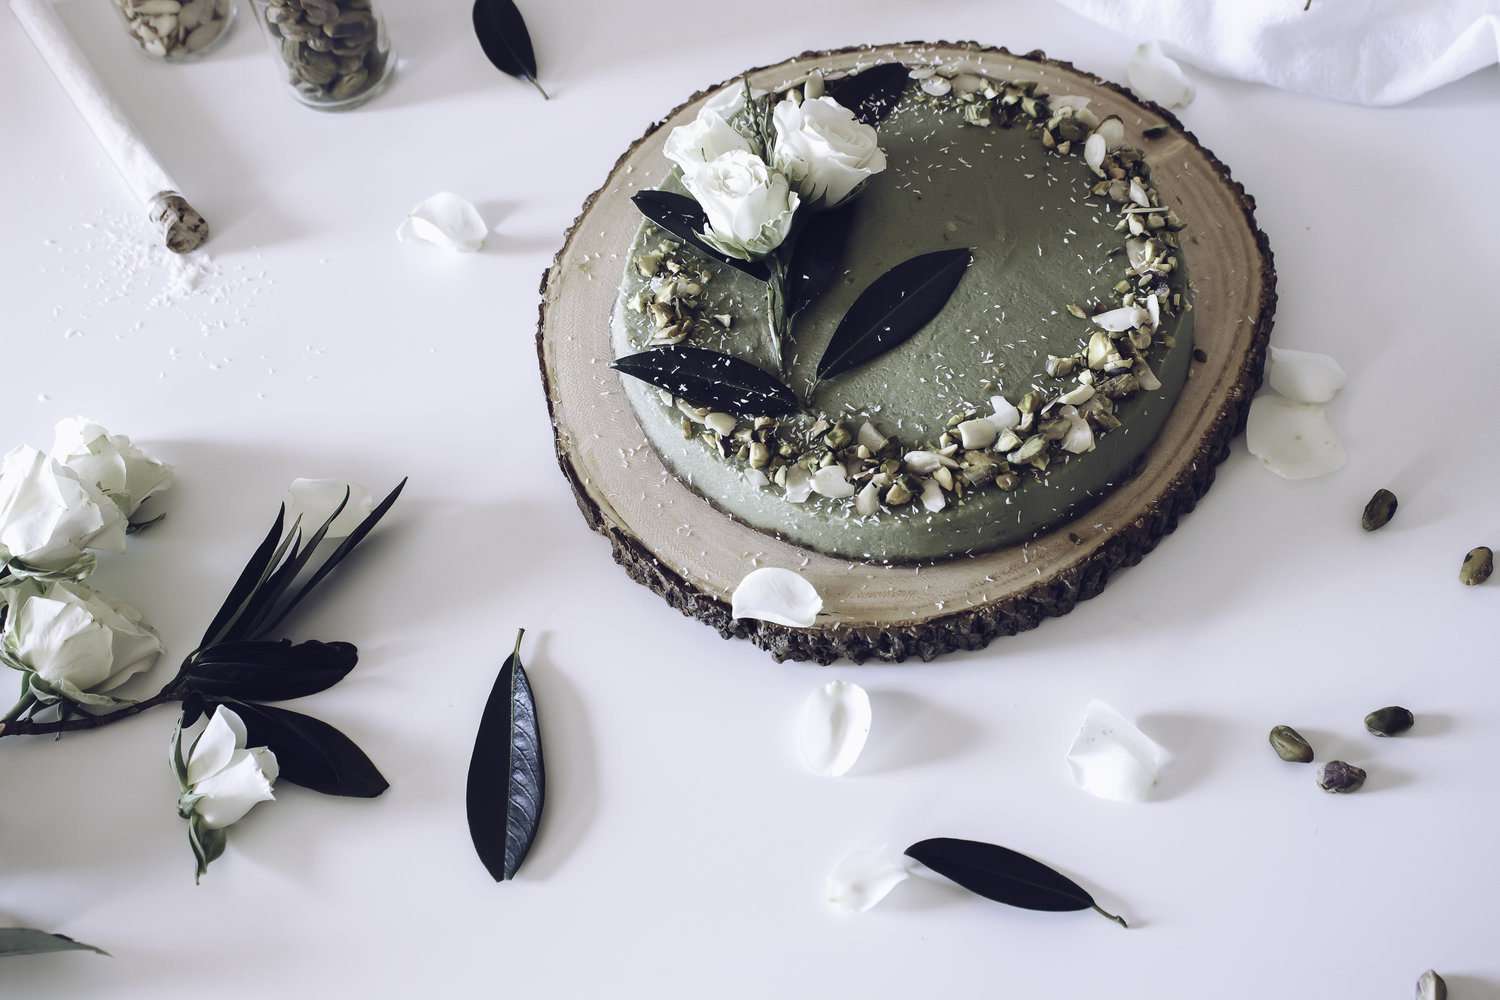
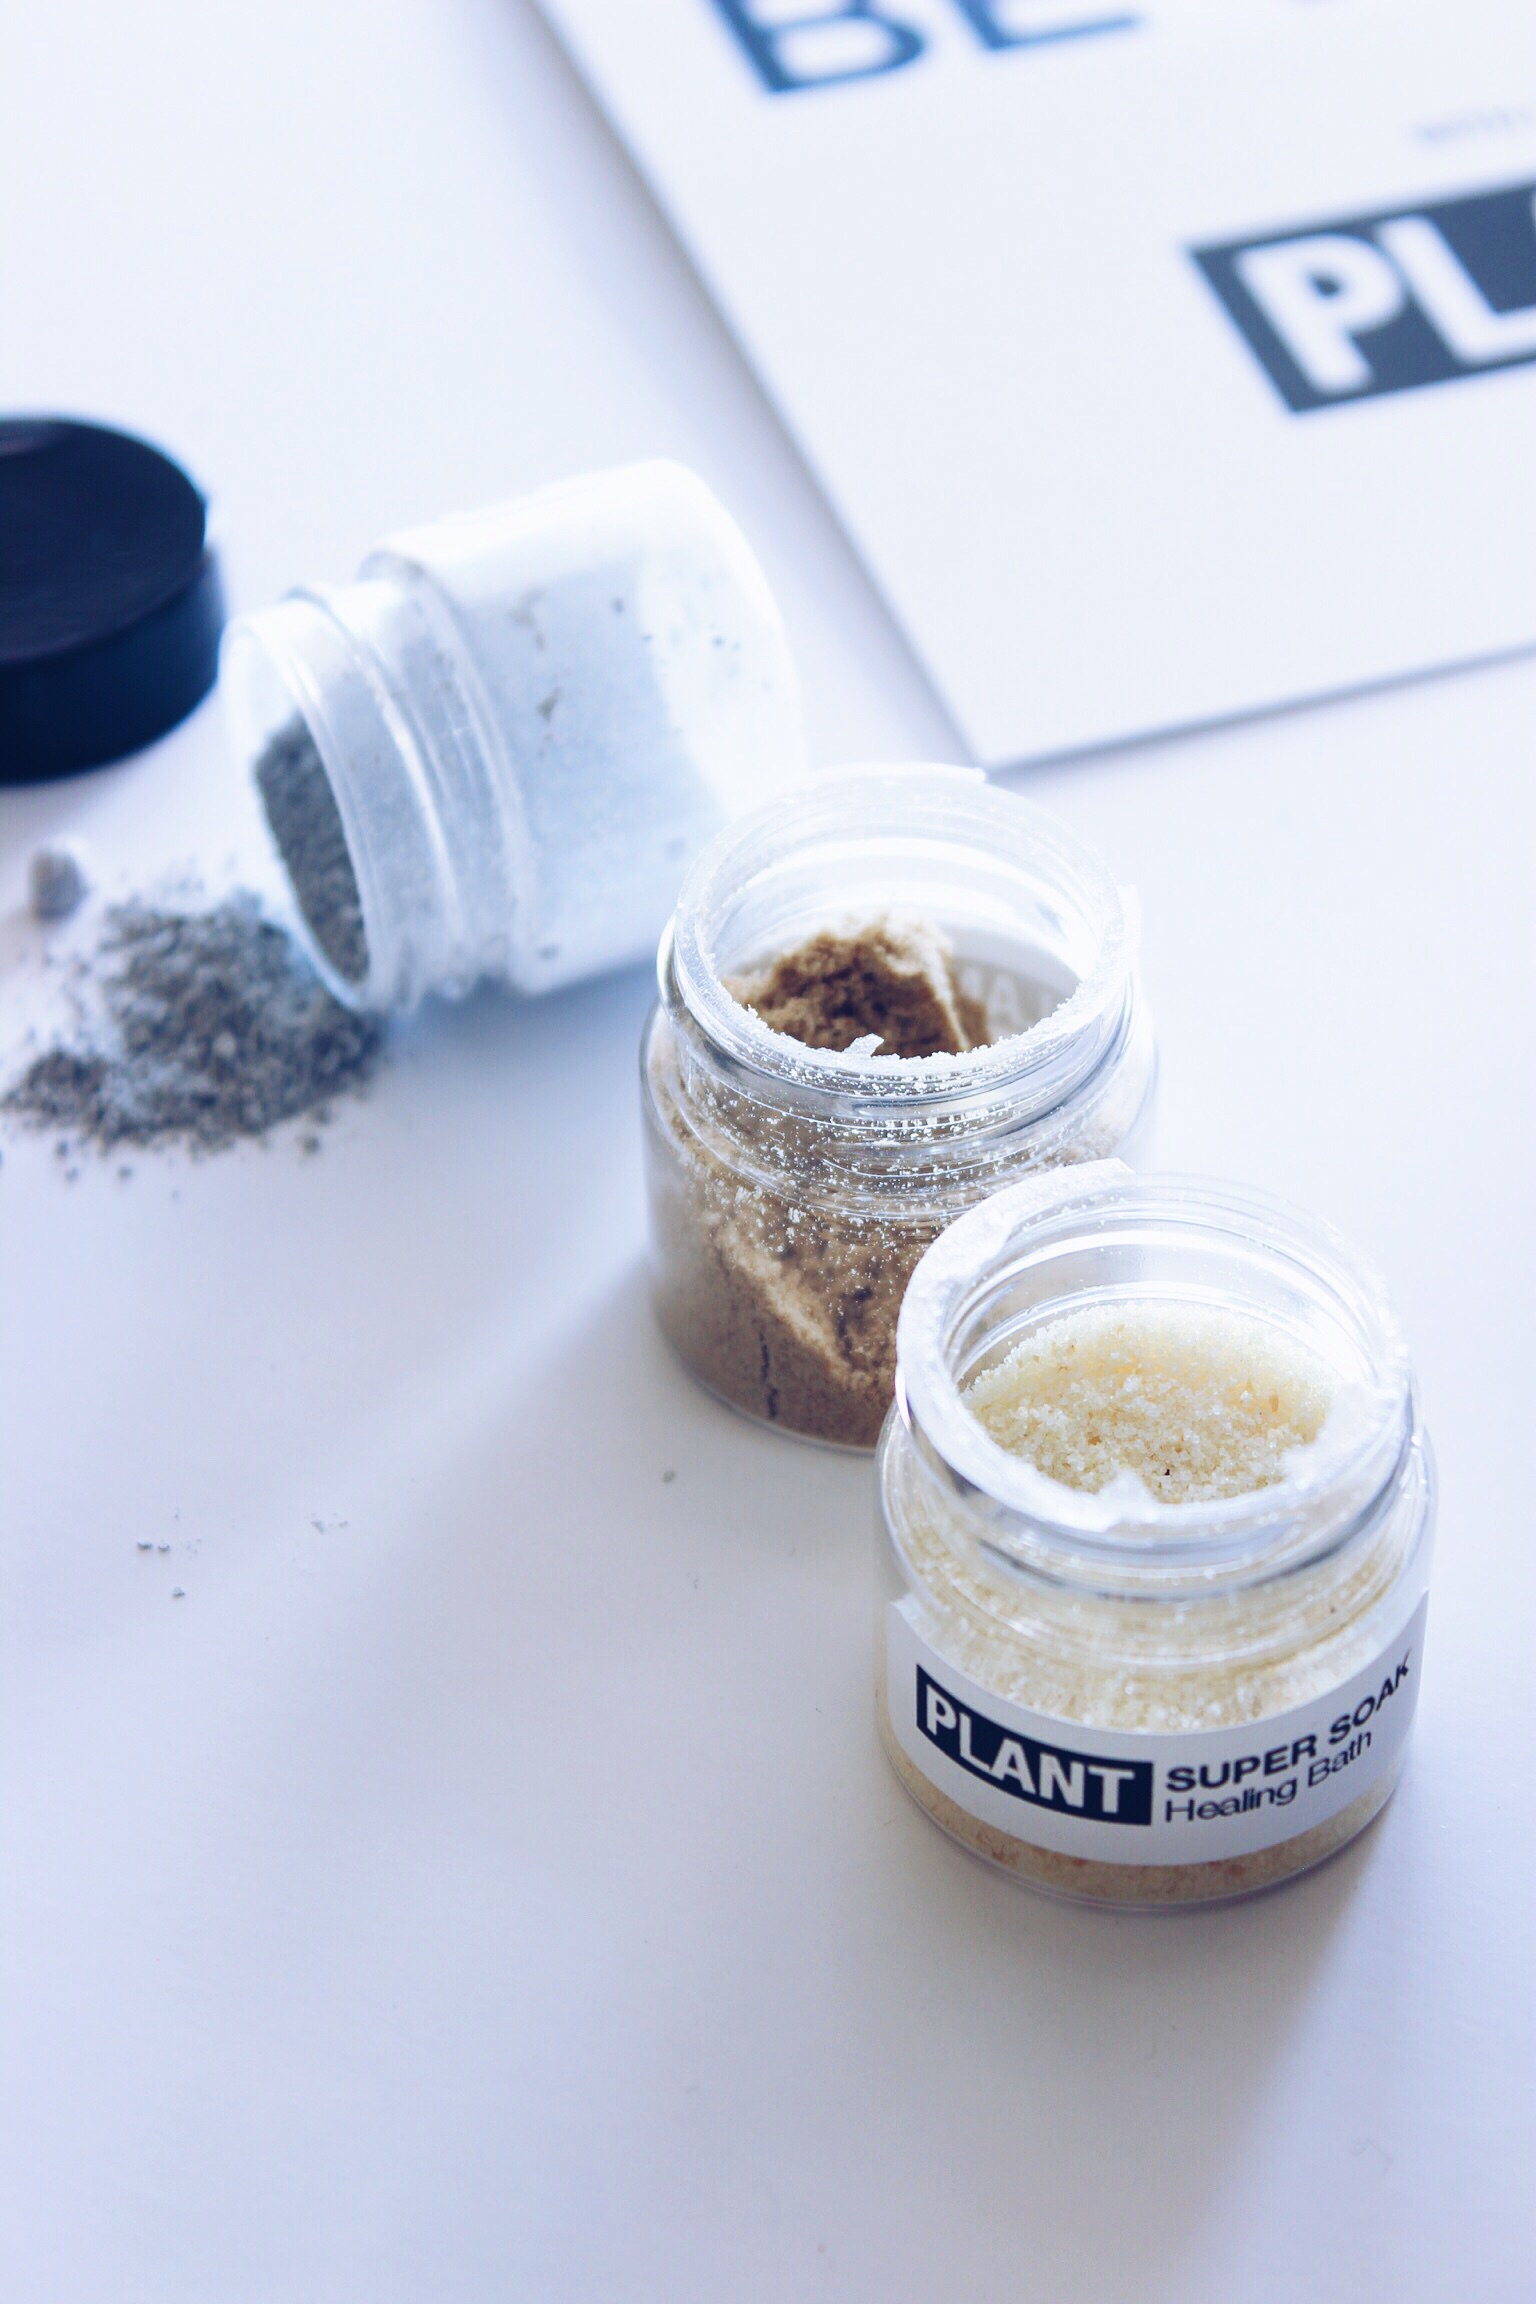
I'm all about these exfoliating body bars lately, and since my recipe makes a ton of them, I'm not running out anytime soon! Truth be told, this recipe was born from a failed attempt at making bubble bars, which I'm not complaining about! I absolutely love these. Read on for the full DIY recipe, and get you some smooth skin!
By far, the best part about these exfoliating bath bars is making them! It's so therapeutic making your own skincare products. I mean, it's like baking, but better. Why? Because you don't have to worry about messing up and getting everything exact! It's all about experimenting and having fun.
When you make your own skincare, it takes you back to the basics and allows you to create something for you. We've got to remember that skincare is very personal, so put your heart into it and make it specific to your needs.
For this recipe, I totally was flexible with the ingredients that I used. I didn't freak out that I didn't have certain ingredients. I just used what I had on hand. That's what I recommend you do, too! I've been researching ingredients for a while now and their skincare benefits, so it's easy for me to look into my cabinet and find what I want for a specific result that I want. I suggest you get into researching natural ingredients and their benefits online and incorporate and experiment with them in your skincare routine.
The purpose of these exfoliation bars is to exfoliate the areas of the body that get neglected. Real talk: I'm mainly talking about the crevices of the body where the sun don't shine! Armpits/underarms, inner thighs, bikini area, inner elbows, inner knees. It can also be used on any other parts of the body where you want to stimulate new skin cell production and turnover. I also have used them on areas where I have stretch marks to do just that. These exfoliating bars really smooth the skin in a way that normal cleansing can't.
The areas that I had mentioned earlier are generally prone to hyperpigmentation AKA discoloration and buildup of melanin. This can all be prevented or reversed with regular exfoliation and proper cleansing of the areas. Buildup can come in the form of dead skin, oil, dirt, and product buildup (as is the case with deodorant), so frequently taking an exfoliating bar to the skin is going to help to remove all of that junk and keep it youthful and bright. I keep one in the shower at all times and use it during every shower.
So, let's get into the recipe! I used baking soda and rice flour for their exfoliating properties. Rice flour has an amazing array of skin benefits, which you can read about here. It's one of my favorite ingredients to use. I also used glycerine, which is really good for moisturizing the skin and is very important for these particular areas that are prone to being dry. Castille soap is a natural soap that will cleanse the area without adding buildup to achieve a squeaky clean. Rosehip oil is another amazing ingredient for combatting hyperpigmentation. Then, there's matcha. I added that in just for the fun of it, but it also has anti-aging properties, which is always a good idea! I sprinkled in some rose petals as well, then topped each with some almonds mainly for the pretty-factor, but they both add to that exfoliation.
Like I said, you can get creative with the ingredients you add in as far as oils and herbs. Next time, I think I will be adding in licorice root. You can read up more about licorice root here.
DIY
Exfoliating Body Bars
INGREDIENTS
2.5 cups baking soda
1/3 + 1/2 cups rice flour
1/3 cup glycerine
1/2 cup castille soap
1 Tbsp rosehip oil
4 tsp matcha powder
Toppings: rose petals + slivered almonds
Yield: 18-20 3" x 1" rounds
INSTRUCTIONS
In a large bowl, mix all dry ingredients together first - baking soda, rice flour, and matcha powder. Then, in a separate bowl, mix all of the wet ingredients together - glycerine, castille soap, rosehip oil.
Slowly add the wet mixture into the dry mixture, mixing in between until a dough starts to form. You will have to kneed the mixture, which is basically the best part! Once it comes together, sprinkle in rose petals, then roll it out into a 3" log on parchment paper.
Cut into 1" rounds and press slivered almonds onto each piece. Set on parchment paper to dry for 24-48 hours or until completely dry. Place them in a covered container.
To use, simply use on wet skin to exfoliate the area. Apply in circular motions until desired exfoliation is achieved, then rinse off.
Will you be trying this recipe? I'd love to hear about your experience, so do come back and let me know how it works for you!
*I have linked products for your convenience, which may include affiliate links.


