5 Refreshing Summer Sweets that will Make you Go Vegan

Refreshing, easy, and colorful is the theme of my curated collection of vegan summer sweets. Cool down, grab something sweet, and enjoy your time soaking up the last of those summer days. I know, I'm sad that it will be over soon, too. Warning: You may just want to eat any number of these recipes immediately - so get ready to head to the grocery store! 

5 Refreshing Summer Sweets that will Make you Go Vegan

1. Summer Celebration Fruit Tart: How pretty is this tart! It's incredibly simple to make, and what makes this tart so summery are the fresh seasonal fruits and delightful toppings like fresh herbs and bee pollen. This picturesque tart is almost too pretty to eat, and it's vegan and gluten-free. What could be any better on a summer's day? (via My New Roots)

5 Refreshing Summer Sweets that will Make you Go Vegan

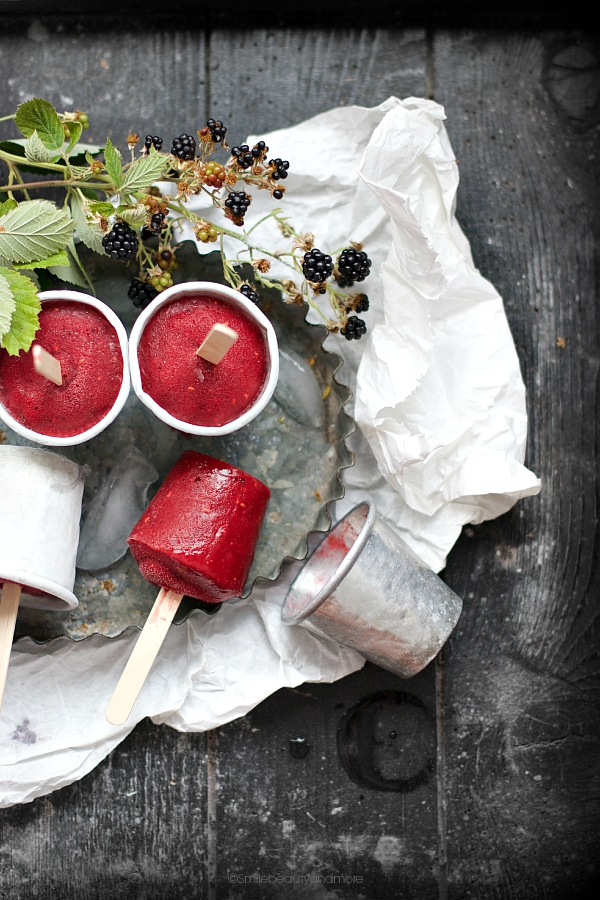
2. Stecco Gelato: This "stick ice cream" as it is translated to contains two of my all-time favorite fruits: blackberries and raspberries. The color of these popsicles are so rich and I am guessing that they taste just the same. These are a perfect treat on a hot, sunny day, or for those mid-afternoon moments when you get a sweet tooth. (via Smile, Beauty and More)

5 Refreshing Summer Sweets that will Make you Go Vegan

3. No Bake Blueberry Lemon Cheesecake: I love how vegan recipes look so beautiful and use the freshest ingredients. Isn't that the best part about eating - eating with your eyes? And I just loooove blueberries. They're so easy to add to anything, they taste amazing, and they are packed with antioxidants among other super-fruit powers! Everything about this recipe takes the guilt out of dessert. The crust is made from almonds and dates and the filling contains coconut oil, coconut milk, and cashew nuts. I can just imagine how creamy this is! (via Call Me Cupcake)

5 Refreshing Summer Sweets that will Make you Go Vegan

4. Coconut Lavender Lemonade: That color - I have never seen a prettier lemonade in my life! It's hard to describe the taste of lavender, but it's really light and refreshing, so don't be scared to try it. Since floral notes are not for everyone, you can get creative with this idea of infusing lemonade with various flavors. Coconut water is very hydrating and will give you that boost of energy on those hot days. (via Confectionalism)

5 Refreshing Summer Sweets that will Make you Go Vegan

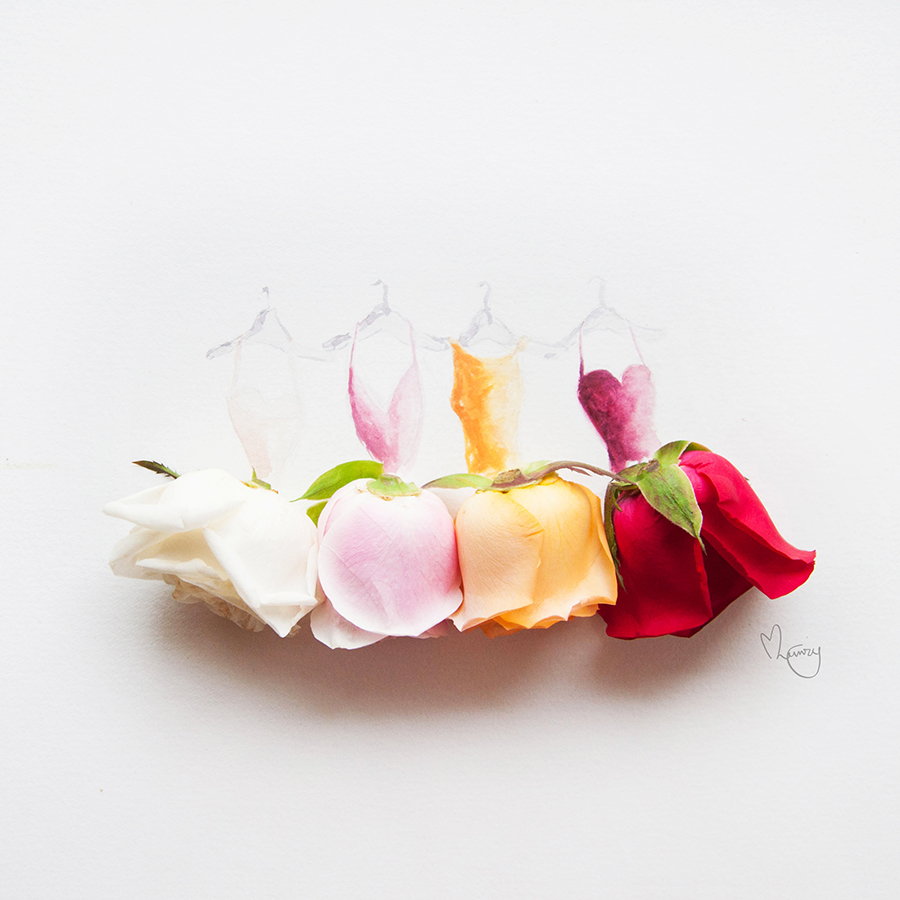
5. Cantaloupe in Coconut Rose Cream: The color of this delightful creation screams SUMMER! Doesn't it make you feel refreshed just looking at it? Cantaloupe was made for summer, agree? This is completely dairy-free, too. What's the white stuff, you ask? Coconut cream. Coconuts are so versatile for vegan recipes as you've seen so far. And there's something hidden that makes this recipe so interesting. It's the rose water and cardamom powder that just do it for me. I'm dying to try it! (via Kiran Tarun)

Now that I've officially prepared a feast for your eyes, which recipe are you convinced will make you turn vegan? Haha, kidding. You don't need to become a vegan to eat vegan or feel pressured that you must say an oath. I love that there are so many recipes accessible today that show you that you don't have to sacrifice taste for eating healthy. If anything, you gain so much more flavors because vegan recipes often contain diverse ingredients that you may have never tried together. It's an adventure for your senses, so why not escape for a little bit and try something new. <3

Which of these recipes do you hope to try? Share with me in the comments!


Motivation Monday: Make your Dreams Happen

It's Monday, and I am excited that it is a brand new week! Today, I want to motivate you to make your dreams happen. Small, consistent steps in the direction of your dreams will get your results, so no matter how small those steps may seem, do it! I want to share something with you guys - it took me years to finally start this blog. And when I finally got started, I actually had the site setup a year prior to finally publishing my first post. Something was holding me back from actually making my dream happen. What was it? Looking back, I'm not sure exactly what could've been so big that could deter me from doing it. I had this problem with things needing to be perfect, so maybe that's the reason? Taking that first step is always the hardest part because the unknown can be scary. Sometimes inaction breads insecurity, too. So, the best thing to do is to just do something. It doesn't matter if it doesn't make sense to you at first because eventually it will!

You know that saying, "Dreams don't work unless you do."? It's true. To all my dreamers out there, I know how it feels to have a ton of ideas and feel almost paralyzed. Questions flood my mind: Where do I start? What will happen if...? And the list goes on. Sometimes our minds can deter us by rationalizing and over-thinking things. The best way to figure things out is to try. Even if it ends up that you don't enjoy it - at least you know, and you can move on to the next thing. This has been strategy in life. I have a ton of interests that pull me in all sorts of directions, and I can't focus on one. Everything that I've ever pursued was based on the desire to do it. I wasn't sure if it was what I wanted - I only knew that I had an interest there. It turned out, after pursuing many of my interests, that they where just that. I didn't want to do it for the rest of my life and it wasn't my passion. I'm finally starting to figure out what it is that I love to doI'm finally getting to pursue what is in my heart.

Now back to that problem that I had with "perfection". That's one big road block to making your dreams happen. If you wait for the perfect time, the perfect conditions, the clouds to part - nothing will ever happen and all you will be doing is wasting time. This was my struggle, and as soon as I got past wanting everything to be perfect, something changed in me and I was free! Perfectionism can be hindering you from pursing your dreams, so even if things are not perfect, that's okay! No one ever started at a place of perfection, so you don't need to either. Starting from where you're at with what you have is all it takes to get your dreams in motion.

Once you've taken conscious steps and are on the path towards your dreams, you will start to see things come together and new opportunities come your way that you never had imagined. A decision can be your defining moment. So, make a decision, and then do it - consistently and persistently. Your dream is waiting for you!

5 Takeaways:

  1. Make a decision: Commit to your dream.

  2. Start small: Start where you are, with what you have.

  3. Ditch perfection: You don't need to have it all figured out.

  4. Be consistent: Take action every day, even if they are small steps.

  5. Be persistent: Don't give up!

I hope this inspires you to make your dreams happen, starting today. <3

Will you be making a decision today? Share your dreams with me in the comments!


7 Nightstand Decor Essentials

Believe it or not, there is a formula to designing the perfect nightstand. Explore my curated collection, and get inspired to take on your own space. Nightstands are a major part of the focal point of the room, with the bed being front and center, so you want it to be balanced and grab everyone's attention as soon as they enter the room. You also want your nightstand to speak something about you, so add your personal touches. Let's have a look at these inspiring spaces!

From simple, to elaborate, these nightstands all have on thing in common: I want them all! But really ... don't these spaces make you want to cozy on up in bed? It's amazing what a little thought can do for those small little tables to give each room character. Here's to helping you design your very own nightstands that will make your bedroom look as if it popped out of a Pinterest board! Read on for my 7 Decor Essentials.

7 Decor Essentials for the Perfect Nightstand

1. Nighstand: A stool gives this bedside a cheery, vintage vibe. The tables you choose will give your bedside character, so here are some points to help you decide what type of tables to go for. 

+ Decide what look you want to go for - perhaps a vintage and whimsical or polished and modern feel? For a vintage feel, try using a wood stump, an old chair, crates, or anything with a weathered appearance. For a more polished feel, opt for dressers with clean lines that are symmetrical. You may even combine the two and get an even more interesting outcome. Interesting alternatives: desk, stool, cabinet, dresser.                                               

7 Decor Essentials for the Perfect Nightstand

2.  Lighting: With so many lamp styles available, look for a pair that compliment your nightstands. Wall and pendant lamps are a break from the traditional table lamp and can free up some extra table space too. Try these unique firefly lights for a more ethereal feel. It'll make your bedroom feel all fairytale-like. 

7 Decor Essentials for the Perfect Nightstand

3. Art: Creating a gallery wall like this above your nightstand is so much fun. You may also extend it all the way around the wall above your bed if you've got the patience! If you don't think taking on a project that big is in your stars, try stacking frames on top of your nightstand instead - a very easy and casual way to display art. Incorporating some type of framed piece, whether it be a picture, art, a mirror, or another wall decor can really create a ton of visual interest in your room. 

(featured&nbsp;image via The Design Chaser)

(featured image via The Design Chaser)

Another way of adding art to the walls and giving a room some character and warmth is the stick on wood wall, which is higher now in play. With the help of this innovative solution, you can quickly turn any space into an inviting retreat without the cost of the old way of wood paneling.

Stick-on wood walls are quickly replacing the old as many interior designers and DIY enthusiasts turn to them for their easy application and realistic wood grain. They are not only eco-friendly and inexpensive, but they also provide a sense of rustic charm.

Minted is a great place to find tons of wall art from independent artists. Stay tuned for my upcoming post on how to create your very own gallery wall featuring beautiful art from Minted

7 Decor Essentials for the Perfect Nightstand

4. Plant: A leafy plant like this one is one of my favorite plants to use in the bedroom. Not only will it last you longer than flowers, but it is low maintenance and won't die if you lack a green thumb (like me). Flowers are great too, but fresh is always best. Want to be different? Succulents or cactus are perfect as well, because like leafy plants, they too last long and are low maintenance. You can even try a vase filled with eucalyptus and it'll fill your room with a wonderful scent too. Don't care for plants at all - an assortment of empty vases are just as pretty.

7 Decor Essentials for the Perfect Nightstand

5. Books: Here, a floral arrangement sits atop a few monochromatic books to add height. Not only is it nice visually, but having a few good reads nearby is always a good thing, especially before bedtime to help you get relaxed for the evening. Think of books as a pedestal for whatever you place on it.

7 Decor Essentials for the Perfect Nightstand

6. Storage: Having a jewelry dish or bowl on your nightstand is a pretty way to display some of your jewelry, and of course, prevent you from misplacing those studs as you take them off before bed. A glass shadow box is another pretty way to store and display valuables on your nightstand. 


7 Decor Essentials for the Perfect Nightstand

7. Objects: Choose one or two small objects to place on your nightstand to add a touch of personality. Decor ideas: Candle, mug, animal figurine, shell, vase, clock, etc. Place them atop your stack of books like the above picture. 

Tips:

  • Try incorporating a number of these decor essentials into your existing nightstand setup.

  • To create balance, try to design both nightstands with a unifying piece or pieces - identical tables, lamps, plants, etc.

  • You don't need to use all 7 decor items - choose a combination. Maybe you want to use a plant and some books - that works perfectly well. Get creative with your space and do what works for you. 

  • Look for items around the house. You usually have all of these items already.

Does this inspire you to update your nightstand or design one from scratch? Let me know in the comments. 

Share your nightstands with me on Instagram - tag @hellolovelyliving for me to see! <3

Featured image via The Every Girl


18 Ways to Rock the Modern Floral Print Trend + Styling Tips

Floral prints are everywhere - and I mean EVERYWHERE! It has yet to be seen that there is anything that you can not print a floral pattern on. No longer is Spring the only season for florals - it has taken on Summer too. So, where does this obsession with floral prints come from? Well, put a woman in charge of design, and I think we can all agree upon the root cause of the problem. *giggles* We are utterly kookoo about flowers. Gone are the days of floral prints looking like curtains, too. Modern floral prints are trending in both women and men's fashion, so let's take a look at what's out there.

Read on and get inspired to rock this trend with confidence!


I hope you enjoyed this fashion post! I just had to share this with you. I hope you got inspired in some way to break out and try incorporating floral prints into your wardrobe. They're so fun and flirty for women and prove that men can have a sensitive side too.

On another note, is everyone enjoying their summer? I have yet to get a mere centimeter to the closest beach. *pouts* My only hope is that it's not too late - summer is not over! Praying for a blessing. 

Happy rest of your summer!

xo stina

How do you feel about the floral print trend? Would you rock any of the featured items?


Eco-Fashion Tips + Rose Market Review and Coupon Code

I love discovering sustainable and eco-conscious companies, so I was thrilled to receive a box from Rose Market featuring vintage eco-chic pieces (stay tuned at the end for a review and discount code). What's great about vintage fashion is that it is timeless. After all, the definition of fashion can be summed up as recycled trends, so there's no surprise why vintage is always in style. Pair vintage pieces with eco-fashion, and you have the epitome of sustainable and environmentally conscious fashion. This is a perfect fit for anyone who prefers quality over quantity when it comes to clothing. Buying clothes that are made of high quality fabrics and that will last you a long time will save you a lot of money over the years compared to buying trendier and cheaper items that are likely made from fabrics that wear easily.

So, what is eco-fashion? It's simply sustainable fashion - clothing made from recycled or up-cycled materials, manufactured in an environmentally conscious way, and produced without harmful pesticides, chemicals, dyes, or bleaches. Once perceived as dull and boring and made from materials that were stiff and unattractive, eco-fashion is now a rising high quality segment and has been catching on in popularity by big name brands, designers, and celebrities. It's part of living sustainably and consciously in a world of disposable and wasteful living. Bamboo, organic cotton, and hemp are just some of the many durable materials that are being used to produce high quality clothing. I love how the demand for these materials is increasing, which means that these fabrics will become more accessible. Keep any eye out for these options and see how much of a difference these fabrics look and feel. They are truly worth it!

Here are some products made from sustainable materials:

Eco-fashion also includes items that are gently used and resold. Many companies have jumped on this growing trend and there are many apps available that make it easier than ever to buy and sell. Some big name brands will even buy back your gently used clothing and resell or recycle items for use for charitable causes (read more). Here are a few companies where you can buy/sell affordable, yet high-quality recycled fashion.

Eco-Fashion Tips + Rose Market Review and Coupon Code

Disclosure: A box was provided by Rose Market for consideration. All opinions are my own.

Rose Market is a clothing subscription service that upholds the cause for sustainable fashion and offers personalized services with outfits styled just for you. Vintage up-styled pairing pieces together with trendy accessories make up the mix when you receive your very own customized box delivered right to you. Choose from three subscription boxes - The Rosebud, The Bouquet, and The Garden Party (how cute are the names). See a detailed list of options HERE

When I opened my box, I was greeted with a personal note, which was very sweet and thoughtful. What my box came with:

  • Peach kimono-style top

  • Black scarf/belt

  • Pearl cuff bracelet

  • Rose Market Rose Spritzer

Eco-Fashion Tips + Rose Market Review and Coupon Code

Love list:

  • Chic - Very chic and timeless items. 

  • Personalized: The color of the top was a perfect choice for me as I am in love with the color peach.

  • Versatile: The items that it came with could easily create several outfits. 

  • Variety: A variety of items are included, which make it a well-rounded box of useful staples.

  • Sustainable: Items are classic and can be worn for a long time. 

Eco-Fashion Tips + Rose Market Review and Coupon Code

Overall thoughts - I really enjoyed this box, most especially what the company stands for. I am all for supporting companies that are conscious about the impact they can make on the world. It's great to know that these items were sourced sustainably. Every dollar that you spend endorses a product or brand's specific vision and encourages it's growth, so why not make it worth it! 

Get yours! Through July, receive 20% OFF your first box using the code SUMMERLOVE.

Visit RoseMarket.org for more information.


I hope you enjoyed this post! We can all make a difference in the world no matter how small. 

How do you live sustainably/eco-consciously? 


xo stina


Summer Gift - FREE Julep 4-Piece Welcome Box ($50+ value)

Disclosure: This post contains affiliate links.

Who doesn't love a good gift? These days, you can try just about anything without any major commitments for FREE - and we're not talking cheap products - we're talking high quality products that are worth every penny. There are two main reasons why I love Julep polishes: 1. Their colors are professional quality and always so perfect for the season. 2. Their polishes do not contain formaldehyde, formaldehyde resin, toluene, or DBP - chemicals that may have long-term health effects. There are so many good reasons to choose toxic-free polishes, and with so many brands cleaning up their formulas, there are so many to choose from. To learn more about the various chemicals in nail polishes, click HERE.  

So, how's about trying a polish that is not only of the highest quality, but safer for you! Julep is a subscription based service, so you get all of the latest polishes every month - and the best part is you can customize it to your liking. Try it out - treat Yourself to a Gorgeous 4-Piece Welcome Box Valued at $50+ - FREE to New Maven Subscribers. 

Treat Me Welcome Box

Julep's products have been featured in OprahReal Simple and even Vogue!

Treat Me Welcome Box

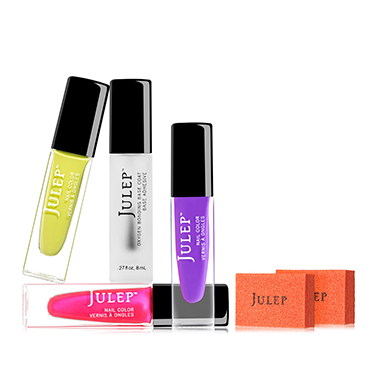
What you get: three bright & beautiful summer shades (Sam, Polly and Denise), two buffer blocks and a Bonding Base Coat that will double the life of your manicure! You’ll get this limited-time Treat Me Welcome Box valued at $50+ (just pay $2.99 shipping) when you sign up for a Julep subscription. As a Julep Maven you’ll receive a box of brand-new, full sized nail color and beauty products each month – and you deserve it!

Love list:

  • Julep Maven is affordable. Every month you get more than $40 of full-size products for just $24.99 per month (tip - prepay for three months at a time and save $15). 

  • Julep Maven is the only customizable box of full-size, limited-run nail colors and beauty innovations. That means no surprises, no dupes or colors you don't like. You can see what is in your box each month and have the option of swapping out colors/products you already have or don't want.

  • Julep Mavens get 20% off all single product purchases, free shipping, early access to secret sales. If you are passionate about your polish, that adds up to some amazing savings!

Treat Me Welcome Box

Get started now! Join Maven and get the Treat Me Welcome Box FREE ($50+ value) - just pay $2.99 shipping using the code TREATME. Want an even better deal? Pre-pay for your first three months of Maven and get the Welcome Box and shipping FREE. Either way, you are going to LOVE being a Maven.


I hope you like this summer gift that I get to share with you! Summer is the best time to rock colorful nails - and these polishes are bright, bold, and beautiful. I hope you get to enjoy this!

Have fun!

xo stina

Stina Xjulep


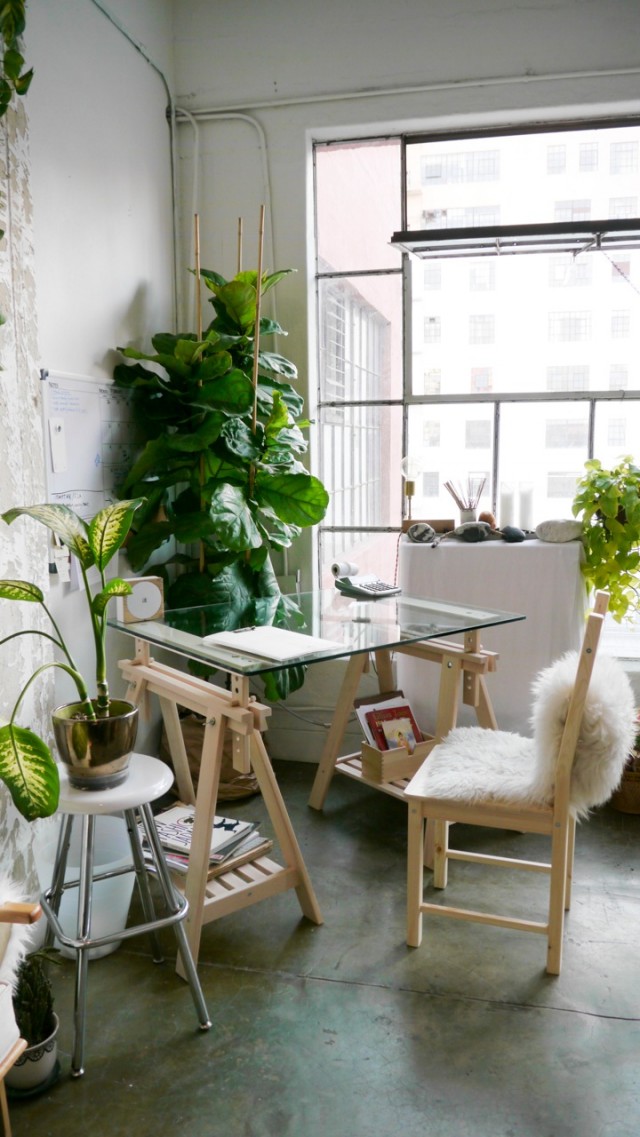
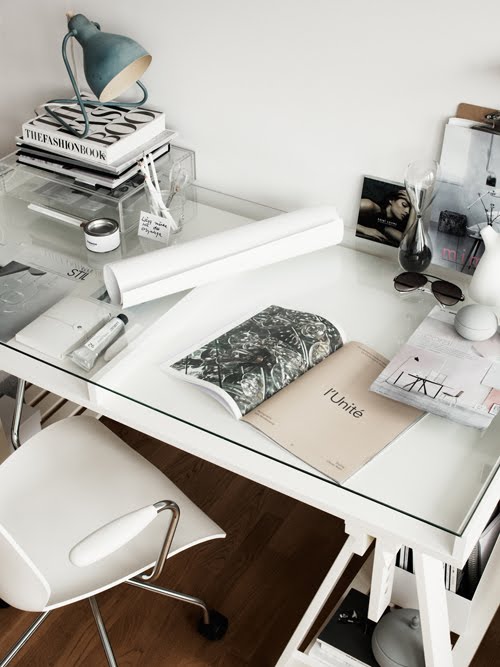
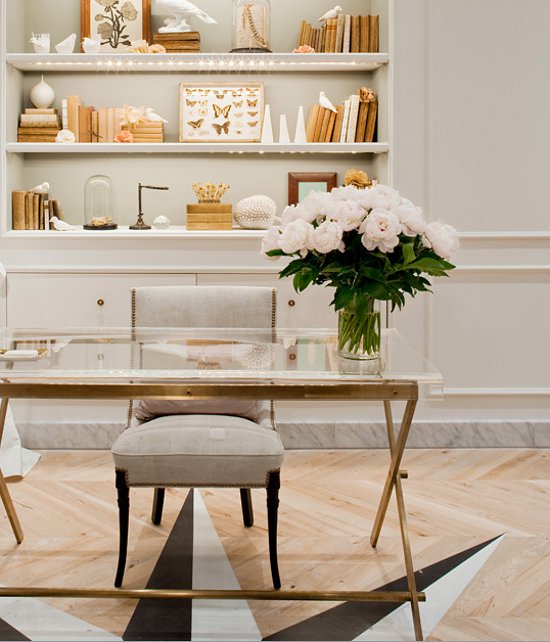
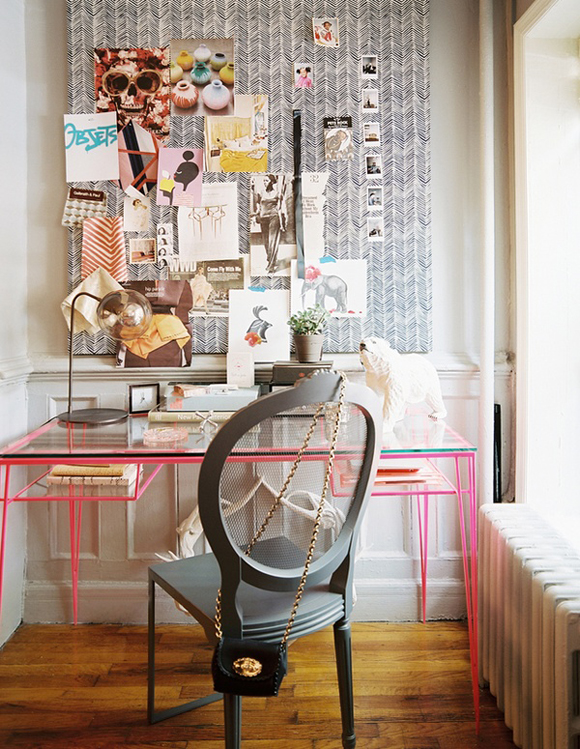
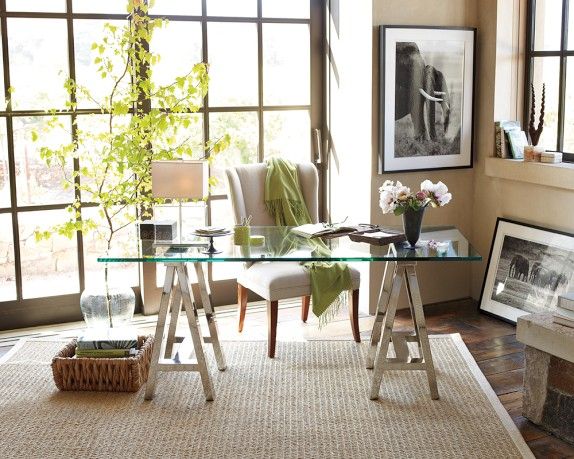
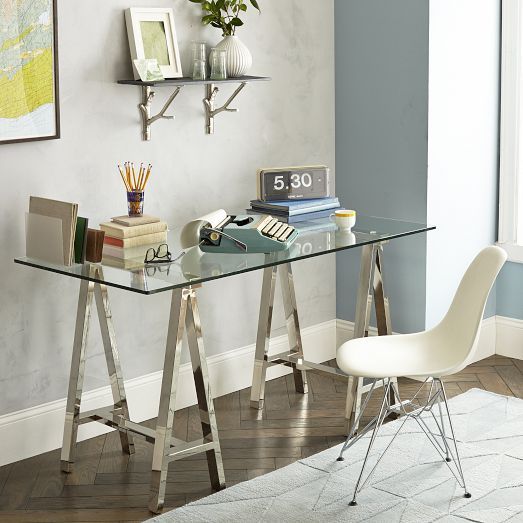
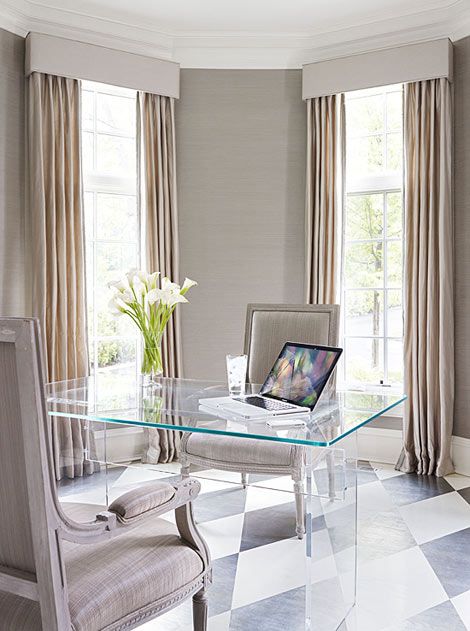
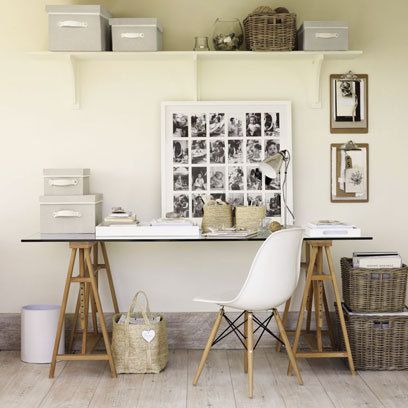
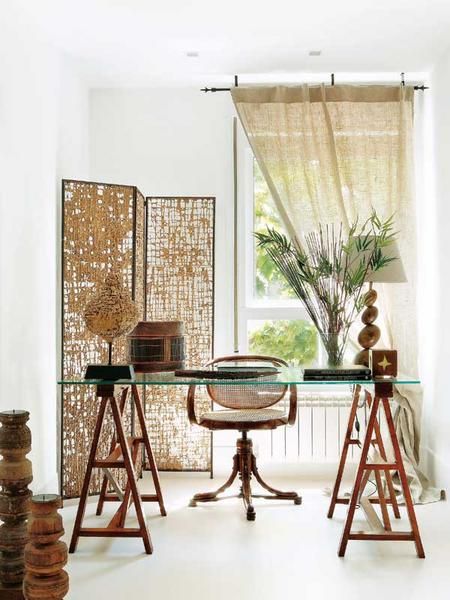
Small Home Office Design Ideas - Glass Desk

Having a home office is the perfect way to boost productivity and creativity. Create a space that expresses who you are, and you will feel more inspired to take on the day with passion and purpose. Inspiration comes from everywhere - including your office - so fill it with things that you love. You want it to be a place that inspires you and gets you away from any distractions that the other parts of the house are full of. 

Most of us would like to say that we have all of the space in the world to create the perfect home office, but that's not always the case; however, a lack of space doesn't mean you have to sacrifice style and functionality. There are so many solutions to creating a home office that is still inspiring and has all of the essentials that an office would need to function and work.

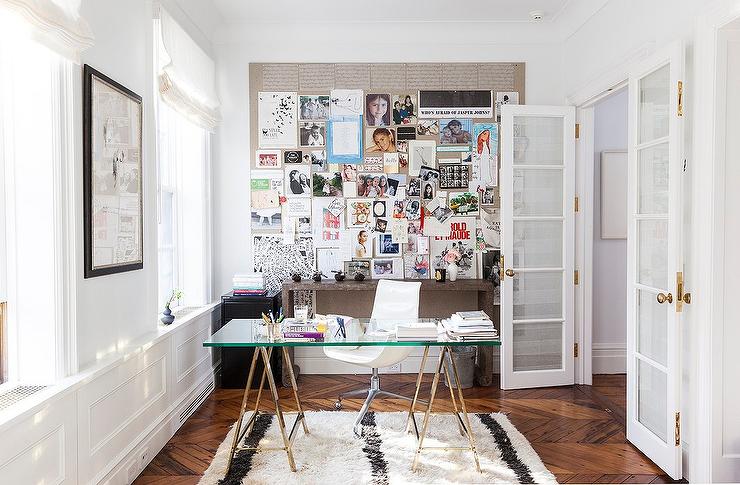
In this post, I focus on the use of glass desks to open up small spaces. Desks are the focal point of an office, so choose a desk that you're going to love for a very long time. The see through nature of glass desks give the illusion of more space and draw the eyes around the room, instead of getting stuck on a large piece of furniture that can be too overwhelming for a small space. 

Discover these inspiring home offices featuring glass desks. They are all so pretty, so I hope you find some inspiration here that you can apply to your space. 

Sources: 1 | 2 | 3, 4 | 5, 6, 7 | 8, 9 | 10 | 11 | 12 | 13 | 14 | 15 | 16 | 17 | 18 | 19 | 20 | 21 | 22 | 23 | 24 | 25 | 26 | 27 | 28 | 29 | 30 | 31 | 32 | 33 | 34 | 35 | 36


There were so many inspiring home offices that I almost couldn't stop posting photos. Thanks so much for hanging out and gathering some ideas. It's so fun looking at pretty spaces like these - I could do this for days!

Did you see any that inspired you? I'd love to hear in the comments!


Summer Beach Essentials

Summer is here and wouldn't you like to hit the beach - not only feeling great - but looking great and enjoying the latest in beach accessories? For those of you who have the pleasure of hitting the sand this summer, here is a list of essentials that I've been spotting lately. I hope you will find inspiration from it and find something you love! There are so many fun accessories to enjoy this summer, so why not get creative at the beach. Try something new and look and feel amazing! 


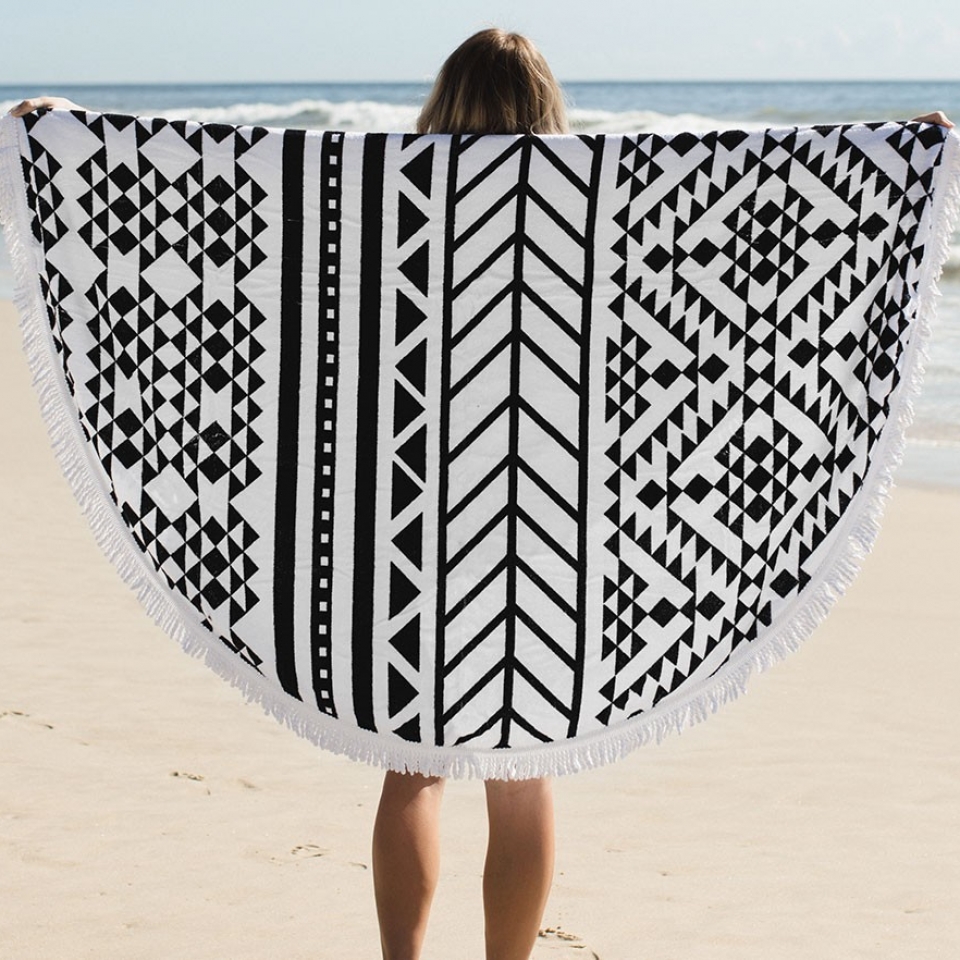
1 // THE AZTEC ROUND TOWEL the beach people

2 // JUTE MAJORELLE BAG the beach people

3 // FORECAST A GLANCE SUNNIES quay eyewear

4 // ISABELA BOHO GLAM NAIL POLISH julep

4a // SUSE BOMBSHELL NAIL POLISH julep

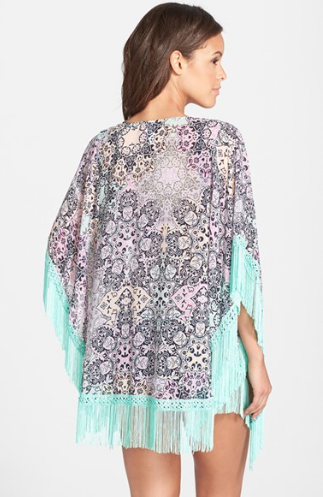
5 // SMOCK THIS WAY PRINT KIMONO bikini lab

6 // GOLD-DIPPED Y-NECKLACE dogeared

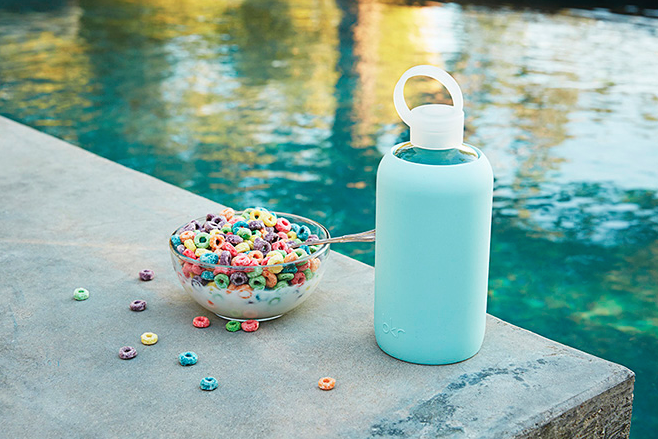
7 // POUT HEART GLASS WATER BOTTLE bkr

8 // BENETINT LIP AND CHEEK STAIN benefit

9 // BENEBALM HYDRATING TINTED LIP BALM benefit

10 // BRIGITTE - MOONDANCE CROCHET + NEOPRENE BIKINI triangl

11 // MINI NICOLETTE TATOOS snaptats


Julep is giving away free summer beauty gifts valued at $78 for each new signup! Just click on the banner for more details and to get your very own free set. 

Poolside Beauty Welcome Box Offer

So, what do you think? I hope you found something you loved and got inspired for your next beach (or pool) trip! Soak up the sun and enjoy your summer - because we all know - summer just doesn't last long enough (for some of us)! 

Let me know what you liked - and if there are any other fabulous beach accessories that you know about - let me know below. I love discovering new things. 

Happy Summer!

xo stina


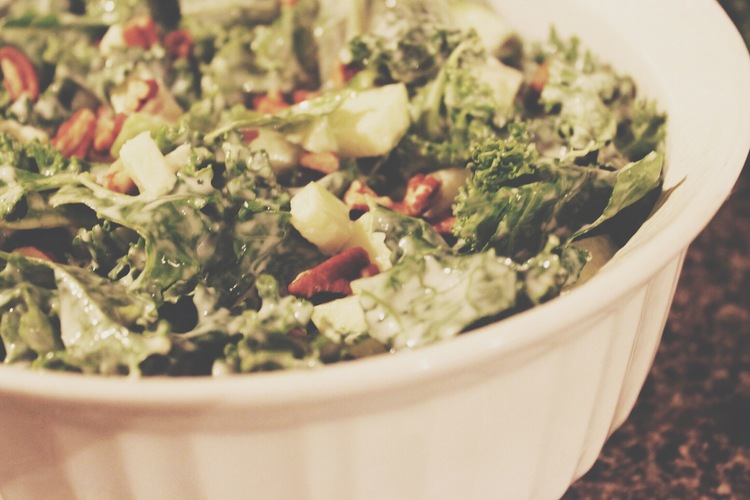
Kale & Honey Apple Pecan Slaw/Salad
Kale & Apple Pecan Slaw/Salad

Kale's one of those leafy vegetables that, at first, seem a little intimidating. Its tough appearance and deep green color give you the idea that it may taste bitter and need a ton of cooking to soften it; however, that isn't the case. Kale has a mild taste and can be eaten raw, which is actually the best way to eat it!

I love using kale in soups and stews or even baking them to make kale chips for a healthy snack. They are very high in Vitamins A, K, and C and numerous other beneficial nutrients that are amazing for your immune system and provide antioxidant and anti-aging properties. Learn more about kale HERE

Kale & Apple Pecan Slaw/Salad

Here's a simple recipe that you can whip up in no time and get your healthy on. It's a great salad to make in advance because it tastes even better when it sits and the kale soaks up all of that yummy dressing. It's slightly sweet and tart and has great texture. I hope you can try it out!

Kale & Honey Apple Pecan Slaw/Salad


Servings: 3-4

Prep: 15 mins

Cook: 0 mins

Total time: 15 mins


Ingredients

  • 3 branches of kale
  • 1 granny smith apple, cut into 1/2 cubes
  • 2 tsp lemon juice
  • 1/2 cup light mayonaise
  • 3 tsp raw honey
  • 1/4 cup pecans
  • a pinch of salt

Instructions

  1. Tear kale leaves into small pieces and discard rib part. Place in a medium sized bowl.
  2. In a separate bowl, combine cubed apples and lemon juice and let sit for a few minutes.
  3. Combine mayonaise and honey in a separate bowl. Add to kale and toss well to coat. Add apples and pecans. Mix well.
  4. Add a pinch of salt to taste and combine.
  5. Enjoy!

Notes

  • Add dried cranberries or any other types of nuts and seeds that you like.

Wasn't that so simple! I love recipes like this because they don't require any cooking time and there's less mess in the kitchen. 

This kale slaw would be a great side to go with a sandwich or wrap - or if you want to make it a meal on it's own, it's pretty filling for that too!

Hope you enjoyed this recipe! What other recipes would you like for me to share?

xo stina


Givenchy Antigona Bag Giveaway on Instagram

I have an amazing giveaway happening right now on Instagram that you can't miss! I have teamed up with a group of fabulous women in business and bloggers to bless one winner with a Givenchy Antigona Mini Satchel Bag. Don't miss this opportunity! Follow me, @hellolovelyliving on Instagram and look for the original post for details on how to enter. Click HERE to see post.
Entry period: 6/10/15 6pm CST - 6/14/15 6pm CST

Givenchy Antigona Bag
Stina Xgivenchy


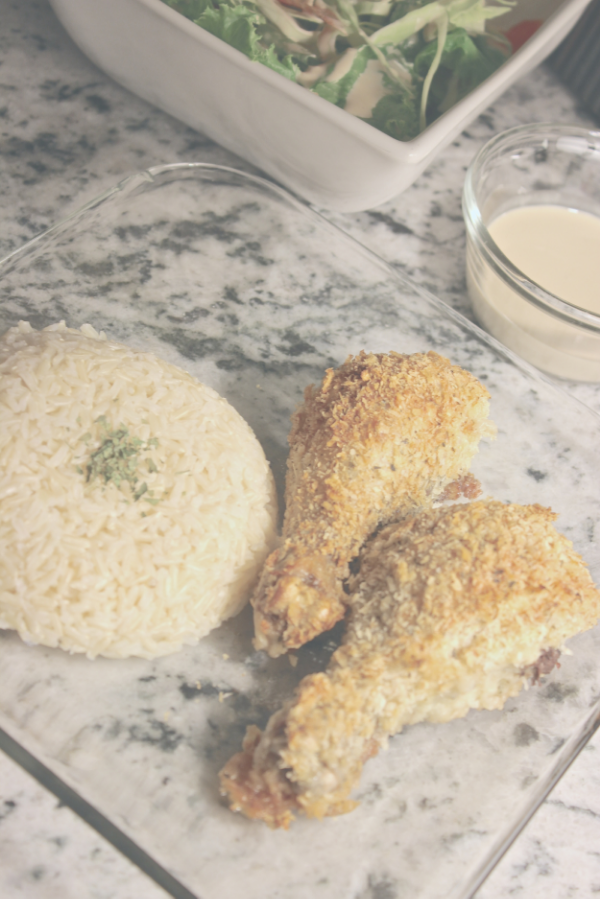
Panko Crusted Parmesan Drumsticks

When that craving for something crispy, crunchy, and fried hits, what's a girl to do? I have little self-control when it comes to anything fried, so after indulging, regret usually sets in and I wish I had something healthy instead - like a salad! Isn't it funny how that works? In order to want something healthy, I have to eat something not so healthy. I guess it's my way of saying sorry to my body? Hahaha! Anyway, fried-anything is horrible to eat, unless you use healthy fats to fry with, such as coconut oil, but I have yet to go to those lengths, so on to the next best thing - baked!

Panko Crusted Parmesan Drumsticks

Here's an easy recipe that will allow you to cure your fried chicken cravings; they may not be saturated in all that deliciously yummy fat and oil, but that's the goal, right! Since these are a healthier option, help yourself to as many pieces as you want, without the guilt.

Panko Crusted Parmesan Drumsticks

If you're not familiar with panko, they are japanese-style breadcrumbs that are light and airy because they are made from bread without crusts. They remain crisper longer because they don't absorb a lot of grease. That is why they are also great for deep frying.

Panko Crusted Parmesan Drumsticks

So, the fun part - let's dive into the recipe! I'm getting hungry just typing this (I think it's time for lunch)! Thankfully I have these in my refrigerator from last night. These are great for re-baking because they will crisp back up in a few minutes. So, a big batch and leftovers is a good thing!

Panko Crusted Parmesan Drumsticks


Servings: 5

Prep: 15 mins

Cook: 45 mins

Total time: 1 hr


Ingredients

  • 10 chicken drumsticks
  • 2 eggs
  • 2 Tbs water
  • 2 cups panko breadcrumbs
  • 1/2 tsp onion powder
  • 1/2 tsp garlic powder
  • 1/2 tsp sea salt
  • 1/2 tsp black pepper
  • 4 Tbsp grated parmesan cheese
  • Olive oil

Instructions

  1. Preheat your oven to 425°. Prepare a baking sheet lined with parchment paper and set aside.
  2. Place the eggs and water into a flat dish and beat until well combined.
  3. Place all dry ingredients into a flat dish and mix well.
  4. Individually coat drumsticks with egg mixture, then with dry mix and press firmly to help it stick. Coat drumsticks a second time with egg mixture, then dry mixture. Set on the prepared baking sheet.
  5. Evenly drizzle olive oil over top. Bake for 30-45 minutes. Watch closely after 30 minutes as the crust will start to brown. Remove once it is golden brown.
  6. Let cool for 5 minutes, then serve immediately.
  7. Enjoy with a side salad and brown rice!


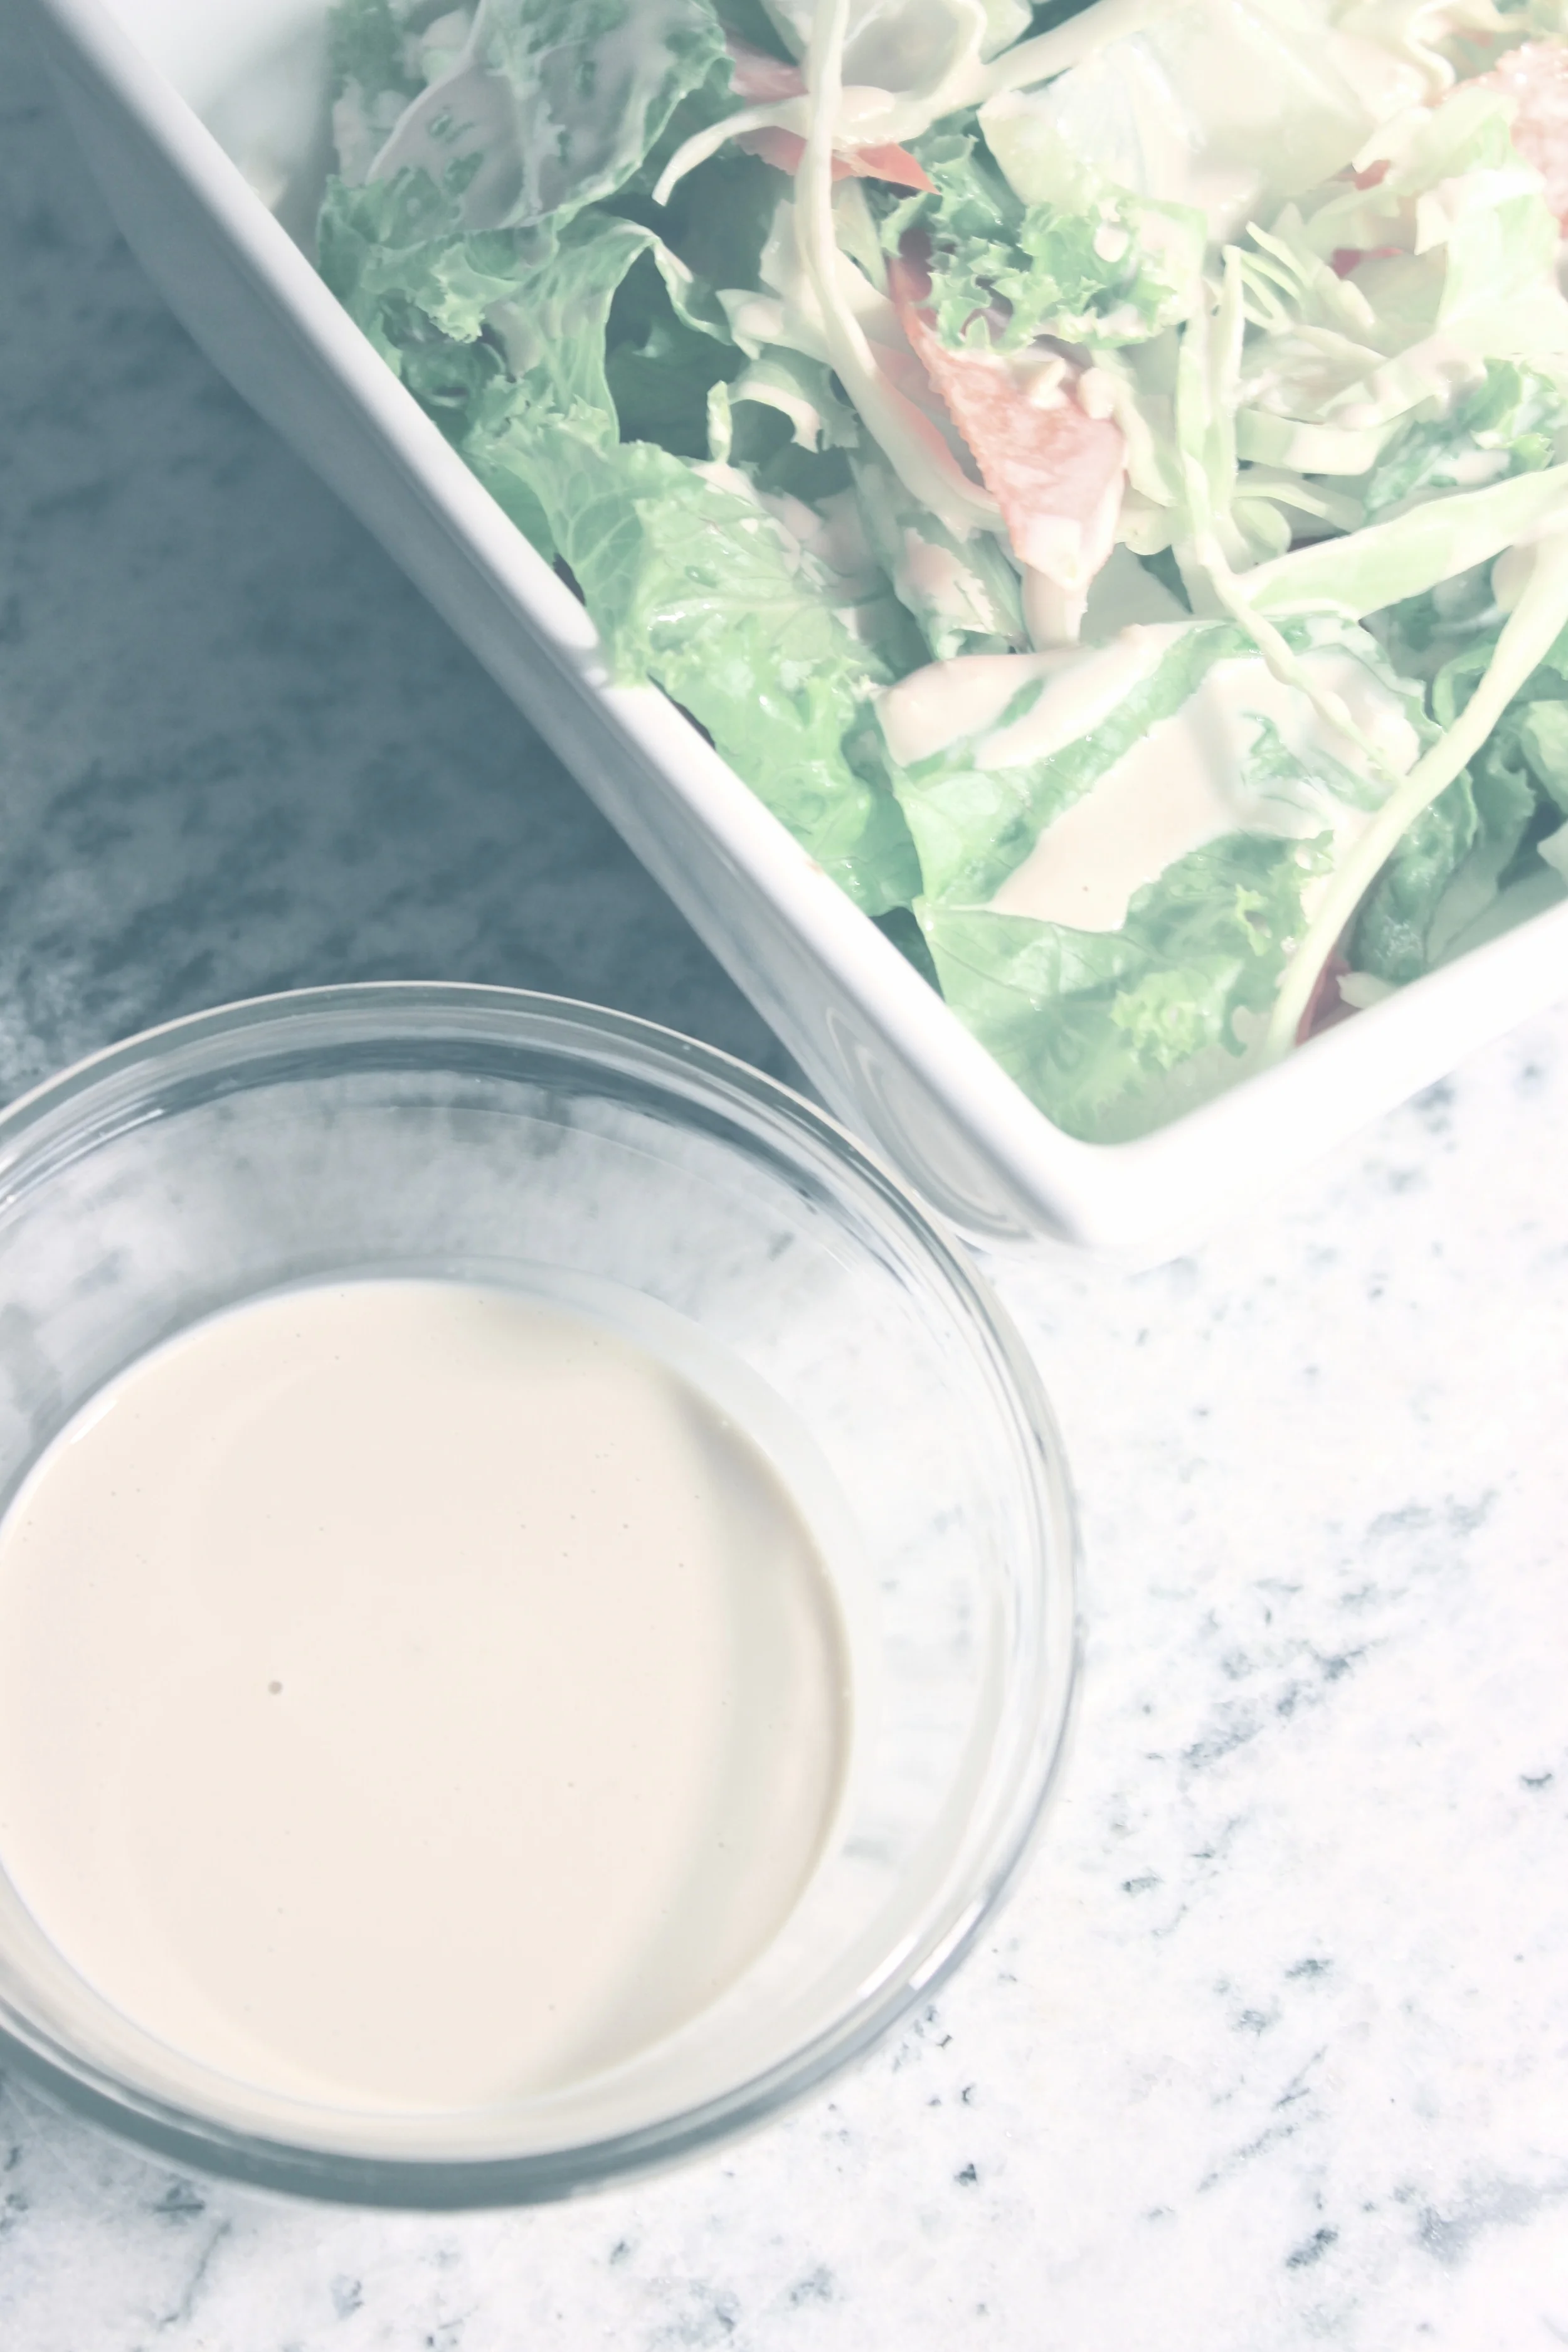
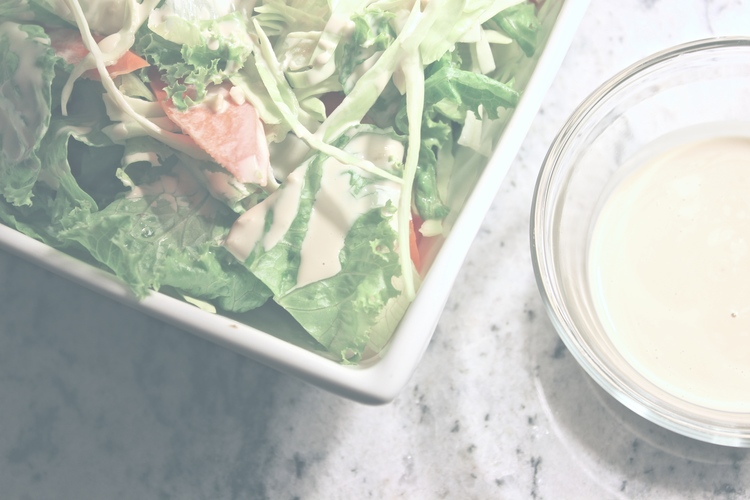
I hope you get to try this recipe - it's so simple to make. Set it and forget it. I love baking because it's so effortless and all of those delicious flavors get concentrated into the food. There's also less cleanup to do - who doesn't love that! If you want to pair this with a salad, try my Japanese Salad Dressing inspired by a favorite restaurant of mine back home (seen in the photo). It tastes utterly delicious paired with this recipe. To happy tummies everywhere! Enjoy : ) 

xo stina


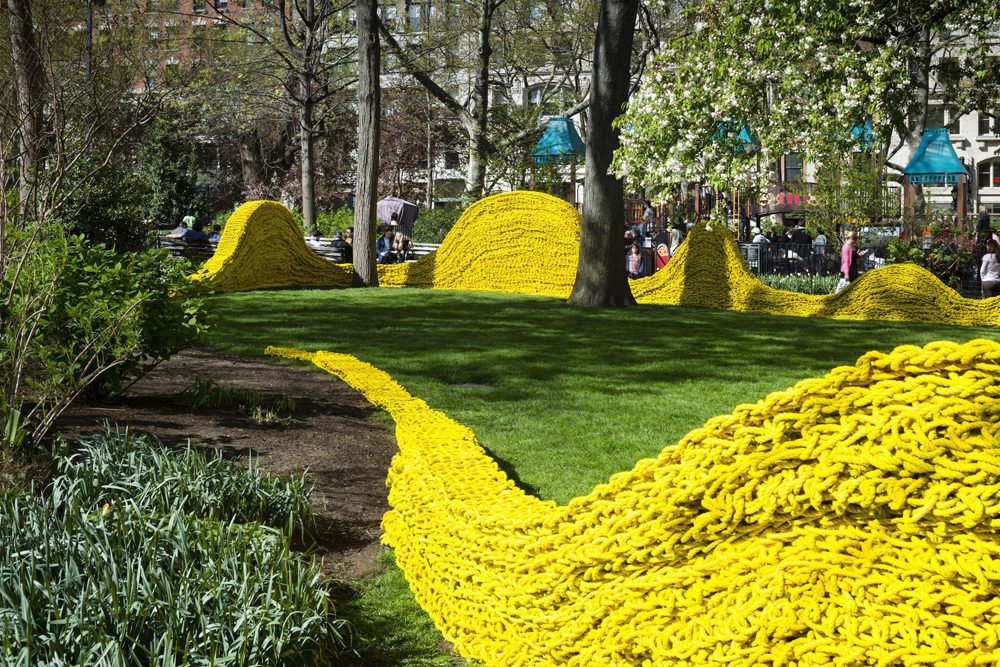
Family Outing to "Terra" by Orly Genger
"Terra" By Orly Genger

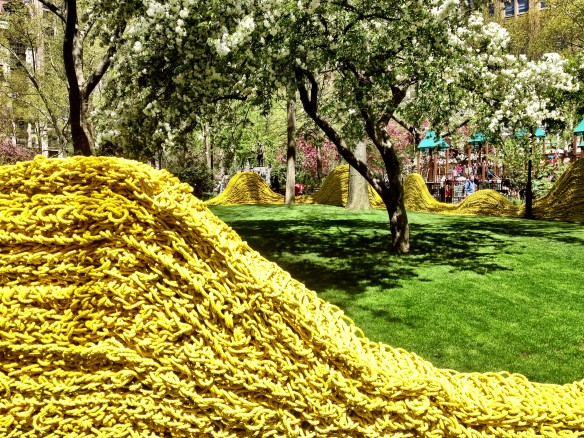
My family and I had a wonderful time taking an impromptu stop downtown to visit this larger than life rope sculpture in the heart of Oklahoma City. The terra cotta color, of which its name is inspired, is vibrant and adds a contrast to the lush greenery that it winds through. 

Hello Lovely Living

Sunny days and perfect weather have been few and far between, so we jumped on the opportunity to get out and explore something new outdoors. Our little one had a great time sitting on the piles of rope - observing and feeling its texture. I'm so glad we can take him outside and enjoy the warmer weather! 

"Terra" By Orly Genger

It's just amazing that this is 1.4 million feet of recycled lobster-fishing rope painted with 350 gallons of terra cotta colored paint. The renowned New York based artist, Orly Genger, was inspired by Oklahoma's red dirt and brick walls when deciding on what color to paint it. Oklahoma sure has a lot of that! It's incredible how much rope this was and how much work was put into this.

Hello Lovely Living

Seeing the landscape of vibrant colors of spring and summer after a long winter is so rewarding and fulfilling. It makes me take on a greater appreciation for the colors that we tend to overlook. 

Hello Lovely Living

"The earth laughs in flowers." - Ralph Waldo Emerson

IMG_9513.JPG

My guys and their smiles. Love them! I can't wait to take my oldest son here - he would enjoy this so much. This is a perfect spot to let your kids run around for hours!

Hello Lovely Living

I was impressed with this sculpture - it inspires me to discover more of Oklahoma's art scene. There's a thriving art community here, and I hope to experience more of what makes this place unique.

Here's a snippet of information about the artist and her work: 

Made of 1.4 million feet of recycled lobster-fishing rope, and painted with 350 gallons of terra cotta colored paint, “Terra” will weave its way through the center section of Campbell Park, located at NW 11th and Broadway, just north of downtown Oklahoma City. The installation opens Monday, October 20, 2014, and runs through October, 2015.

“When visiting Oklahoma I was taken by the vastness of the open landscape and envisioned a line that would travel in a continual motion winding through the patch of land on which the work sits,” said Genger. The artist said the term “red dirt” inspired her color choice, “which relates both to the clay-like nature of the earth, and to the bricks with which we build walls.”

Dubbed the “rope wrangler,” Genger hand knits and shapes hundreds of miles of discarded lobster rope into massive sculptures that traverse the space and incorporates the piece into the landscape. Her art encourages visitors to explore the terrain in a new way and interact with the larger-than-life pieces.

Since 2005, Genger has completed several large-scale installations featuring colorful masses of hand-knotted rope. These include Red, Yellow and Blue in Madison Square Park, New York City and deCordova Sculpture Park in Boston and most recently, Current
— http://oklahomacontemporary.org/exhibits/current-exhibits/orly-genger/

See her other renowned sculptures:


Did you enjoy this post? I look forward to sharing more of my discoveries with you. There's always something beautiful out there to experience!
xo stina

lifestyleStina X


Guam Sakura Style Japanese Salad Dressing

Moving away from my island home has caused me to crave some pretty random things that I would have never thought twice about when I was living there. If you're from Guam or have lived there, you may be familiar with Sakura Noodle House and their "mysterious" salad dressing. I have always wondered what was in it because it had such a unique taste and can be addicting. Their salad bar was one of my favorite parts about eating there because of all of the toppings that I could add to my salad -  especially the croutons! It's one of those restaurants that was always so comforting to go to and their food always tasted the same every time.

So, what's so special about it, you might ask? For starter's, it's salty, tangy, and creamy - not exactly the healthiest of dressings, but it sure makes for a tasty salad that you'll want to go back for seconds. Pile on the veggies because this dressing makes it all taste like it's not even good for you! My family loves this dressing (it even gets compliments). I tried to get it to taste as close to what I remember, so you can also adjust it to your liking if it's not spot on like the real deal (but I believe it's pretty close). Hope you enjoy it!

Guam Sakura Style Japanese Salad

Guam Sakura Style Japanese Salad Dressing


Servings: 3-4

Prep: 5 mins

Cook: 0 mins

Total time: 5 mins


Ingredients

  • 1/4 cup mayonaise
  • 1 garlic clove, minced
  • 1 1/2 tsp red wine vinegar
  • 1 1/2 tsp low sodium soy sauce

Instructions

  1. Mix all ingredients until combined.

Notes

  • I only had red wine vinegar available, but you may use regular vinegar or rice wine vinegar instead.
  • For a completely smooth consistency, you can blend it in a blender.
  • To control the saltiness or tanginess, adjust the soy sauce and/or vinegar as desired.
  • You may use regular soy sauce, but you may have to adjust the amount due to the higher salt content.

If you end up getting addicted to this dressing, you can thank me later! At least it will help you get more greens in your diet, and that is always a good thing, right? 

Let me know in the comments what other recipes you would like for me to share. Are there any restaurant-style foods that you miss from back home? I'd love to hear from you!

xo stina


DIY Gold Box Organizers

DIYs just make me so happy. Here's one that will give you something to do with all of those cereal boxes that you always think, I can make something out of these, but usually end up throwing them away. I've been hoarding boxes for months now because I've had a plan. So glad to finally do something with them and share the joy that is organization! 

Who can relate to me when you search for organizers and come across beautiful ones, but when you look at the price, you have to pinch yourself? I just don't get why a piece of plastic or wood has to be so expensive. I blame Target's expensive organizers for my lack of organization. Hahaha! Anywho, this is why I am just so excited about this DIY. I am on my way to having a prettier bathroom cabinet! 

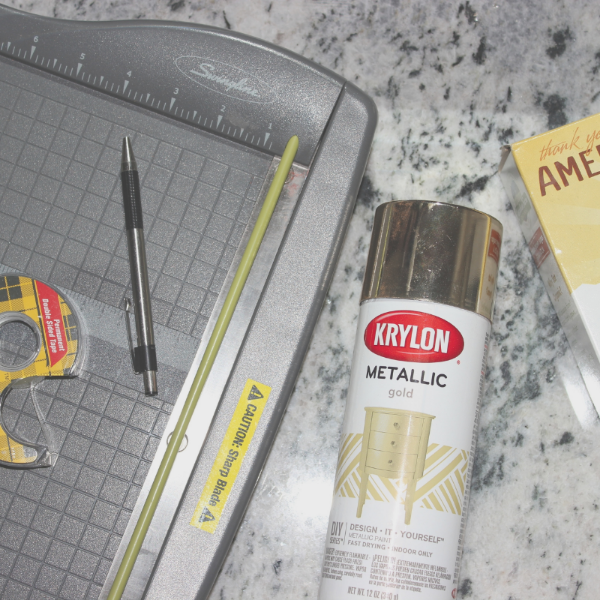
Here's what you'll need:

DIY Gold Box Organizers
  • Misc. boxes (cereal, oatmeal, etc.)

  • Gold spray paint - I used Krylon Metallic Gold

  • Paper cutter

  • Double-sided tape

  • Pen

  • White card stock paper (not pictured)

Step 1

DIY Gold Box Organizers

Open your boxes at both ends and flatten.

Step 2

DIY Gold Box Organizers

Mark where you need to cut. You can decide what height you would like for your boxes. If you are using them for your drawers, measure the height of your drawer and mark your boxes accordingly. Mark both ends of your boxes. 

Step 3

DIY Gold Box Organizers

Use your guides and trim both ends of your boxes with your paper cutter. I am trimming mine at 4", so it helps to have a ruler so you don't have to mark every single box. 

You will end up with two boxes like this:

DIY Gold Box Organizers

Step 4

DIY Gold Box Organizers

Spray paint your boxes on the outside only. 

Step 5

DIY Gold Box Organizers

Place double-sided tape where the former adhesive was and firmly secure shut.

Step 6

DIY Gold Box Organizers

Cut out pieces of card stock to fit inside the bottom of your boxes.

Use any paper you like. I was just thinking how pretty it would be to use paper with designs on them. You could also use washi tape to line the top edges of the boxes to add a pop of color. 

And you're done!

DIY Gold Box Organizers

I plan on revamping my whole bathroom cabinet with these. Aren't they so easy to make? I love repurposing things. It feels good to know that I didn't spend an arm and a leg on organizers!

I hope you guys enjoyed this new DIY! I'm telling you - I have tons of DIYs that are sitting on the back burner until I find the time to do them. My little one is king of my life, so it's hard to squeeze in "me" time. DIYs are so relaxing. 

Have an amazing day, and check back for more!

xo stina

lifestyleStina Xgold, diy


Happy Mother's Day - FREE Wallpapers via Design Love Fest

I love discovering pretty things - and today, I bring you something that will make any mom giddy on Mother's Day! But before we get into it, Happy Mother's Day to all you lovely ladies out there who do the most important job in the world. A job where you are paid in kisses, hugs, smiles, laughter, and the never-ending love that you get to experience from your little (or big) ones. I am blessed to have two sons, one who is 13 and a little one who just turned 6 months. It's amazing how much love you see in the eyes of your children and the admiration that comes from them. How great that we get to experience such an unconditional and pure love from our children. They are a gift of true love from an amazing Father! Today, I honor all mommies - to all women who make a difference loving and nurturing the little ones in our lives. 

So, I discovered some really fun and pretty wallpaper resources that I wanted to share with you all. Pretty-up your desktops and phones with Design Love Fest's free desktop and phone wallpapers. I love her site and her style. I'm so glad I found these, as I am always looking for pretty designs. Take a look and download some - if not all! I know I wanted to. She has tons available, so go check 'em out! 

That's how I feel when I find freebies and pretty freebies at that! Thanks to Design Love Fest for the awesomeness. Stop by and say hello to her and let her know I sent you!

Enjoy your day mamas!

xo stina

All images from Design Love Fest

Stina X


Mother's Day 2015 Gift Guide + FREE Printable
Hello Lovely Living

Mother's Day is right around the corner, and I have 10 unique gift ideas to inspire you to step outside of the box this year. Now that just about everything is at our fingertips - thanks to the internet - we can now sit back and let our fingers do the work. Searching for the perfect gift can be simple and straightforward. I don't know about you, but I am an impatient shopper, and a shopping trip can quickly turn into an all day affair because I am also indecisive. I like to do my research first so that I know for sure that what I'm buying is actually what I want. Don’t forget Gramma! And there's just so much out there to be discovered, so planning ahead always helps to alleviate any stress or last minute shopping.

I really enjoyed putting these gift ideas together for you. Let's get inspired!

1. Mother's Day Printable

Mother's Day 2015 Gift Guide

etsy.com

There are so many beautiful prints designed by very talented artists on creative marketplaces such as etsy. Printables are available for instant download, and all you pay is for the download itself, which is usually very cheap. This 8x10 print is only $5. Just print it out and frame it, and there you have a personalized gift that is not only gorgeous, but affordable!


< Download my FREE Mother's Day Printable that I created! 

THE PRINT FITS AN 8"X10" FRAME.


STEP 1 • PRINT IT

STEP 2 • FRAME IT

STEP 3 • GIFT IT


2. Dogeared Necklace

dogeared.com

What makes these necklaces different? Each necklace contains a charm with a specific symbolic meaning attached to it. The message or meaning is printed on the card, which adds that personal touch to the piece, making it special and meaningful.

3. Subscription Box

glossybox.com

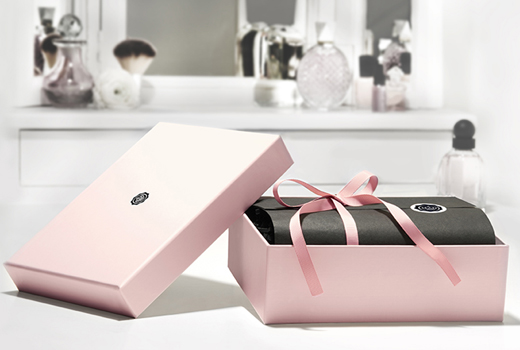
There are subscription boxes literally springing up everywhere. You can now get almost anything through a subscription service these days. It's the newest way to discover great products, and it is a genius idea at that. It's like Christmas at your doorstep - every month! Who doesn't like receiving gifts? I thought this would be the perfect gift idea for mom. It's a great way to remind her just how loved she is without you having to do the guesswork. Say you think she would enjoy snacks. Do a Google search with keywords snacks + monthly subscription, and take your pick. Beauty? There are tons of others to choose from. There are also many boxes that now feature products catered to the natural and eco-concious consumer such as vegan and organic options. 

4. Food Delivery

beritual.com

Now, this one is along the lines with the subscription box, but I just had to include it. Being a mom myself, I would just love something like this just for the fun of it. What they do is send you a box filled with fresh ingredients for you to prepare a meal that has been pr-measured, prepped and complete with a recipe to follow. I think this is a great way for mom to try something new and out of her comfort zone. There are many companies providing this service, so check out the availability for your area! Here is a great resource that lists some of the different companies offering this service.

5. Casetify Phone Case

casetify.com

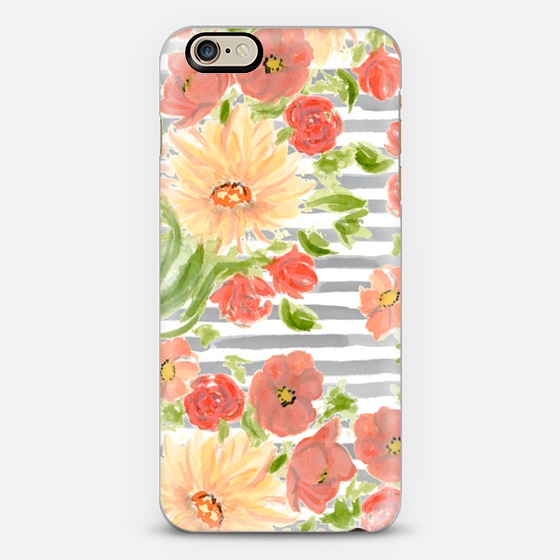
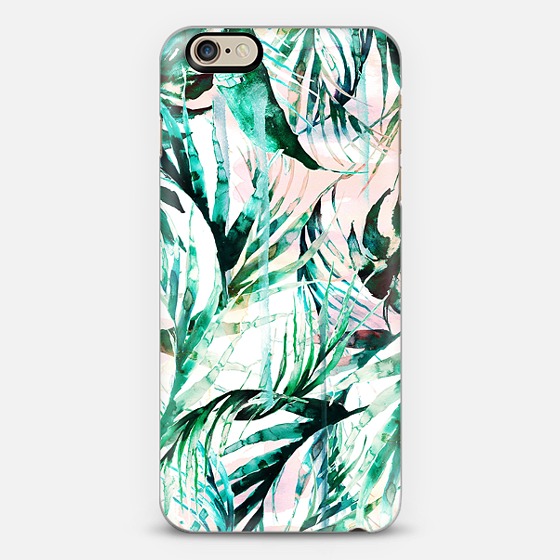
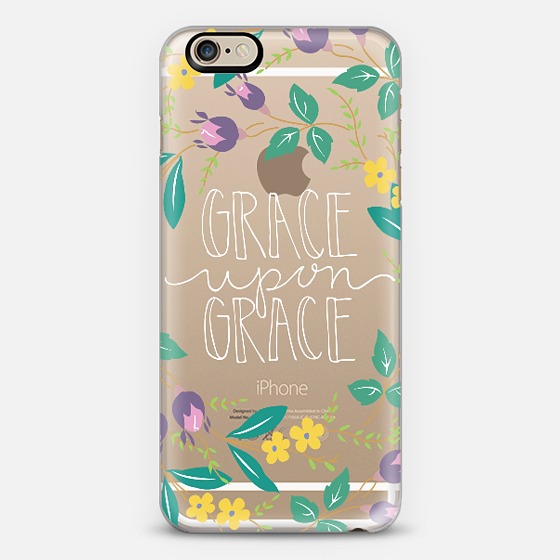
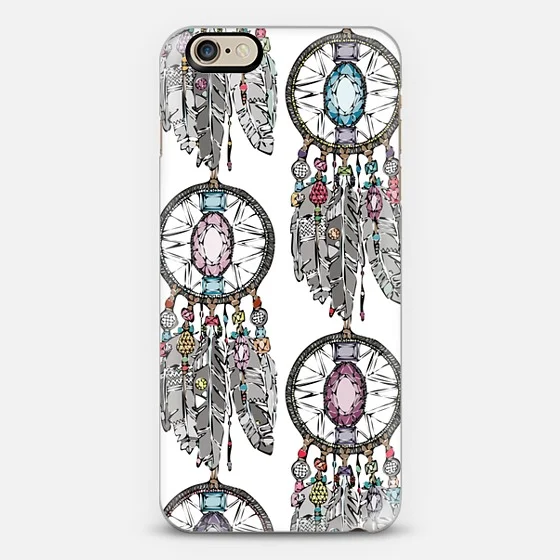
The neat thing about Casetify is that their cases are designed by artists or as they call it, "creative makers". So, you can find some pretty unique designs. You can also custom design your own case HERE with photos and uploads of your choice. The possibilities are endless.

6. Scentbird 

Mother's Day 2015 Gift Guide

scentbird.com

Here's a new product that you'll probably want for yourself too! You know how it takes years upon years to finish just one bottle of perfume? With this subscription service, she can try as many fragrances as she wants. What she gets is a 30-day supply of designer fragrance every month for only $14.95. Let mom pick from 350+ designer fragrances and receive a generous 0.27 oz/8 ml spray. How cool is that?! They currently have a Mother's Day gift where you can get a free deluxe candle set with a 6 or 12 month subscription. 

7. Club W

Mother's Day 2015 Gift Guide

clubw.com

Club W is the world's only personalized wine club. I'm pretty sure there are millions of moms out there that would just love us forever if we ever signed them up for this service. Three bottles of wine every month delivered right to their doorstep for $39 + $6 flat rate shipping? Ummm...yes, please! I'm sure this is on every mom's mother's day wish list, but she's just not telling you. 

8. Chatbooks

chatbooks.com

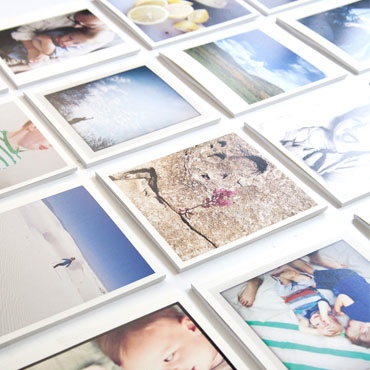
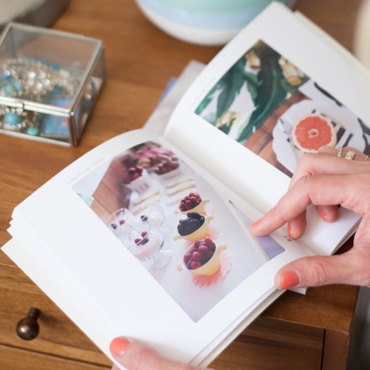
Let's admit it, we all have a trillion photos in our phones, on our computers, Facebook, Instagram - everywhere! Why not make use of them and put together a bunch of memorable moments that mom can look back on. These photo books are perfect. They only cost $6 a piece and have 60 pages. You just create the book using their app. Plus, there's free shipping. Easy!

9. Breakfast in Bed

Mother's Day 2015 Gift Ideas

Homemade and from the heart is always the way to mom's heart. Make her feel extra special by making her breakfast in bed. Make sure it is a surprise! As soon as she wakes up, have it already prepared for her. There's nothing like waking up to your family all crowded around you and a delicious breakfast to enjoy without ever lifting a finger. 

10. Succulents

Mother's Day 2015 Gift Ideas

We all know that moms love flowers, but how about something that she could enjoy year-round and that's low maintenance. Succulents are easy to plant, so you can basically place them in any type of container. How pretty would it be to do something like this with her initials? I'm sure she would love it, especially if it was made by you! Find them at home improvement stores or garden centers.


I hope this was helpful, and if you're a mommy (or soon-to-be) yourself, here's wishing you a Happy Mother's Day! Don't forget to download my FREE Mother's Day Printable!

xo stina


Lemongrass Chicken
Lemongrass Chicken Recipe

At my house, I always like to make diverse recipes from different cuisines and cultures. Tonight it just happened to be Vietnamese. I basically love all asian foods and dream to someday travel to Asia and delve into the street food scene where I could really taste the authentic stuff straight from the locals while experiencing all the sights and sounds around me. 

I stumbled upon making this recipe by what I remember this dish tasting like back home on Guam. Where I'm from, it's a melting pot of all types of cuisine, so I had the pleasure of enjoying so much of it and being so spoiled! Now that I am in the mainland, it's harder to come by those tastes that I was so used to back home. I've had to learn how to make the dishes that I love, so I am grateful that there are a few asian markets here where I can find almost anything I need.

Lemongrass Chicken Recipe

Lemongrass Chicken can be found at most Vietnamese and/or asian restaurants. The lemongrass gives it a beautiful aroma and mild taste. The star here, though, is the red pepper powder. It has a mild taste, so you can easily control the heat. Korean pepper powder can be found at most asian markets, but make sure to purchase the right one, as there are different types available that look the same, but aren't. I include links below to the asian ingredients that you may not find locally. Let's get started!


Lemongrass Chicken


Servings: 3

Prep: 10 mins

Cook: 15 mins

Total time: 25 mins


Ingredients

  • 3 chicken thighs (bone and skin removed)
  • 1/2 yellow onion, sliced
  • 2 stalks green onions, chopped
  • 3 stalks lemongrass
  • 2 Tbsp fish sauce
  • 1-2 tsp Korean red pepper powder
  • 2 Tbsp olive oil
  • 1/4 tsp each salt and pepper

Instructions

  1. Chop chicken thighs into 1"x 1" cubes. Cut lemongrass at a diagonal into 2" pieces.
  2. On medium high heat, in a wok, add olive oil and lemongrass and saute until arromatic and slightly browned.
  3. Add chicken and sprinkle with salt and pepper. Let the chicken cook without constantly turning it, so it can get nicely browned, about 5 minutes on each side before flipping. Do this for each side until all sides are nicely browned and carmelized.
  4. Add onions and saute for 2 minutes, then add fish sauce and cook for another 2 minutes.
  5. Add red pepper powder and stir to evenly coat the chicken. Cook for 2 minutes.
  6. Turn off heat and sprinkle green onions on top and combine.
  7. Enjoy with steamed, whit rice.

Lemongrass Chicken Recipe

Easy, huh? This recipe can be whipped up in no time and tastes just like restaurant quality. If you like things on the spicier side, just add more pepper powder. I hope you can try it out! 

xo stina


DIY Paint Swatch Wall Calendar
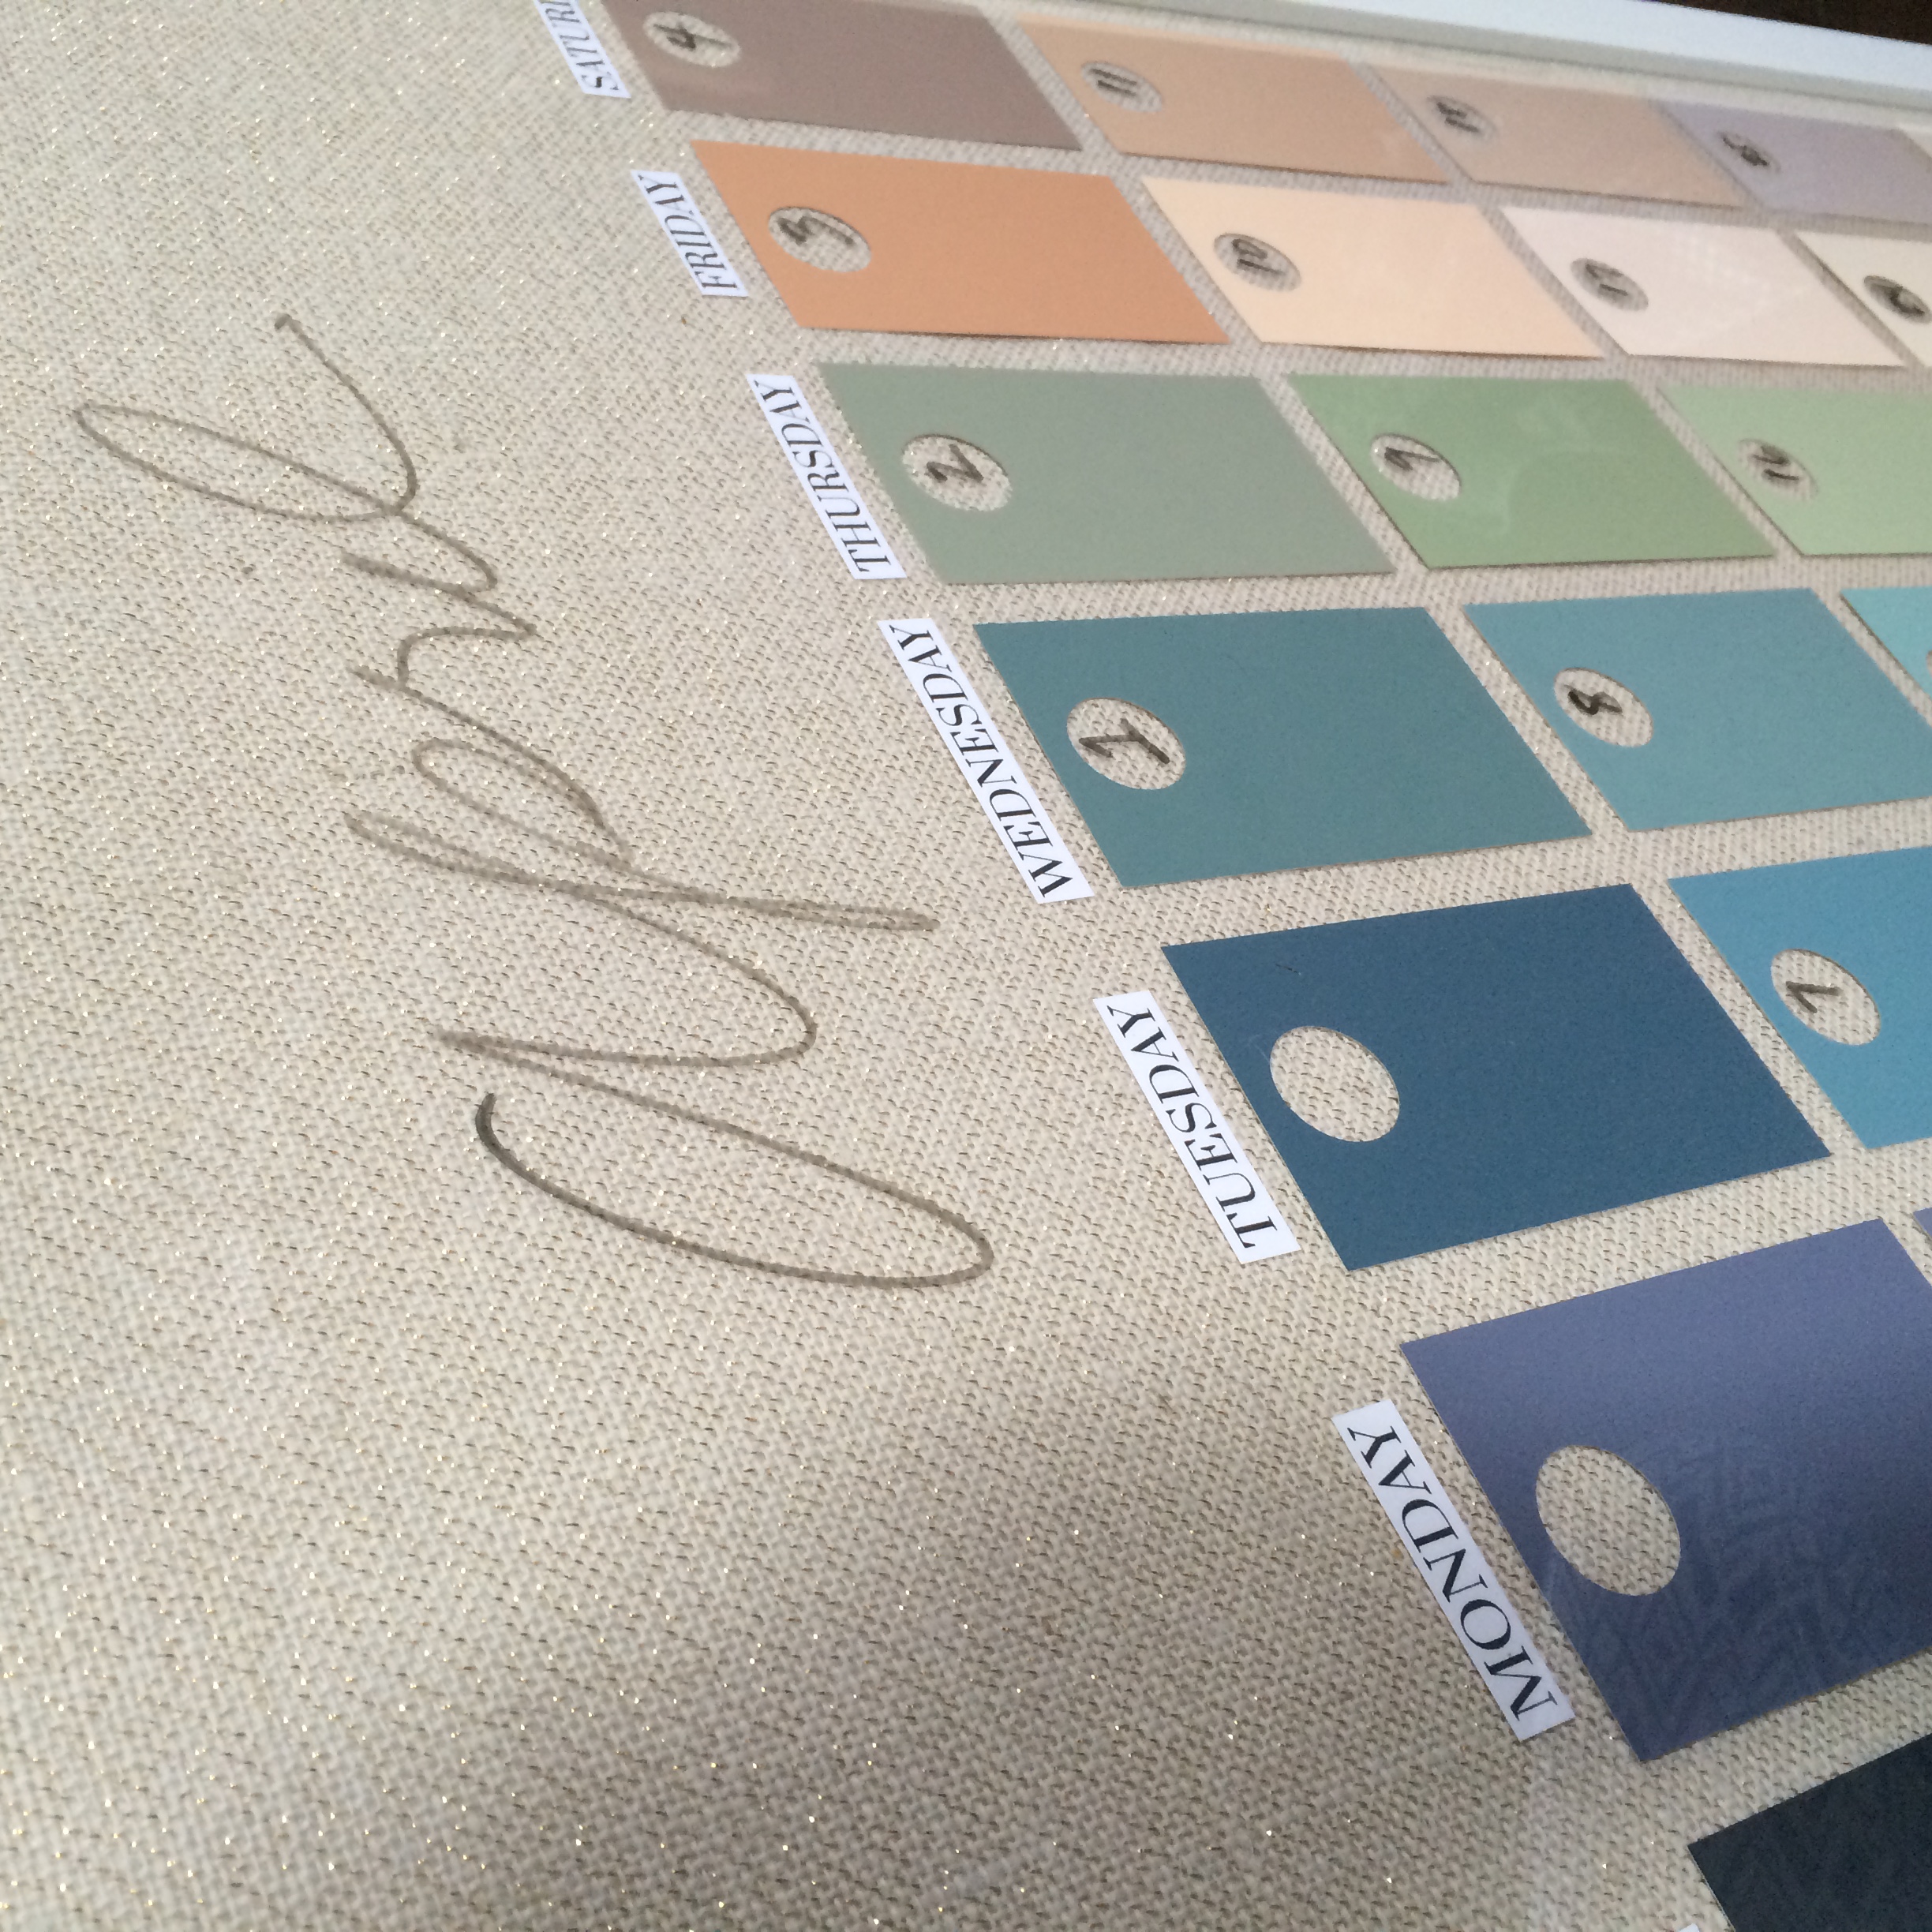
diy paint swatch calendar

My husband has been wanting to buy a dry erase board for quite sometime. Thanks to a previous late night Pinterest binge, I had remembered seeing a calendar that used paint swatches and thought, what a neat idea, I want to try something like that someday! I love the simplicity in using a glass surface. What came next was the pitch to the husband. Surprisingly, I was able to convince him to let me do it, which was a victory in itself because I usually get the "that's too girly" card. 

diy paint swatch calendar closeup

Don't you just love Pinterest! I love getting inspiration and putting my hands to work to make something pretty. I've always loved making things - there's just something therapeutic about it. Dry erase boards can be a big eyesore, and they always tend to get tossed to the side because you just get plain bored of using them - well we do! The cool thing about this project is that it isn't permanent and it is fully customizable. Repurpose it once you get tired of it or simply change the fabric or colors. You could even add in some photos or just about anything. Who else loves multi-purpose projects? Let's get started.

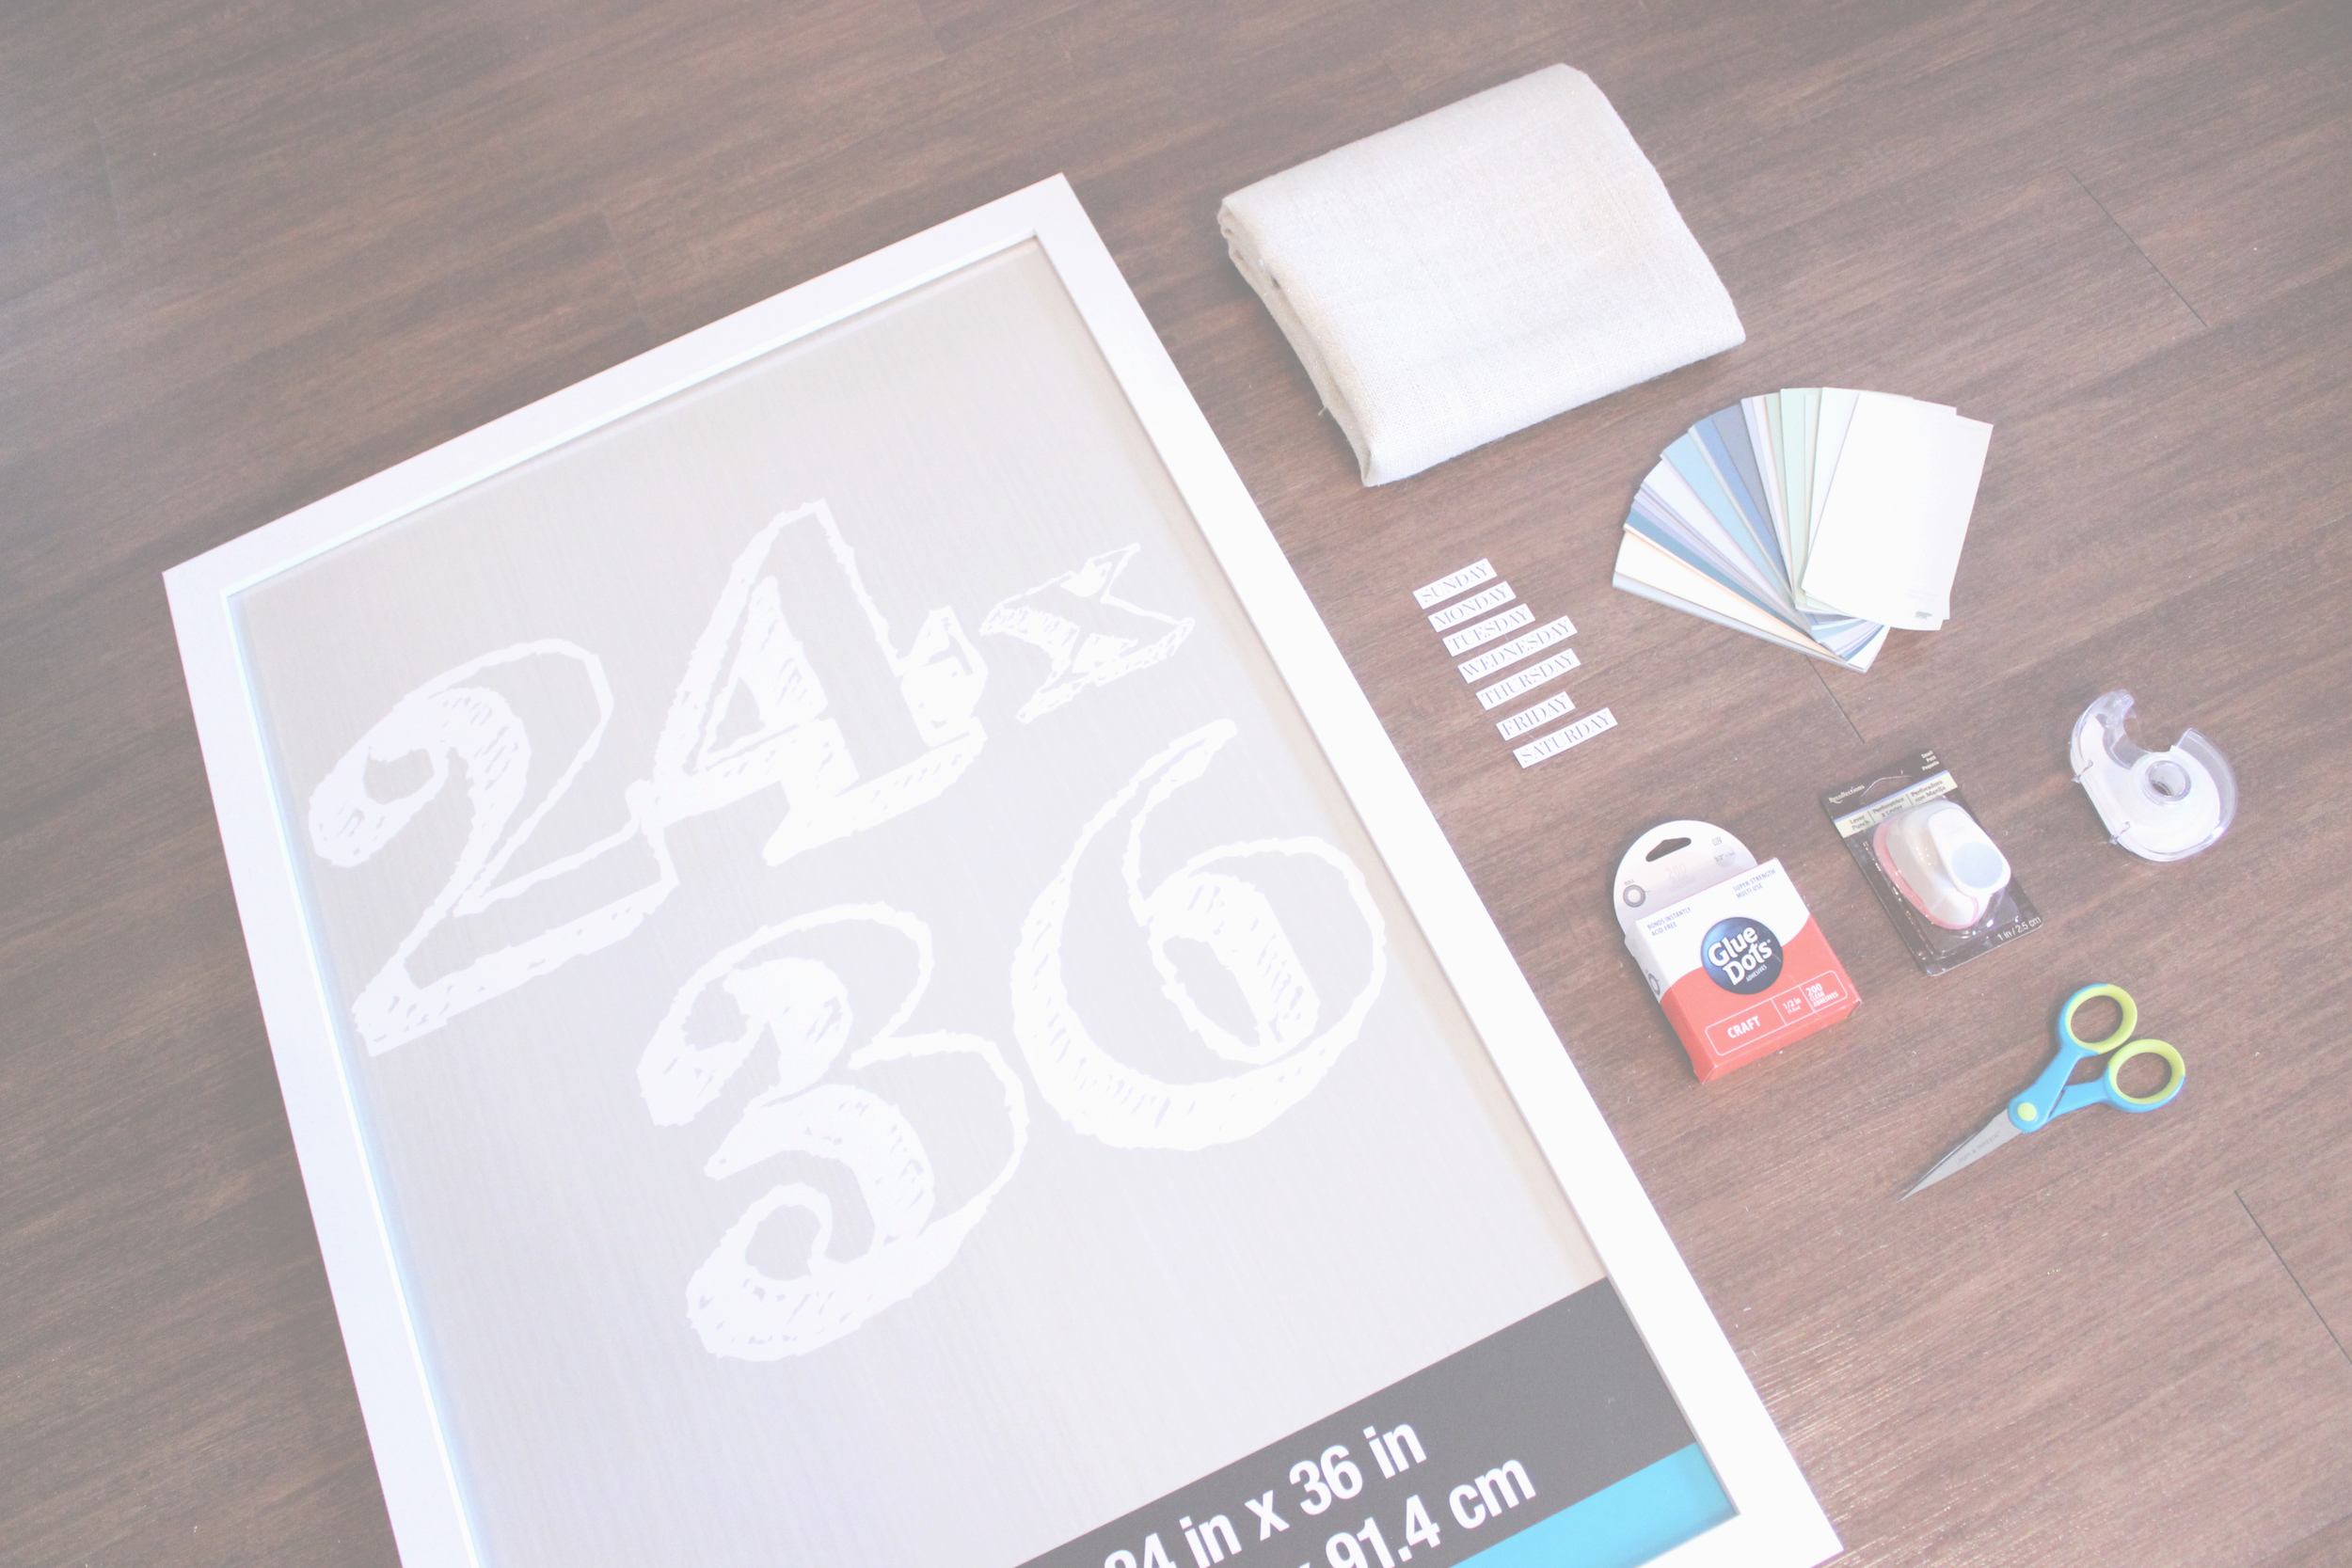
diy wall calendar supplies

Supplies

  • 24" w x 36" h picture frame (glass or polystyrene) I used polystyrene, which is cheaper, but looks comparable to glass.

  • 3/4 yard w x 40" h gold burlap or fabric of choice

  • 35 paint swatches - I used Behr paint swatches from Home Depot, size - 3.25" w x 6.5" h . You can use any paint swatches that can be trimmed to 2.75" w x 4.75" h. Choose whatever color combinations you like. I went with an ombre/gradient effect. 

  • Days of the week labels - I created a printable available for download HERE

  • Glue dots or double-sided tape

  • Tape

  • Scissors 

  • 1" circular whole puncher

  • Optional: paper cutter (makes cutting everything 10x easier)

  • Dry-erase marker


Instructions

Hello lovely living

Back 

Front

Front

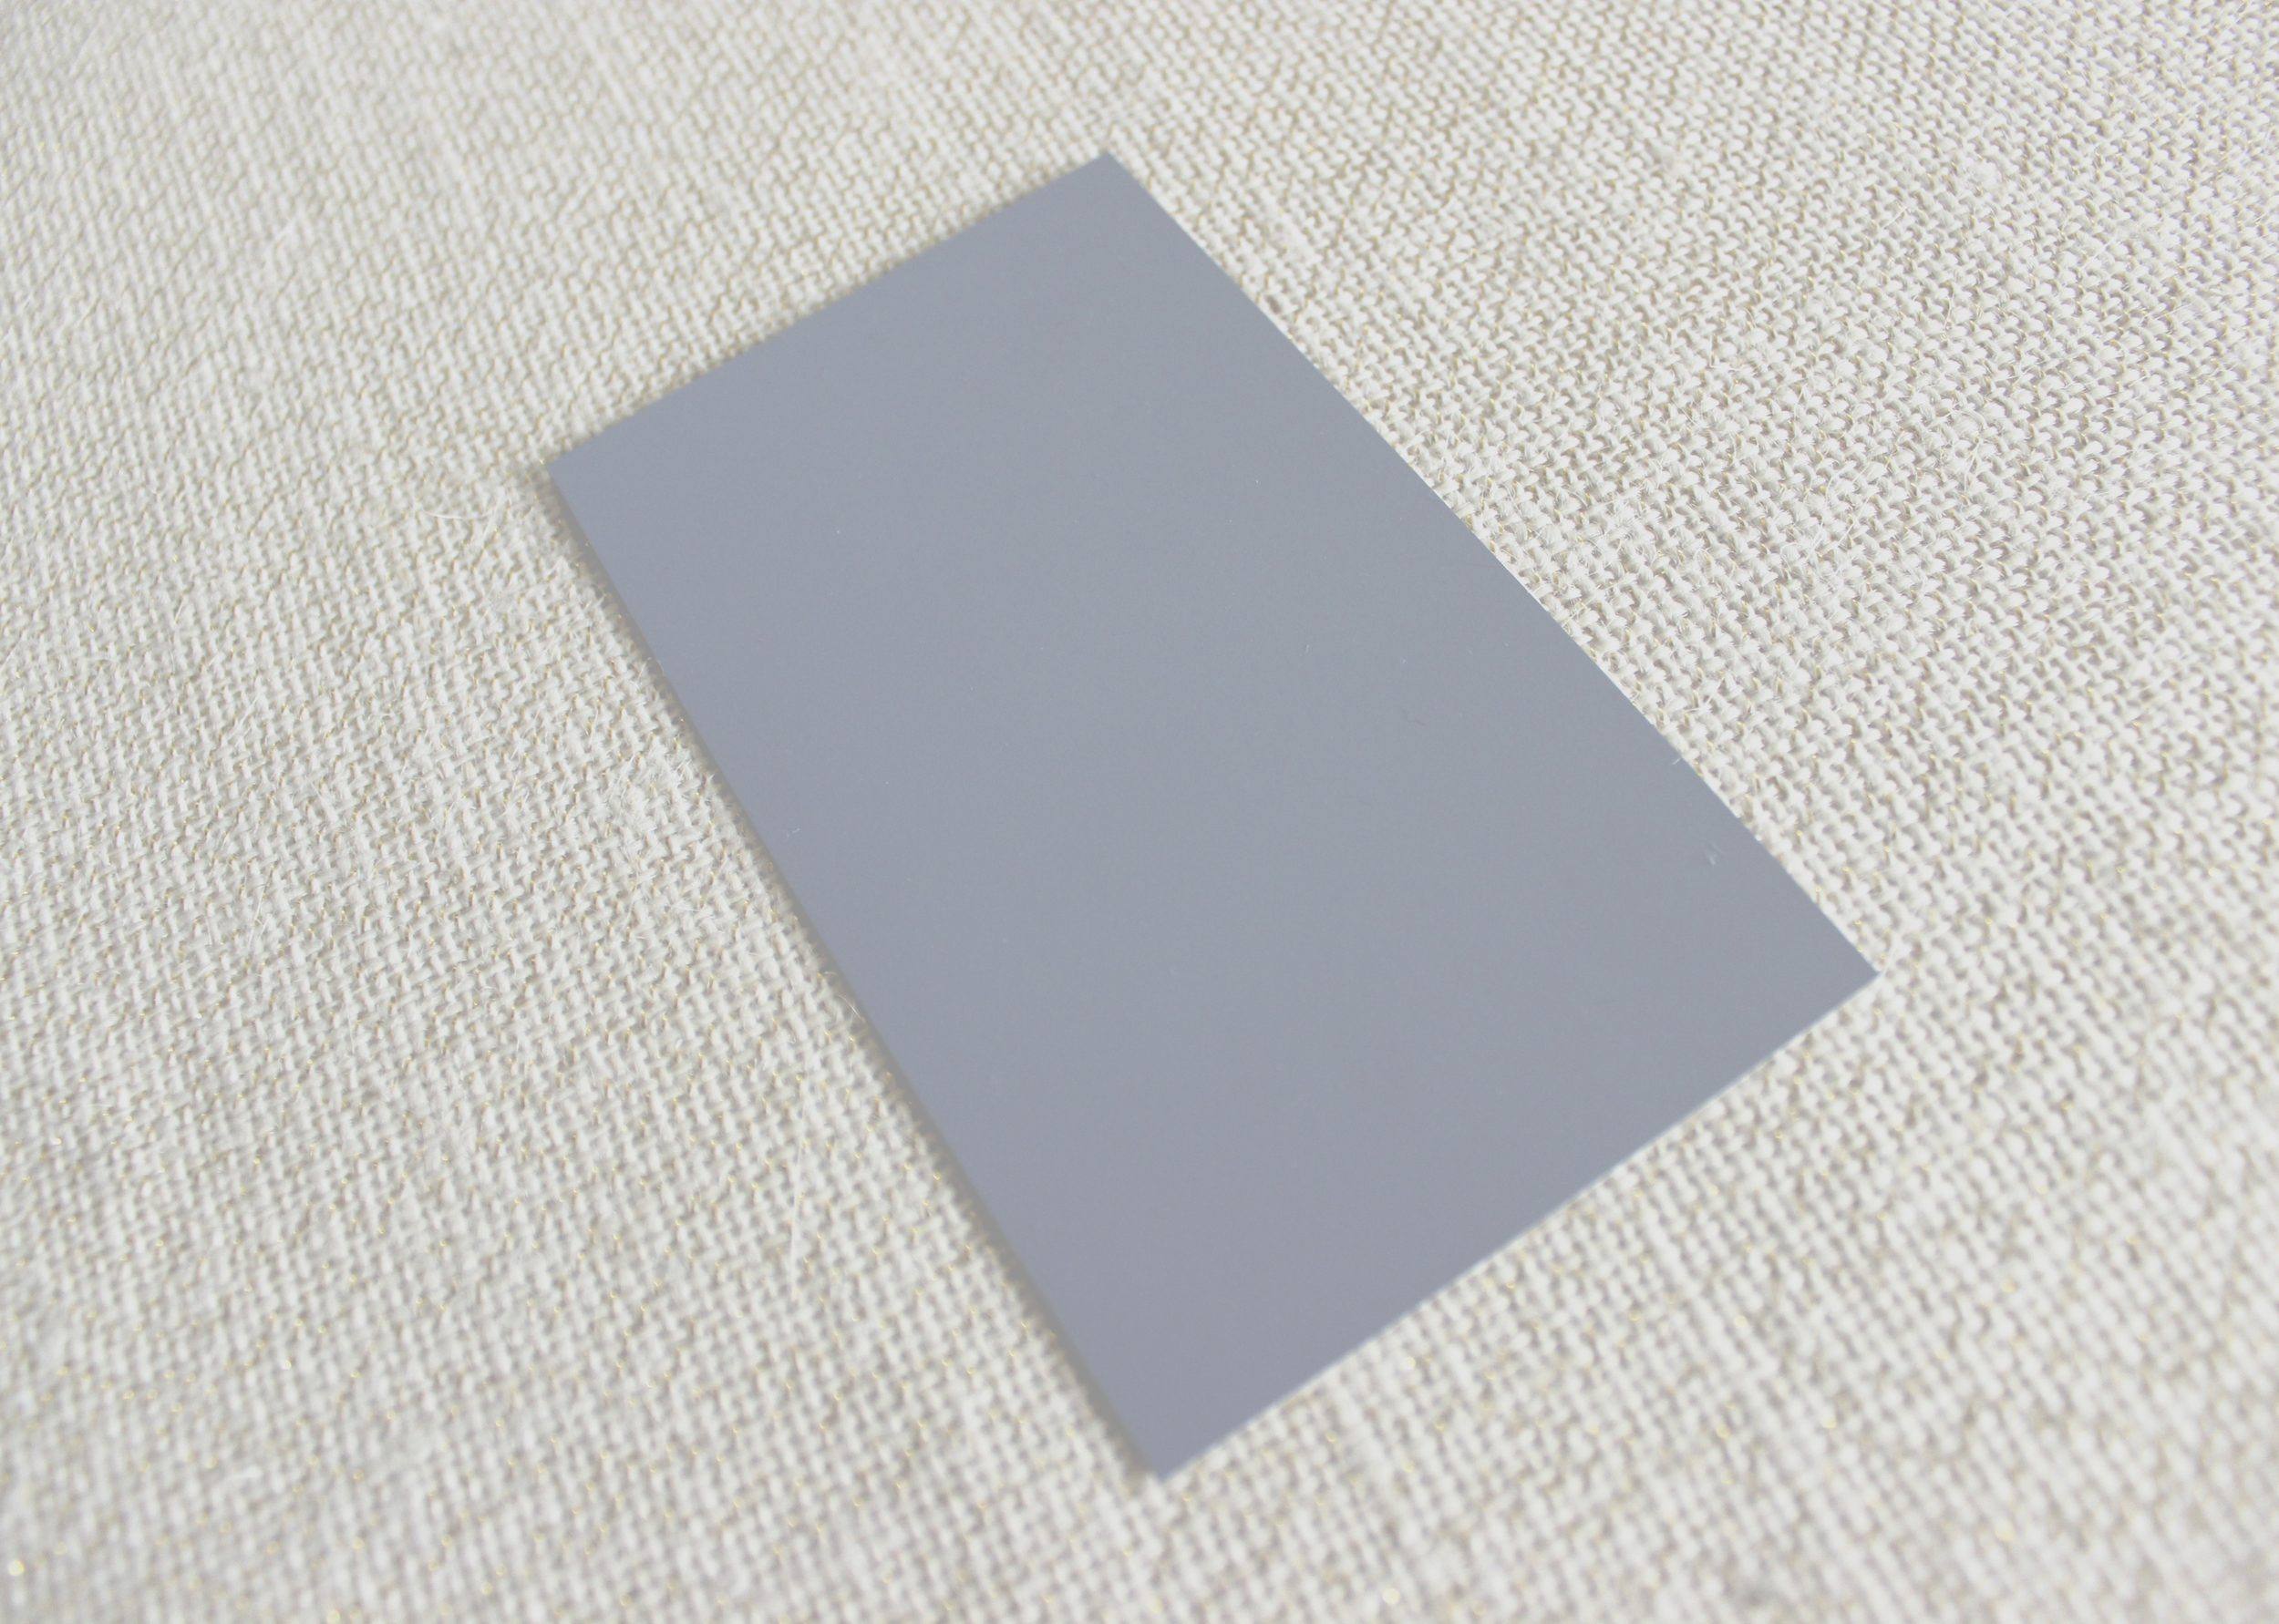
Remove the wood backing from the frame. This is what you will wrap the fabric around. With the right side of the fabric facing down, place the board on top of the fabric as a guide and ensure that the pattern of the fabric is straight. Cut the excess fabric and allow 1" - 2" around the perimeter. You will also need to cut the excess fabric on each corner too. Stretch the fabric to make sure that there are no wrinkles and that it is not loose, then tape the fabric onto the back of the board.  

Original Size of Behr paint swatch&nbsp;is 3.25" w x&nbsp;6.5" h

Original Size of Behr paint swatch is 3.25" w x 6.5" h

Cut paint swatch to 2.75" w x 4.75" h

Cut paint swatch to 2.75" w x 4.75" h

Cut out the days of the week labels and set aside. Trim the paint swatches down to 2.75" w x 4.75" h.

How cute are these once they've been punched&nbsp;out? Save for a future DIY!

How cute are these once they've been punched out? Save for a future DIY!

Punch a 1" hole in the top center of each paint swatch.  

DIY Paint Swatch Wall Calendar

Starting from the bottom up, arrange the paint swatches on top of the frame and adjust as needed. You will need 7 columns and 5 rows. Use a ruler to help straighten and align them. Allow 1" around the border of the frame and an equal amount of space between each paint swatch - a 1/2 an inch or so.

Once you are happy with the overall placement, place double-sided tape or glue dots onto the back of each paint swatch and press firmly onto the fabric. Make sure to cover the edges of the paint swatch entirely with tape to ensure a strong hold once you stick it onto the fabric. Do this individually for each paint swatch until complete. 

Once you are finished sticking all of the paint swatches onto the fabric, take the days of the week labels and position them on the very top oft the first row. Place double-sided tape onto the back and stick them onto the fabric.

And your board is complete! Take the completed board and assemble your frame back together. Make sure to remove any dust or fibers that got caught on the surface of the glass/plastic before you place it back together.  

DIY Paint Swatch Wall Calendar

Now, the best part - fill in your calendar! On the front of the frame, with a dry-erase marker, write the days of the week within the circles of the paint swatches and the month at the top, then your agenda for the month. You're done! Find a convenient place to display it. I chose my entryway in my kitchen. What a pretty and fun calendar - with the perks of saying you did it yourself! 


I hope you enjoyed this simple, yet classy DIY project! I look forward to doing more projects like these. There's so much more that can be done to my home to make it "homier" - if that were a word. I love how DIY projects can add warmth to a space. I am all about building memories - and DIYs are perfect for doing that too!

Have fun, and should you decide to make this, please share a photo of it and tag me on social media!

xo stina


Chicken Estufao or Chicken Adobo
Chicken Estufao / Chicken Adobo

This is one of those recipes that can instantly take me back home and comfort me when I get homesick. The ultimate comfort meal. I titled it Chicken Estufao in homage to my Chamorro culture, but this recipe is very much the same as the filipino dish, Chicken Adobo, so I included both. I like my Estufao/Adobo on the sweeter side, so I love to add sugar. My husband likes it on the salty/savory side, but he approves, so everyone wins - not too sweet and not too salty. I love me some garlic, so no skimping here. This dish pairs perfectly with steamed, white rice. Upon simmering, a delicious sauce will come together at the bottom of the pan. Drizzle over your steamed rice and there you have the perfect meal to satisfy all your salty/savory/slightly sweet desires.

Chicken Estufao / Chicken Adobo

There are many variations to this dish, but the main ingredients are soy sauce and vinegar. You can use apple cider vinegar in place of regular vinegar or add in some peppercorns for a deeper peppery taste! Remember, cooking should be fun and flexible. So, have fun with it!


Chicken Estufao or Chicken Adobo


Servings: 3-4

Prep: 15 mins

Cook: 30 mins

Total time: 45 mins


Ingredients

  • 2 lbs chicken thighs (bone-in)
  • 4 medium carrots, quartered
  • 1/2 yellow onion, sliced
  • 6 garlic cloves, minced
  • 2 stalks green onions
  • 1/3 cup soy sauce
  • 1/3 cup vinegar
  • 3 Tbsp brown sugar
  • 2 bay leaves
  • 1/4 tsp pepper

Instructions

  1. Place all ingredients in a saute pan except the carrots and green onions.
  2. Bring to a simmer on medium heat. Simmer for 15 minutes.
  3. Add carrots and simmer for another 15 minutes.
  4. Turn off heat and sprinkle green onions on top.
  5. Enjoy with steamed, white rice.

Notes

  • Potatoes can also be added to the dish.
  • I like using chicken thighs (bone-in) because they add more flavor to the dish, but you can use boneless chicken thighs, drumsticks, or even pork if you wish.

I hope you enjoy this recipe just as much as I do! Let me know if you try this recipe, or if you are already a fan of this dish, how do you like yours? What is unique to how you prepare yours? 

xo stina